Table of Contents
This article will teach you how to create a Prework activity. Prework activity type allows you to upload preparatory materials for your learners such as readings, presentation slides, audio lectures or video lectures providing the basic theory and content that learners should review before class.
This Guide is for:
- Super Admin
- Teacher Admin (Full-Access)
- Teacher, (Owner Full-Access)
Steps on How to Create a Prework Activity.
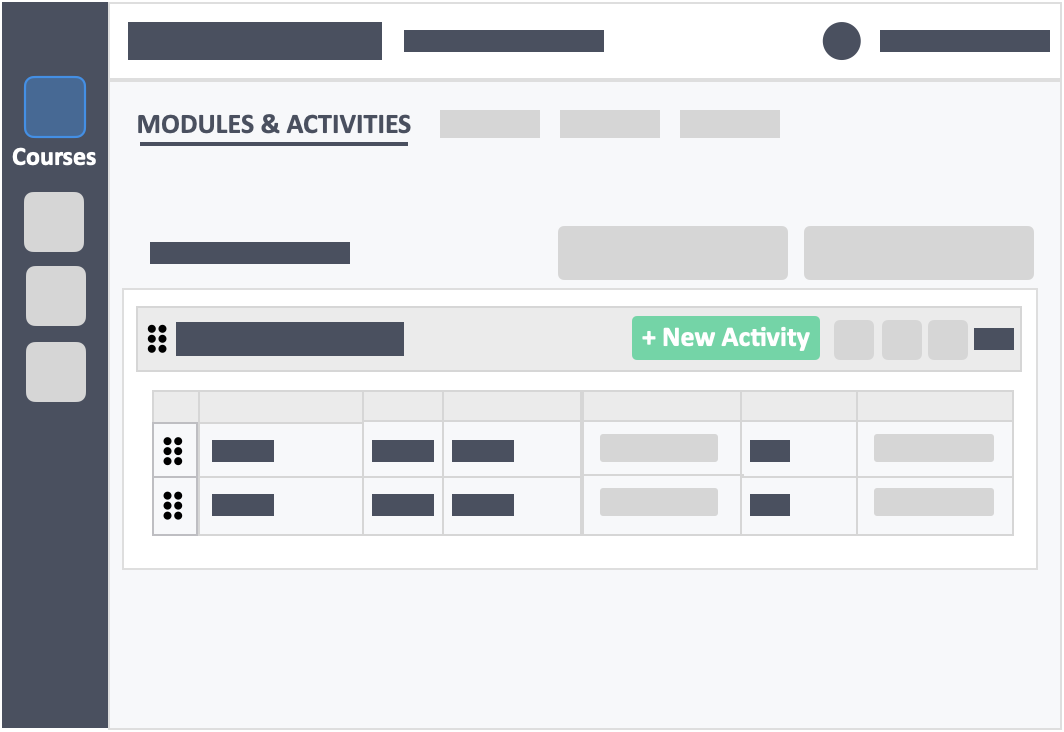
Step 1 – Click the green button “+New Activity” within the module header.

Step 2 – Fill out the Prework basic setting.

- Module – (required) Click the drop-down to select the module to add activity to.
- Activity Type – (required) Select Prework ** This cannot be changed once saved.
- Prework type – (required) Simple.
- Name – (required) This is the name of the activity you are teaching.
- Description – (optional) Concise statements which informs a learner about the subject matter, approach, scope, and applicability of the activity. This could include learning objectives or any details you would like to reference.
Step 3 – Click the green button “Go to Prework Materials”.

Step 4 – Click the button “Prework Materials” if you have materials to upload.

Step 5 – Click the green button “Go to Optional Settings” on the bottom left of the page.

Step 6 – Click the blue button “Upload Attachments” on the bottom-left of the Instructions to Students Panel.

- You can also upload materials real-time from the dashboard once the Prework is published.
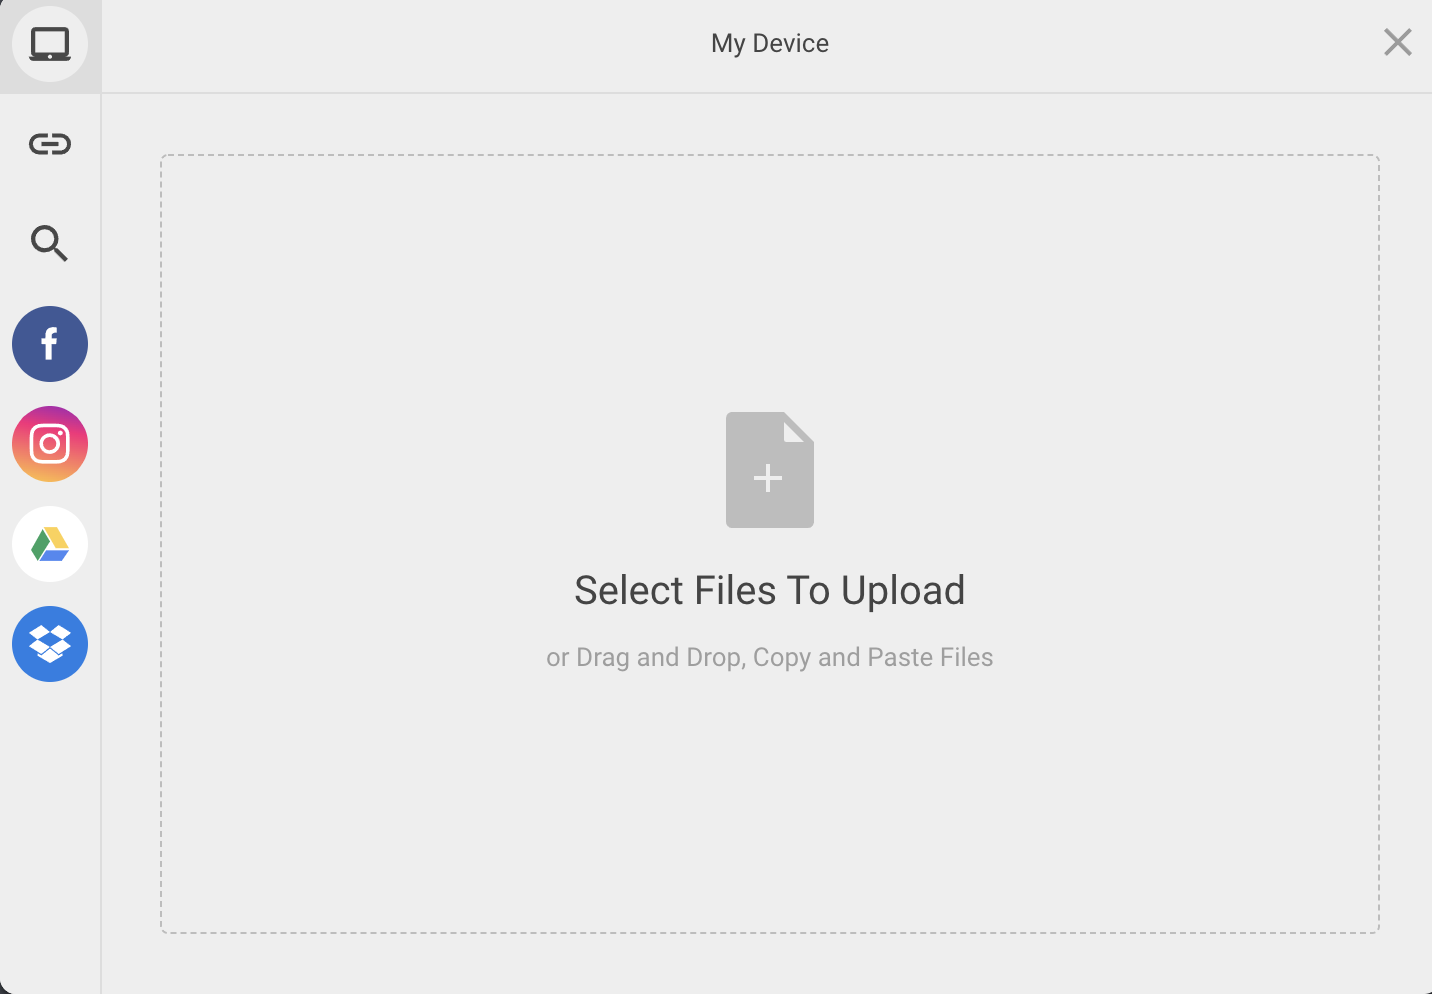
Step 7 – Select Files to Upload. Choose from different sources on the left side.

- You can upload up to 250MB of videos and files.
Step 8 – Click the blue button “Upload” on the bottom-right of the pop-up.

Step 9 – Click the green button “Review your Activity” on the top-left of the page (to save and go to the next step).

- Click the fowling link to learn how to continue activity setup. How do I create an activity
