Table of Contents
This article will teach you how to run an asynchronous IRAT activity. In general, the difference between running both an Asynchronous and Synchronous IRAT is minimal. The main difference is in the early stages of the activity. Unlike a Synchronous IRAT, which gives you the chance to Start the activity manually, an Asynchronous IRAT automatically defaults to “SCHEDULED” status
This Guide is for:
- Super Admin
- Teacher Admin (Full-Access)
- Teacher (Owner Full-Access)
Steps on How to Run an Asynchronous IRAT activity.
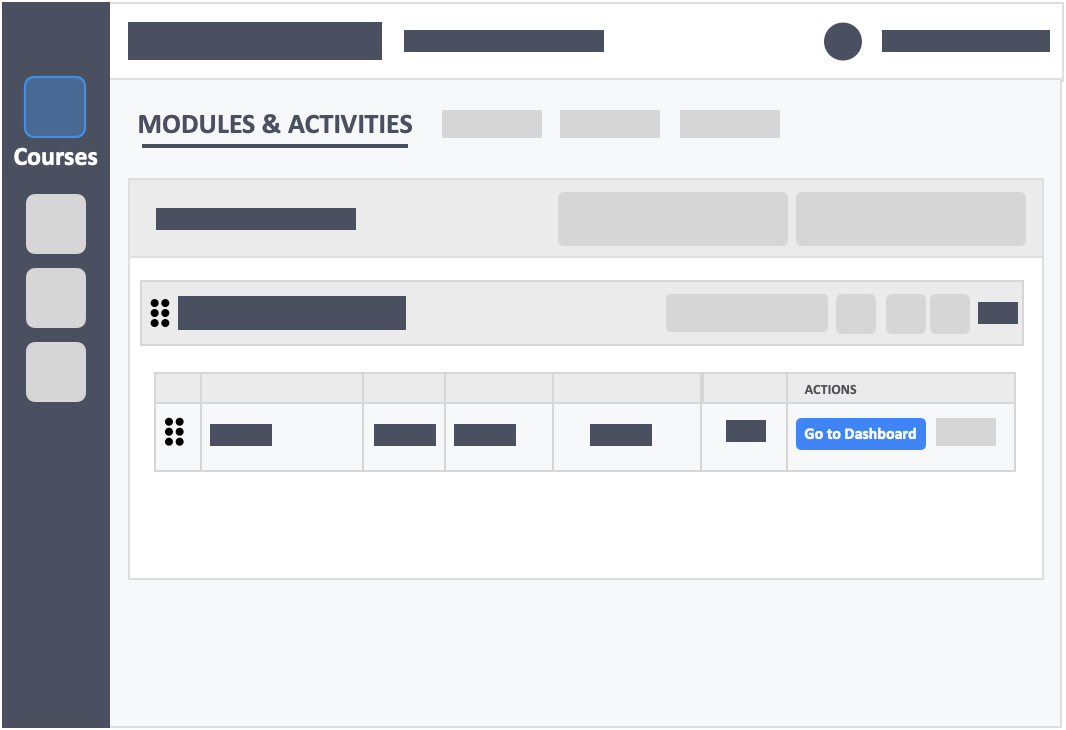
Step 1 – Click the button “Courses” on the left-side navigation.

Step 2 – Click on the course in which the activity is in.
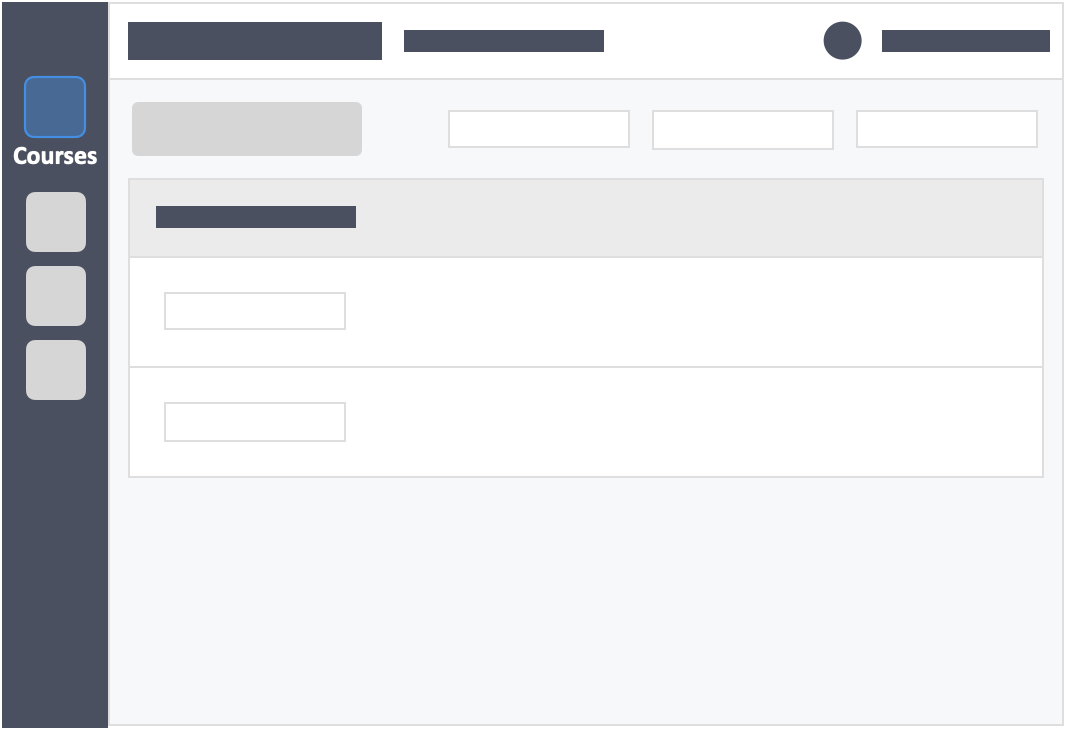
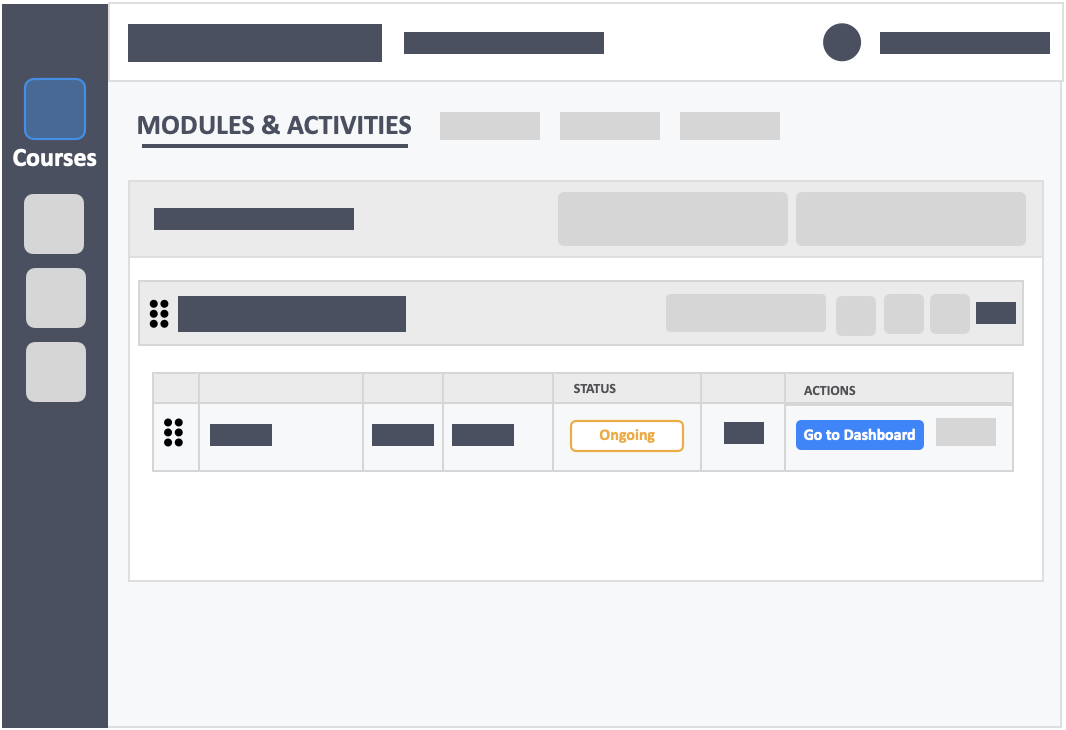
Step 3 – Click the blue button “Go to Dashboard”on the right-side of your actions column of the activity.
- The Status “Not Started” means that the activity is not open yet.
Step 4 – View the activity time limits from the “Activity Settings” Block in the dashboard.
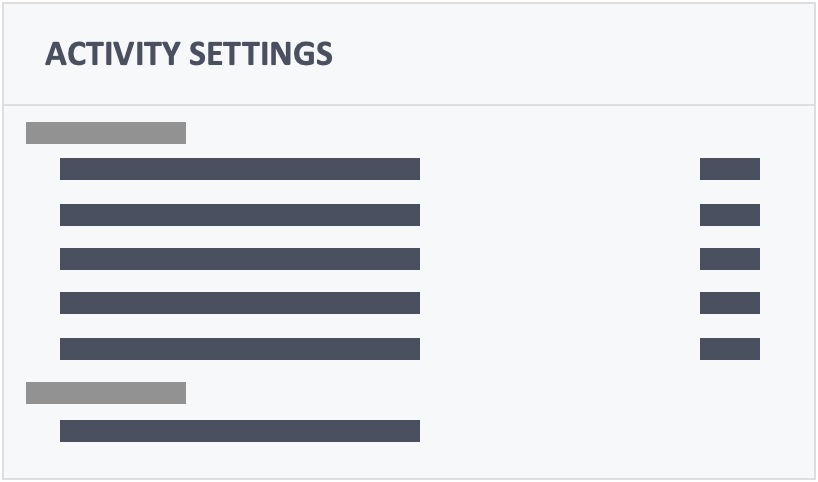
- If you have set a time limit, then the ACTIVITY DURATION will remind you how long the learners have to take the test.
- If you did not set a time limit, then learners will be able to answer the test, change and re-change their answer from the beginning to the end of the open period. Note that once learners hit the “Submit” button though, it’s the equivalent of surrendering their test papers back to the Instructor, and they will no longer be able to change their answer.
Step 5 – View the activity’s open period from the Activity Overview button.
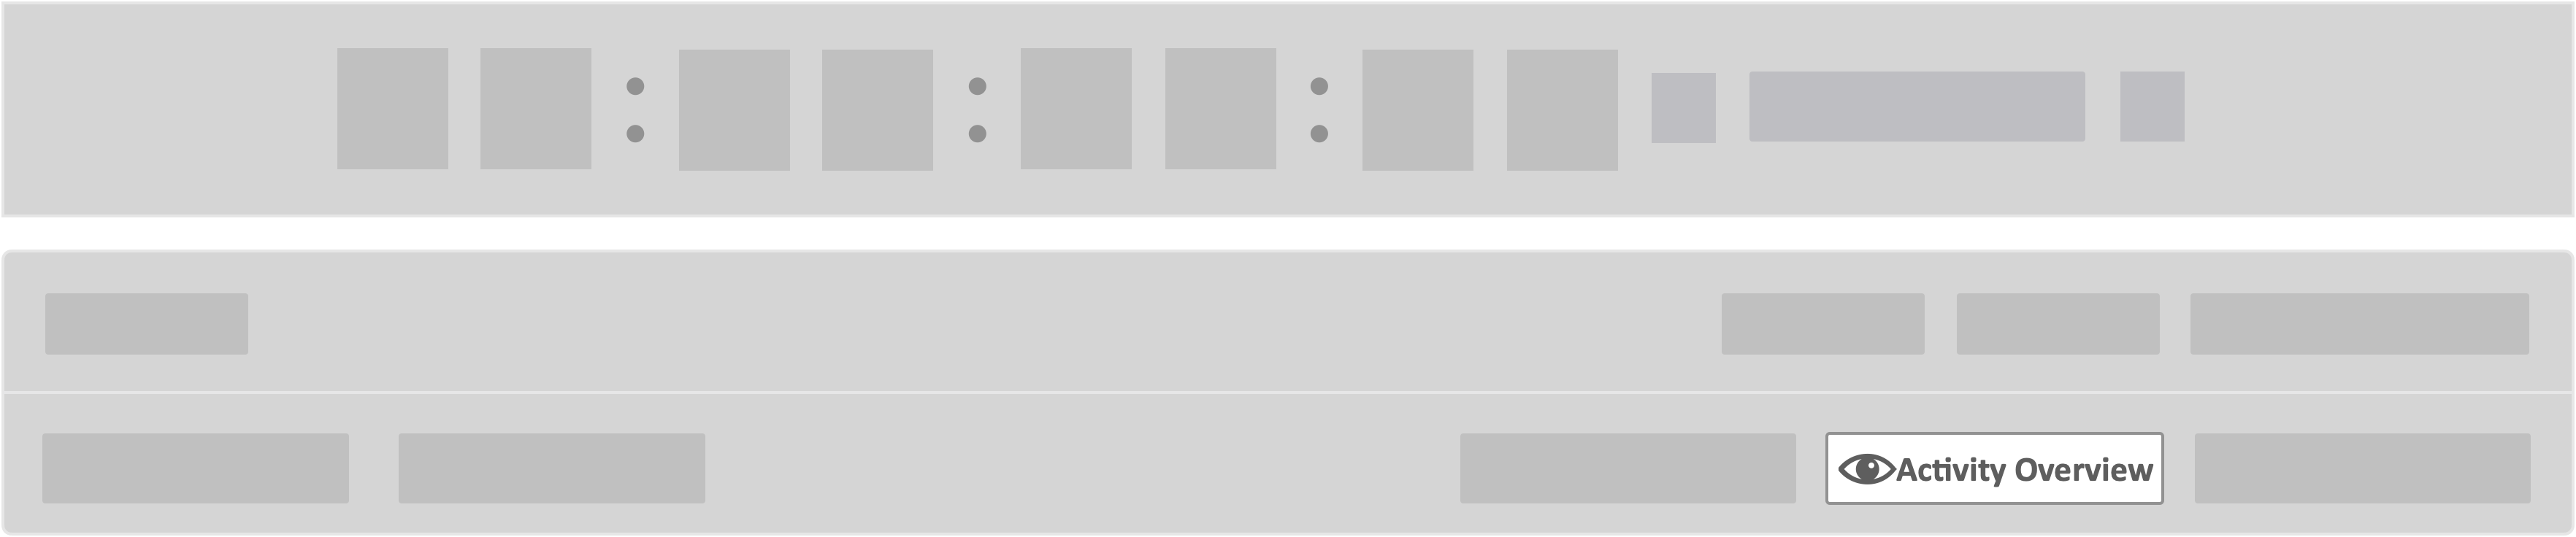
- You can see the activity’s details here
Step 6 – Update Open Period while the status is “Scheduled”.

- You’ll still be able to change the “Activity Starts from” date and time and “Activity Ends on” date and time while the test is still “Scheduled”.
Additional Information – what happens once the Open Period Starts?
- On the instructor’s dashboard the activity Status will become “Ongoing”.
- The “End IRAT” red button will appear, which you can click to force quit/end the activity.
- You’ll still be able to update the open Period, but only the “Ends On” date and time.
- “Teams-who-may-time-out” are teams who haven’t answered all the questions in the activity. The percentage bar will automatically decrease as teams/ learners finish answering the test.
- Check this progress bar together with the timer. If the end date and time is almost out and the percentage bar is still high, then it might be a good idea to extend the end dates and time.
- There is no “Extend Time” in the Instructor’s Dashboard for Asynchronous activities
- For asynchronous activities, instructors will not be able to extend the time limit or activity duration but will be able to “Update the Open Period”
Step 6 – Click the blue button “Go to Dashboard”on the right-side of your actions column of the activity.
- You will notice that the questions will be listed in the Item Analysis board according to the learner fail rate, ranging from 100% to 0%. This section will help you analyze how your learners are doing on a question by question basis.
- At the top of the Student Analysis table you will see the grade legend tool which makes grading easier and less time consuming on multiple choice question types.
- As you scroll down to the Questions area, you can see how your learners are doing on a question by question basis. You can see the way your learnerss are performing through a visual statistical representation if desired.
- After the IRAT is over you may go into Presentation Mode. You may click on the Open Presentation Mode button in the questions area.