Table of Contents
This article will show you how to run a 360 Degree Evaluation activity. 360 Degree Evaluation can be run asynchronously or synchronously. This can be set on the last step of the activity creation process.
This Guide is for:
- Super Admin
- Admin Teacher (Full-Access)
- Teacher, (Owner Full-Access)
Steps on How to Run a 360 Degree Evaluation activity.
Step 1 – Click the button “Courses” on the left-side navigation.

Step 2 – Click on the course in which your 360 Evaluation activity is in.
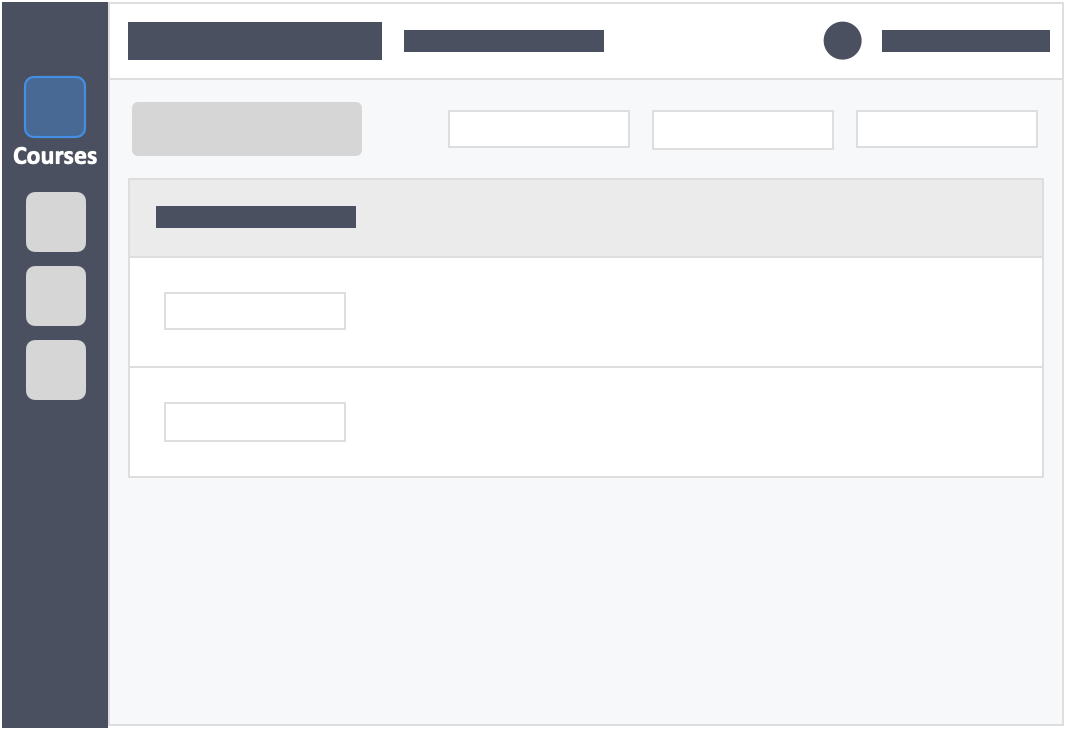
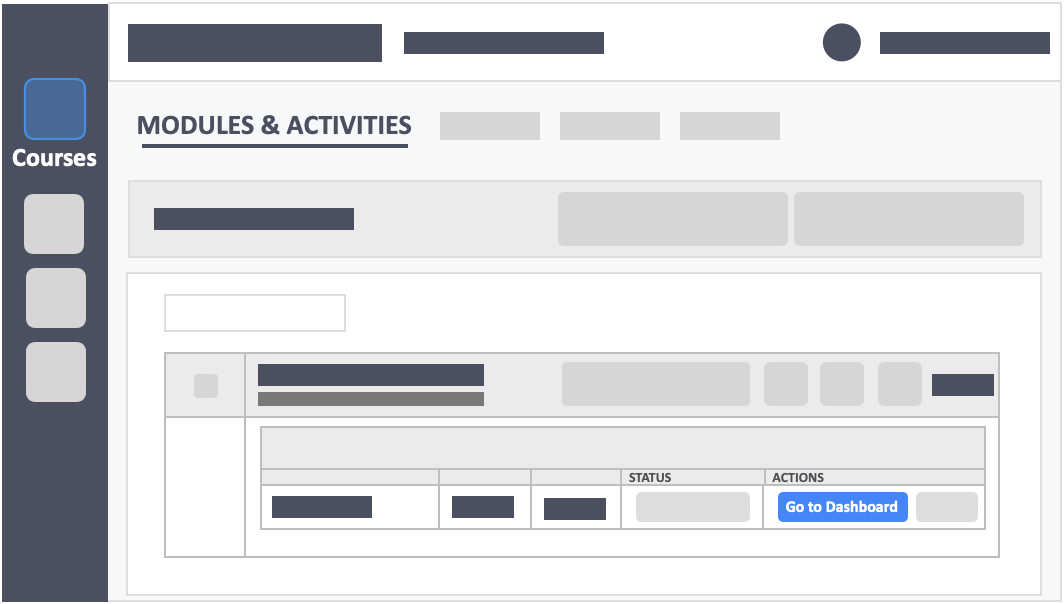
Step 3 – Click the blue button “Go to Dashboard”on the right-side of your actions column of the activity.
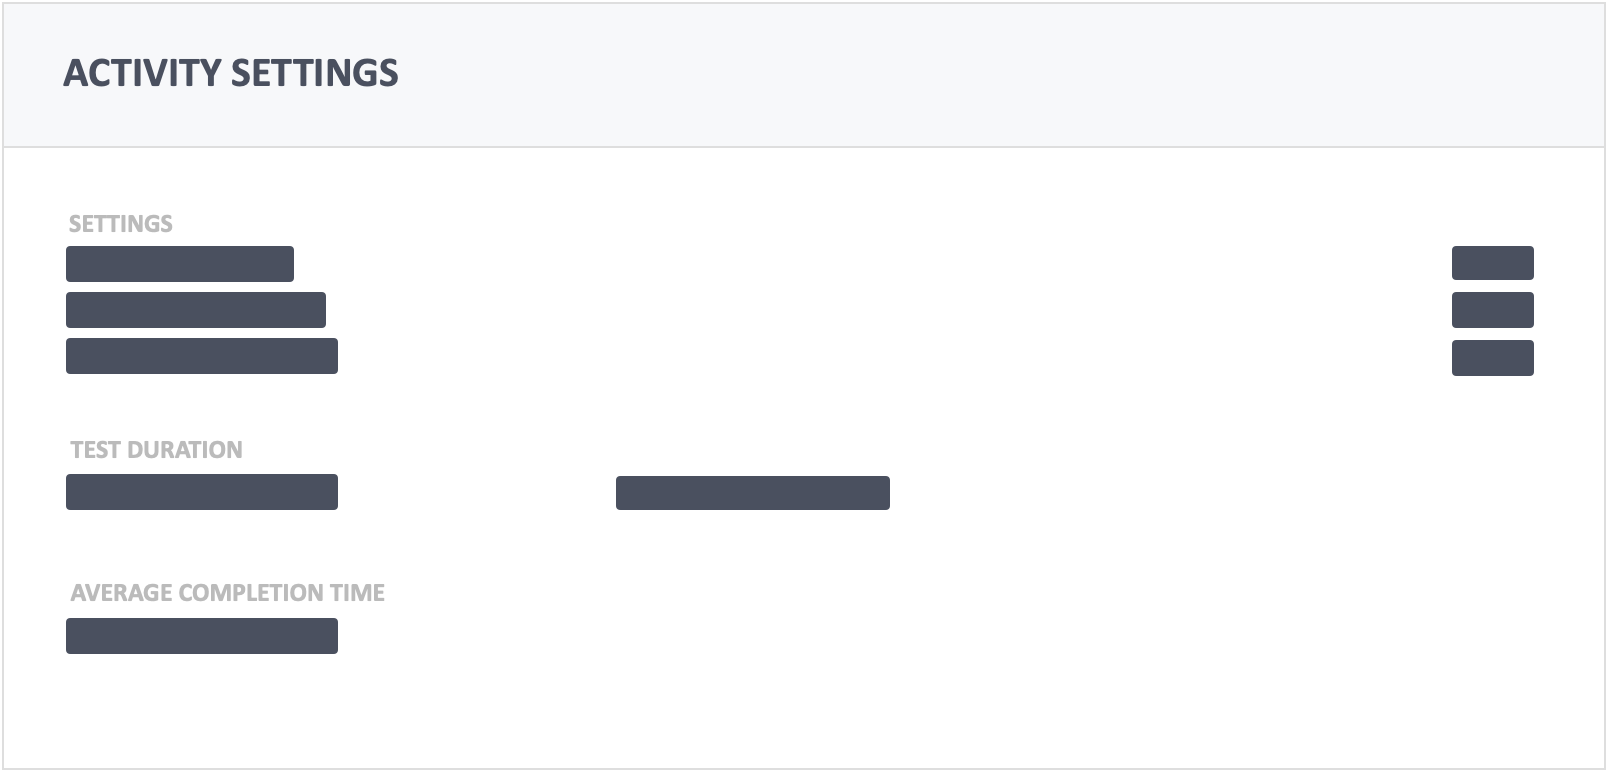
Step 4 – Look at the Activity Settings on the top-left.
- See the components, settings and set duration from this block in the dashboard.
- When the activity status is “Not Started” (synchronous) or still “Scheduled” (asynchronous), it’s alright to reset/redo the activity to update settings.
Step 5 – Click the white button “Activity Overview” on the top-right of the screen.

- You will be able to view your evaluation activity’s instructions, settings, and open period date and times.
Step 6 – Check the Attendance Block in the dashboard to see if the learners are in the test or which learner has logged in and entered the test.
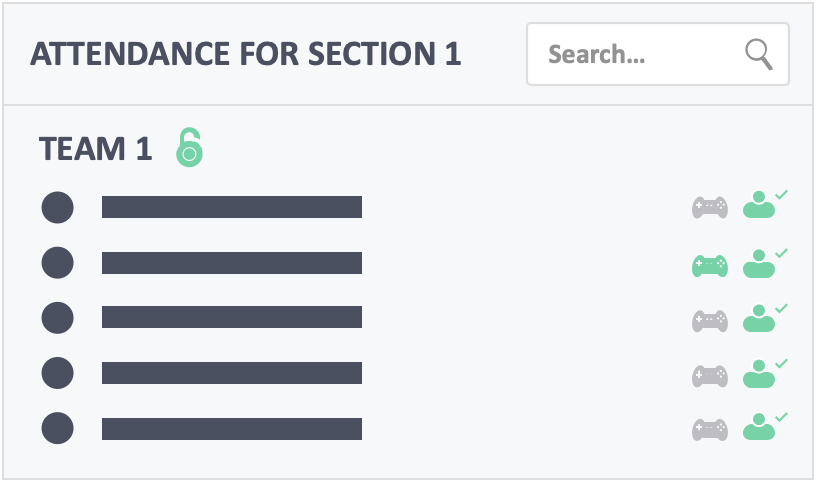
- For synchronous 360 Degree Peer Evaluation, it would be a good idea to check if learners are all logged in and has entered the test before you hit the “Start Evaluation” button. (The icons will turn green). See if those who are not in are having issues before you start the activity.
Step 7 – Check the Status Block in the dashboard.

- For asynchronous 360 Degree Peer Evaluation, it’s a good idea to check these bars to see whether you need to extend the end-date-and-time of the activity if you see that some learners may be timing-out and the end date is approaching.
- For synchronous 360 Degree Peer Evaluation. If you see that there are learners who may time-out, you can extend the time for a few more minutes to accommodate them.
- If you find that learners need more time, as they often do, you can click the button “Extend Time” on the top of the screen next to the timer clock.
Step 8 – Click the white tab “Individual Evaluation” on the bottom-left of the screen.
- Receiver – is the learner that’s receiving the rating.
- Status – Shows you if the Receiver has submitted their answers.
- Giver – Shows you the names of the other learners who gave the Receiver a rating.
- Points Given – Shows you the selection of the Givers.
- Receiver AVG. & Team Mean – Provides you calculated data regarding the choices made by your learners.
Step 9 – Click the white tab “Team Evaluation” on the bottom-left of the screen.
- The Team Evaluation dashboard is quite similar to the Individual Evaluation one, with one main difference which is the Section Mean. This data shows you the calculated data for the entire Section of students for the specific question you’re looking to further examine.
Step 10 – Click the white tab “Instructor Evaluation” on the bottom-left of the screen.

- The Instructor’s Evaluation dashboard provides data as the sole receiver, provided by your complete body of learners.
Step 11 – Click the white tab “Michelsen Method” on the bottom-left of the screen.
- The Michelsen Method dashboard provides you with data based on your learners’ confidence level which is measured by the allocation of points. The main part of this evaluation technique is related to the Points Given criteria. Your learners will allocate points towards their teammates based on the number of points available. Please note that for this option to work optimally, you will need to set teams of at least 3 learners, or else the points distribution system will not work properly.
Step 12 – Click the white button “Visibility Control” on the top-right of the screen from the dashboard when Activity has ended and you wish to allow learners to view their scores.
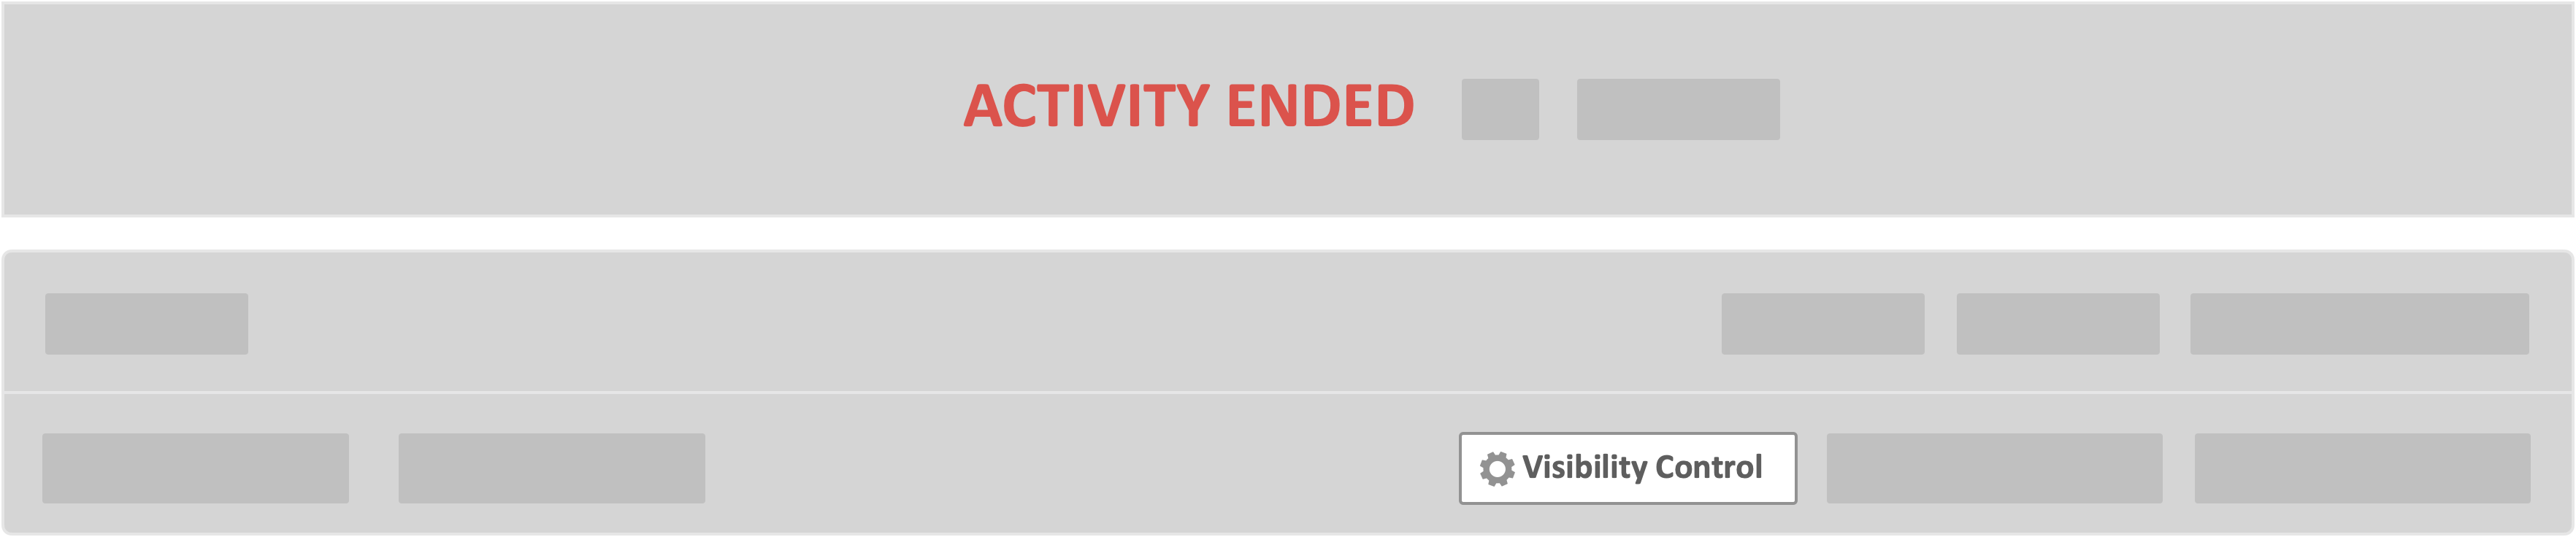
Step 13 – Toggle “Allow students to view their scores” to “Yes”.
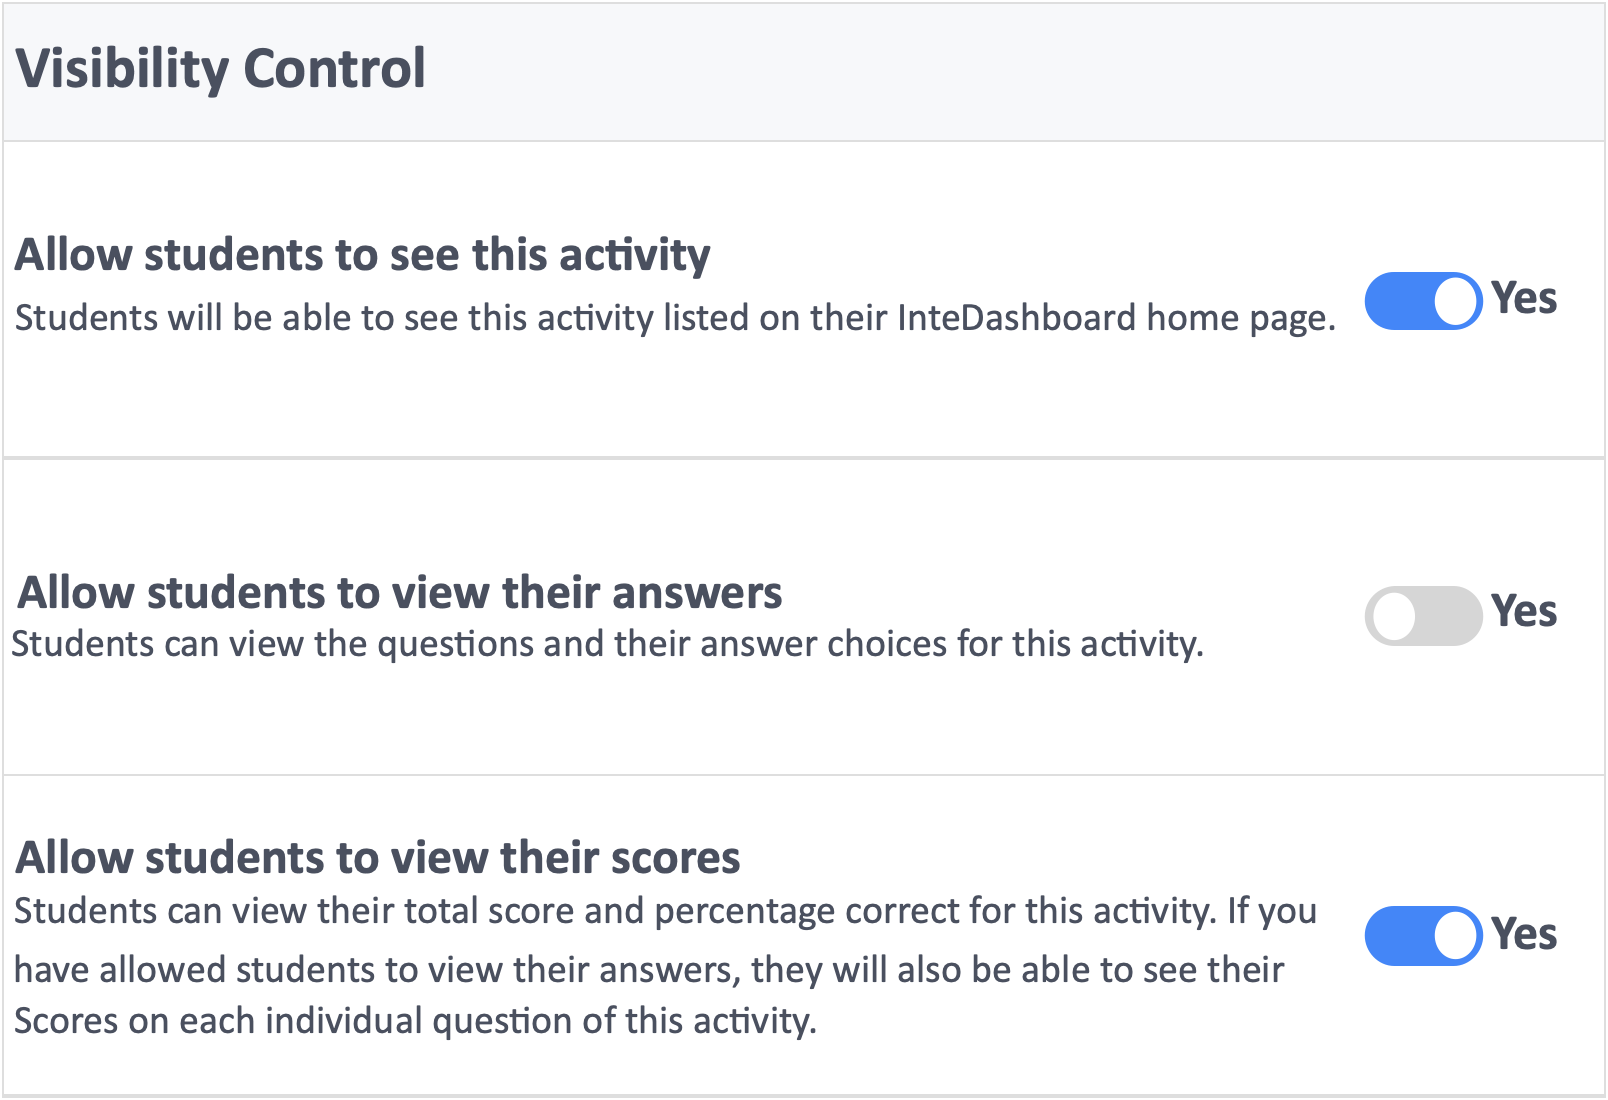
- Learners will then be able to click the “View My Scores ” button for the corresponding 360 Degree Evaluation activity to view their evaluation scores and comments.