Table of Contents
This article will explain to you what Peer-Evaluation-Michaelsen’s method is. Michaelsen’s Method is a stand-alone peer evaluation activity of InteDashboard. Read through to learn how to run this feature.
This Guide is for:
- Super Admin
- Teacher Admin (Full-Access)
- Teacher (Owner Full-Access)
What is Michaelsen’s Method of Peer Evaluation?
In this method, learners are assigned 10 points per team member excluding themselves. For instance, if there’s a team of 7 people, each learner will receive 60 points to allocate amongst the other learners in the group.
A distinctive feature of Michaelsen’s approach is that learners are required to discriminate scoring among their team members which means that they can’t give the same score to all their peers.
These are the default settings, however, InteDashboard is flexible in the sense that these parameters mentioned can be changed according to the needs of the instructor or the institution.
Steps on How to Create a Michaelsen’s Method Activity.
Step 1 – Click the button “Courses” on the left-side navigation.

Step 2 – Click on the course you want to add your activity in.
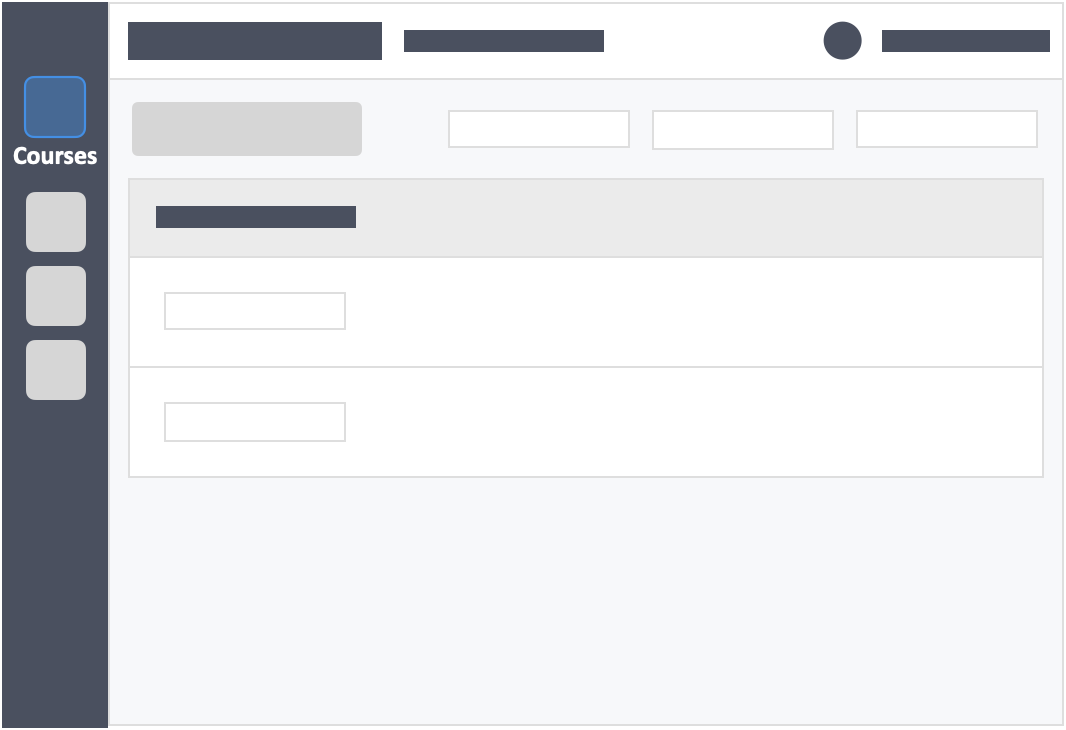
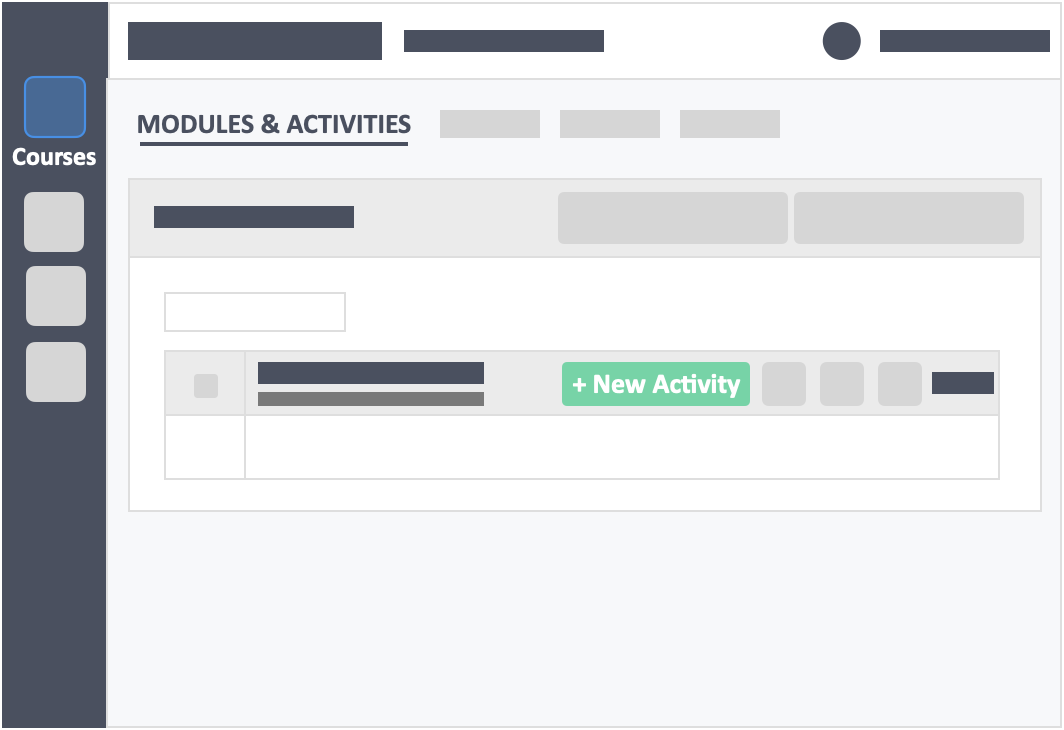
Step 3 – Click the green button “+New Activity” within the module header.
Step 4 – Fill out the activity details.
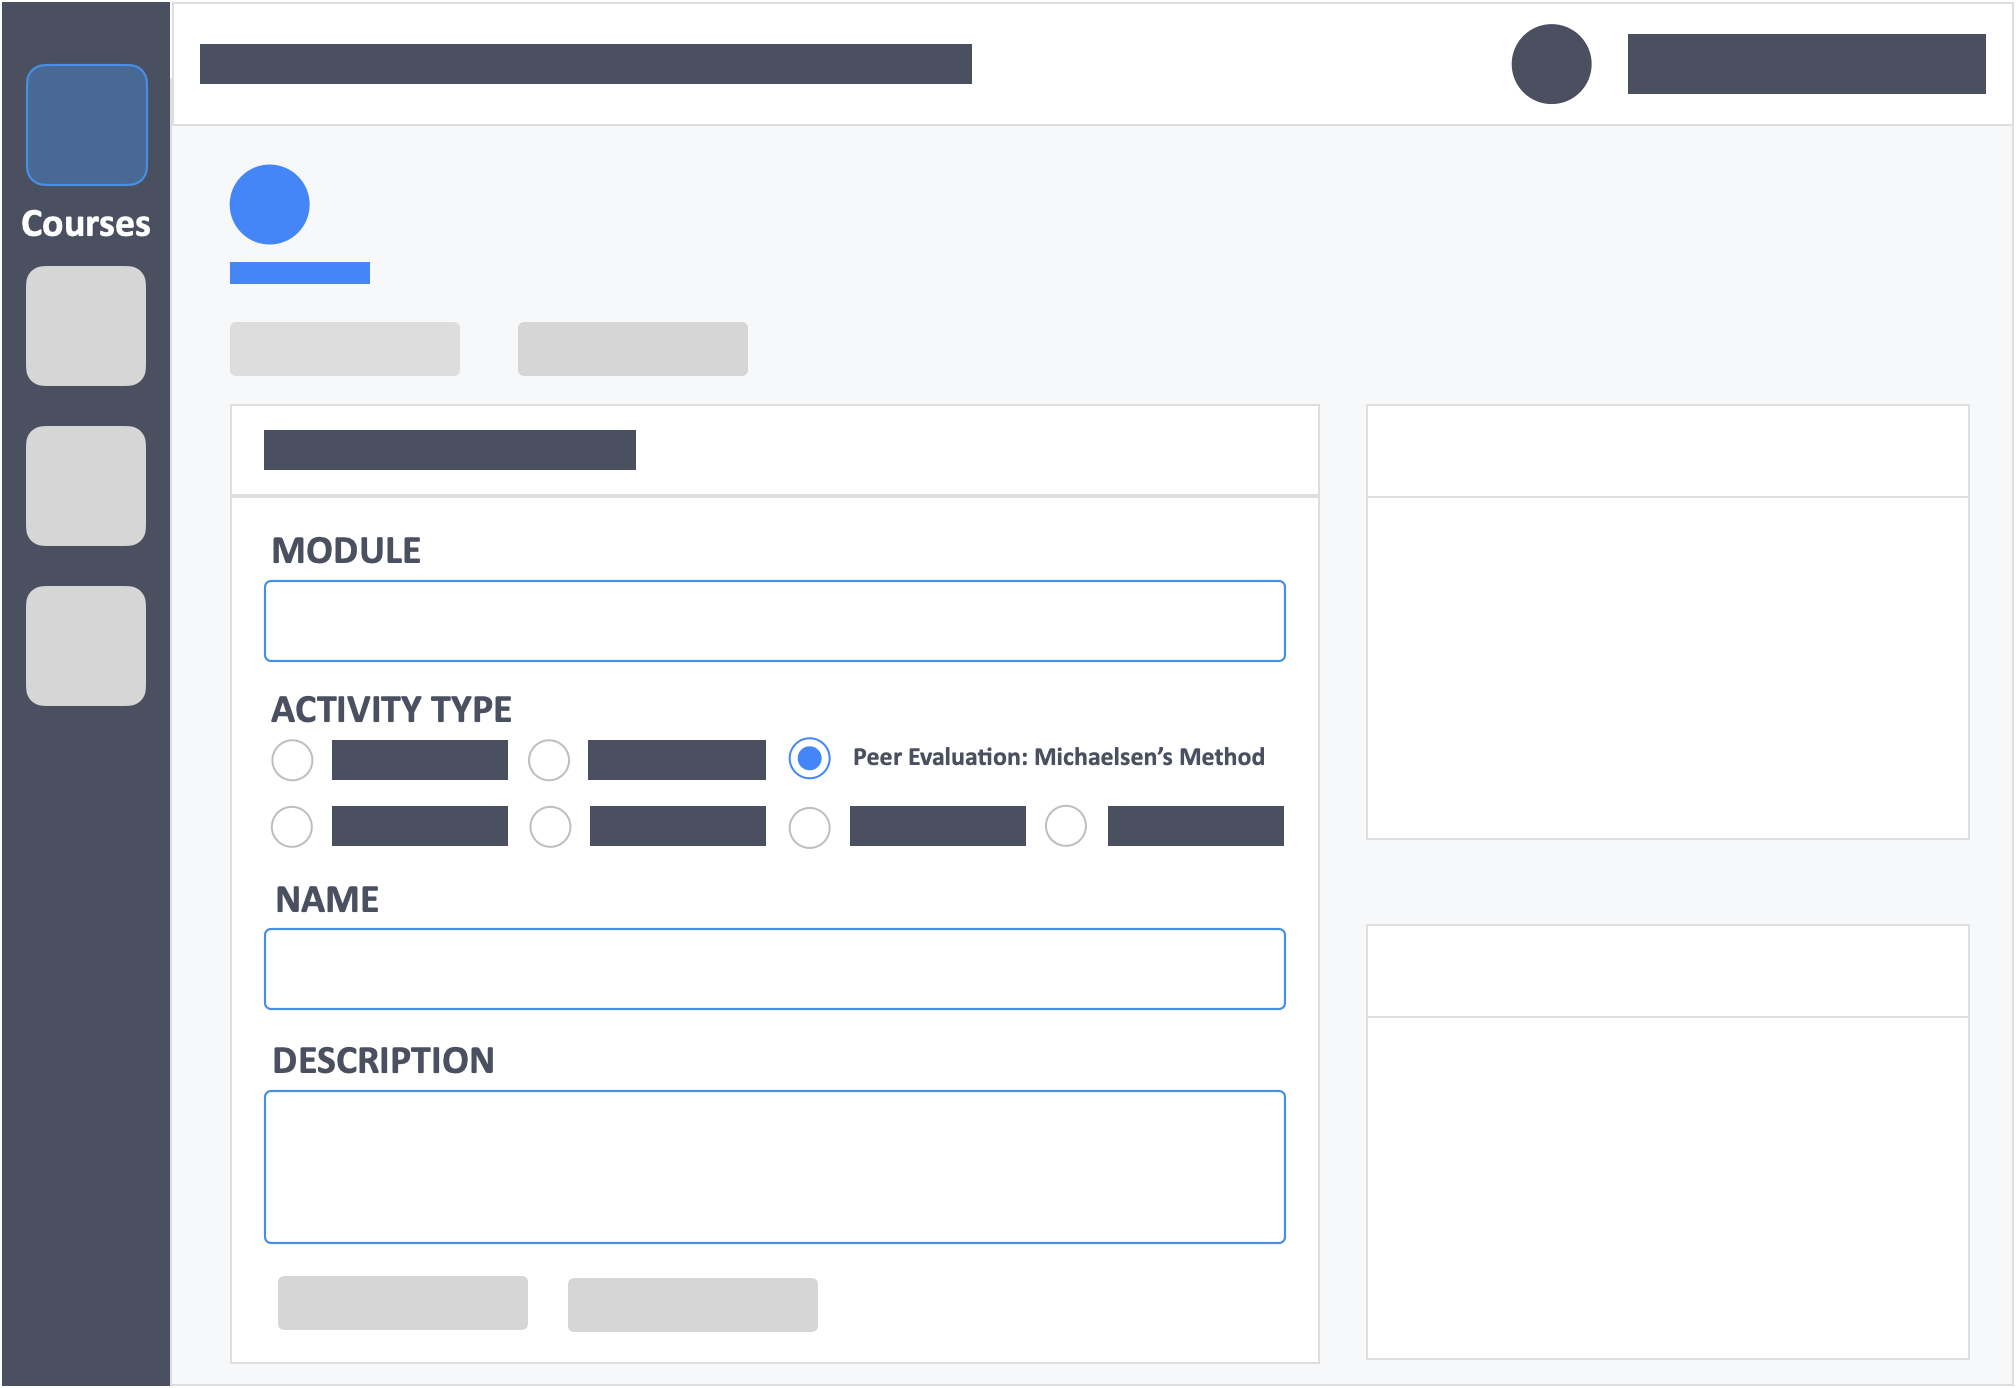
- Module – (required) Click the drop-down to select the module to add activity to.
- Activity Type – (required) Select Peer Evaluation: Michaelsen’s Method.
- Name – (required) Enter the Name of the activity.
- Description – (optional) Concise statements which informs a learner about the subject matter, approach, scope, and applicability of the activity. This could include learning objectives or any details you would like to reference.
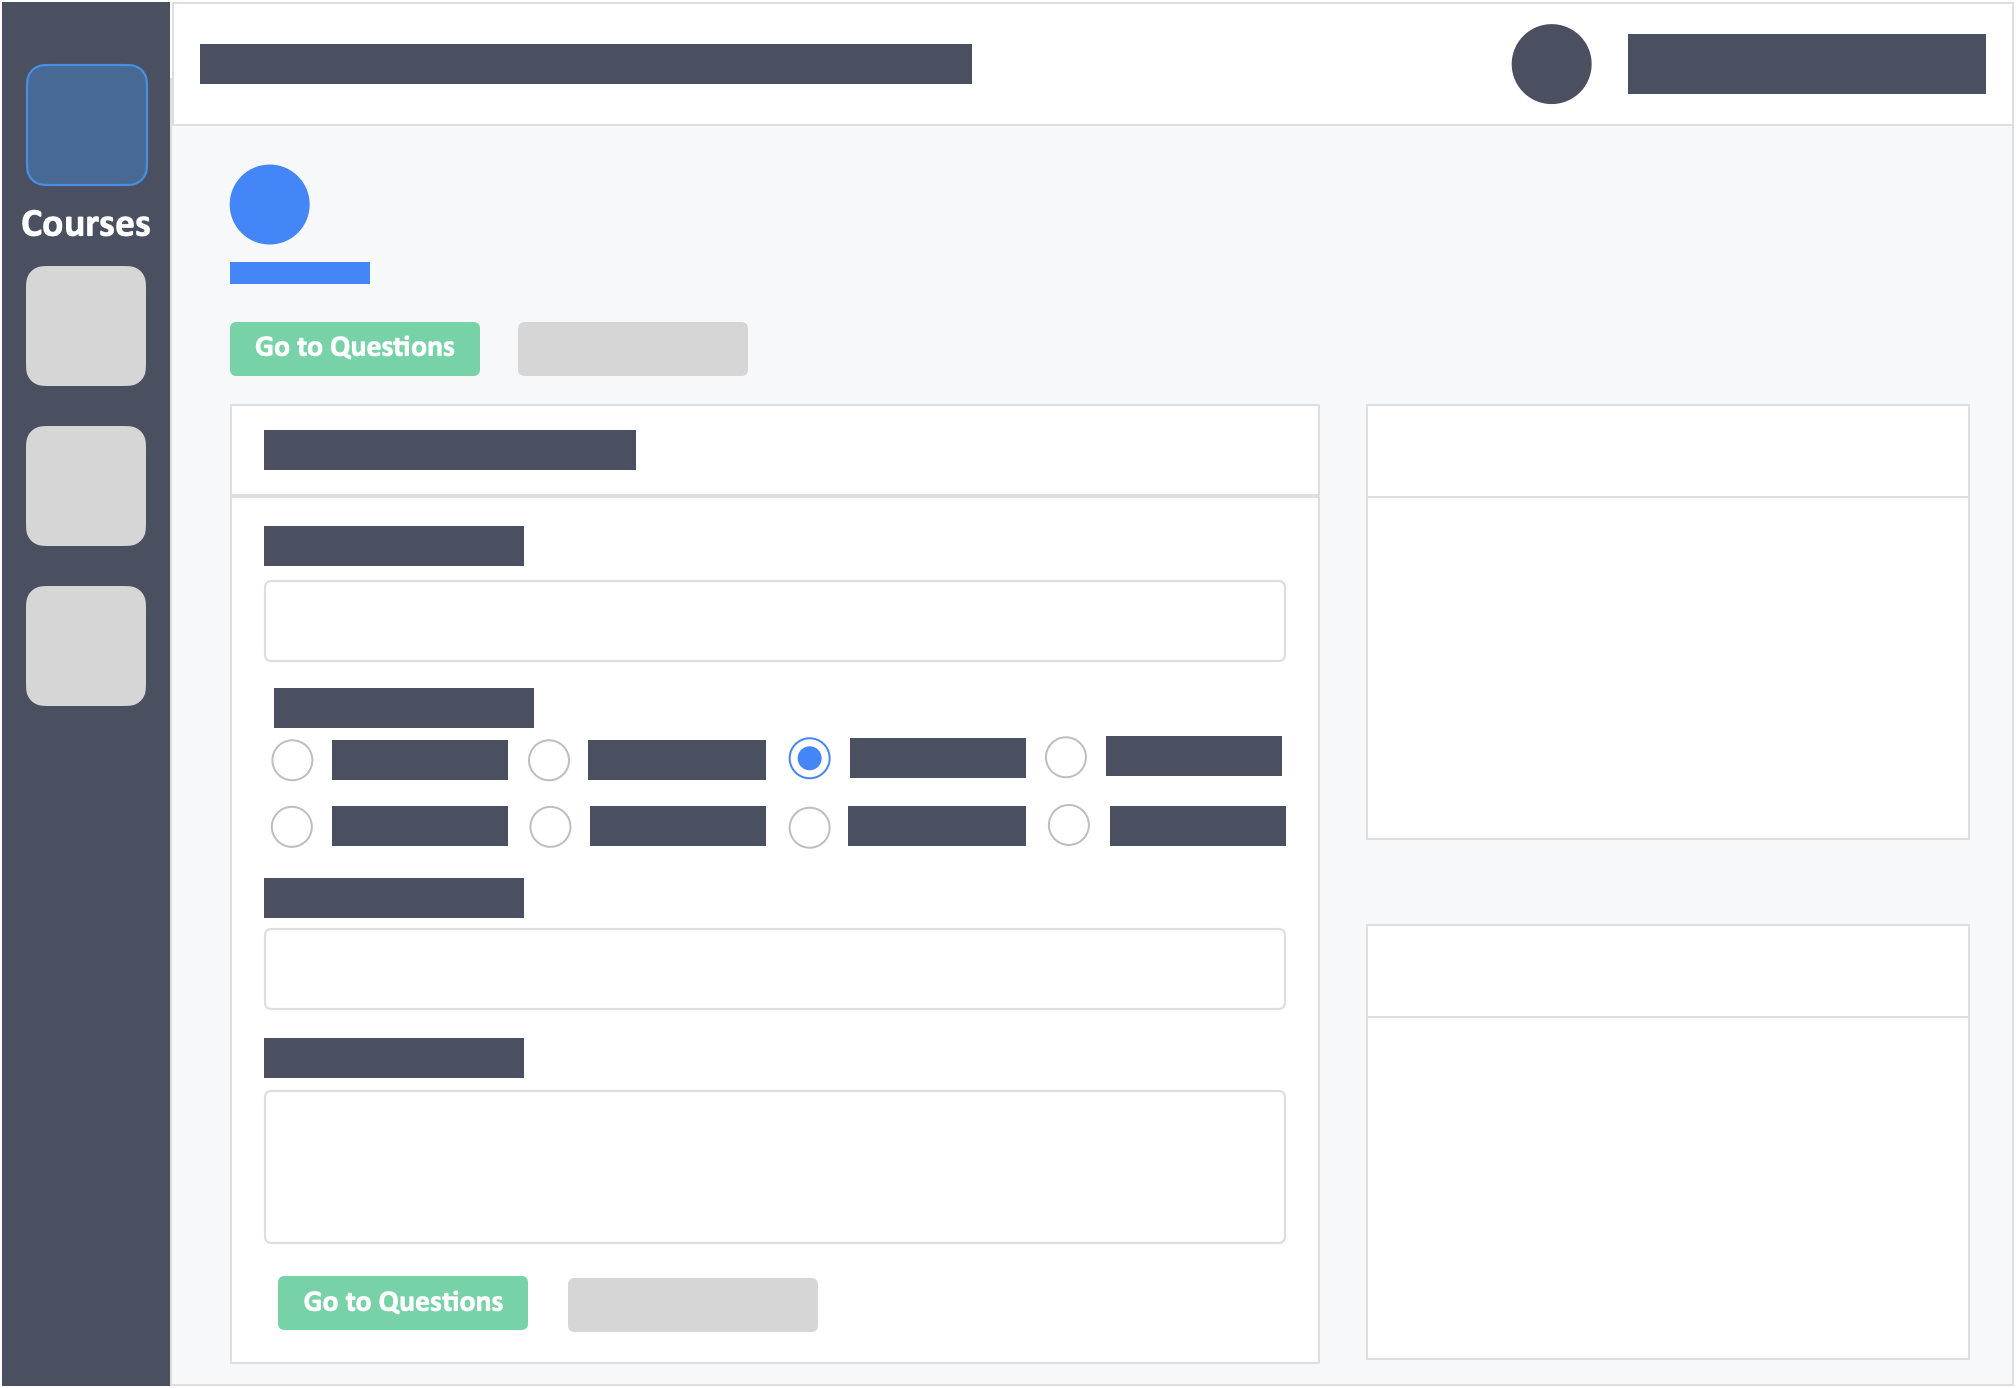
Step 5 – Click the green button “Go to Questions” on the bottom-left of the page (to save basic settings and go to the next step).
Step 6 – Add questions.
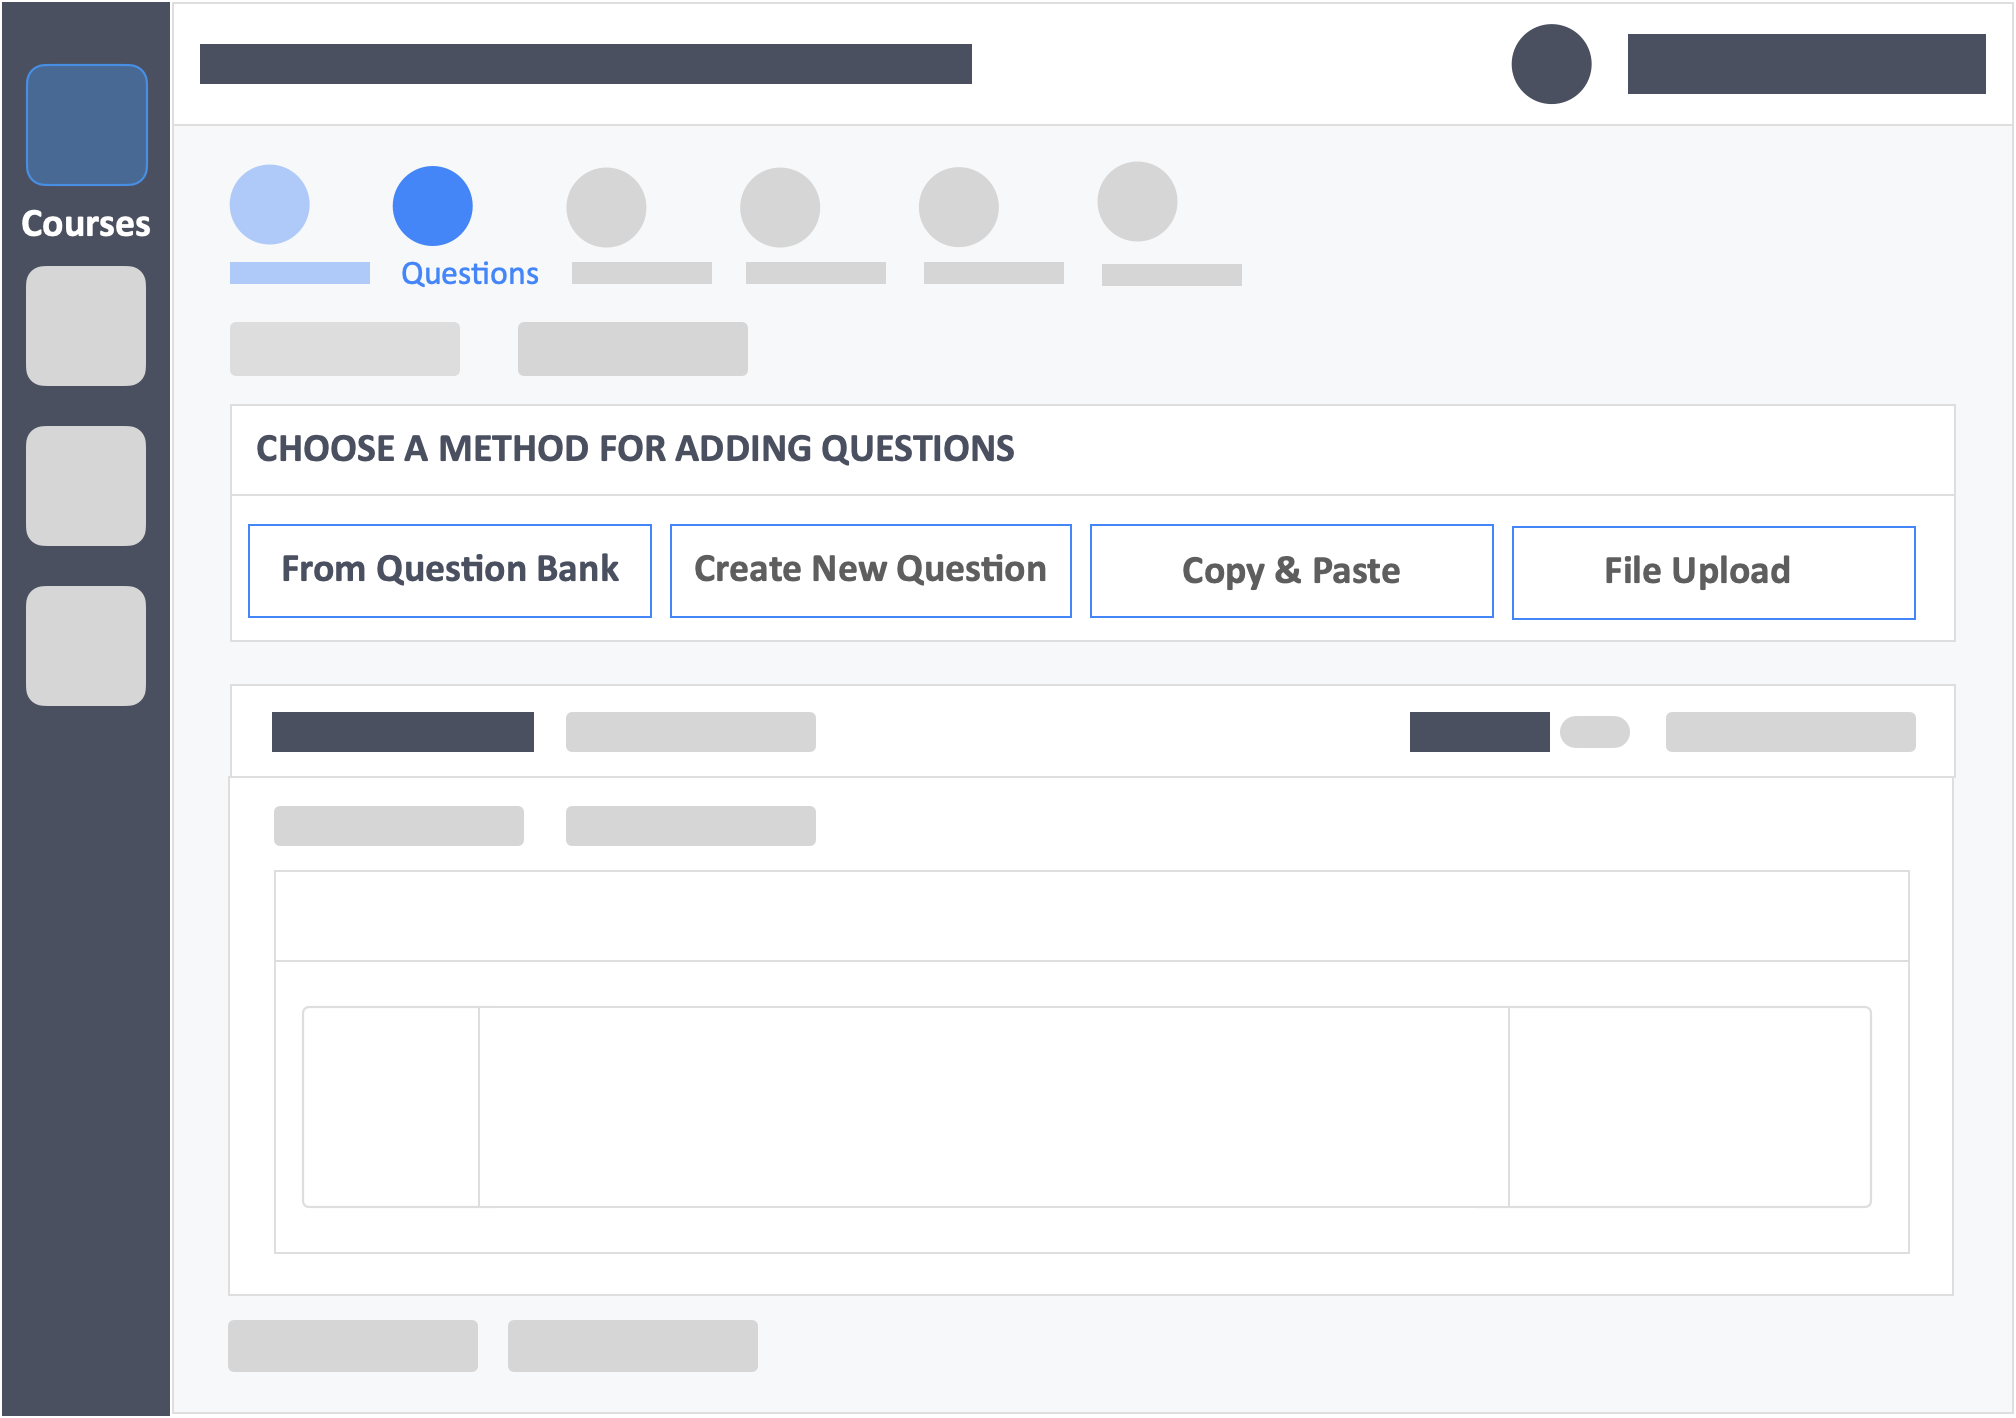
- This feature is pre-loaded with questions to get you started
- You may view the question in a modal.
- You can also edit, delete, and change the order of the question in its sequencing.
- You may also choose to add your questions from:
- Question Bank – These are questions that you have already in your InteDashboard account. – Click link to learn how
- Create New Question – Add questions one at a time. – Click link to learn how
- Copy and Paste – Add questions in bulk. – Click link to learn how
- File Upload – Add questions in bulk. – Click link to learn how
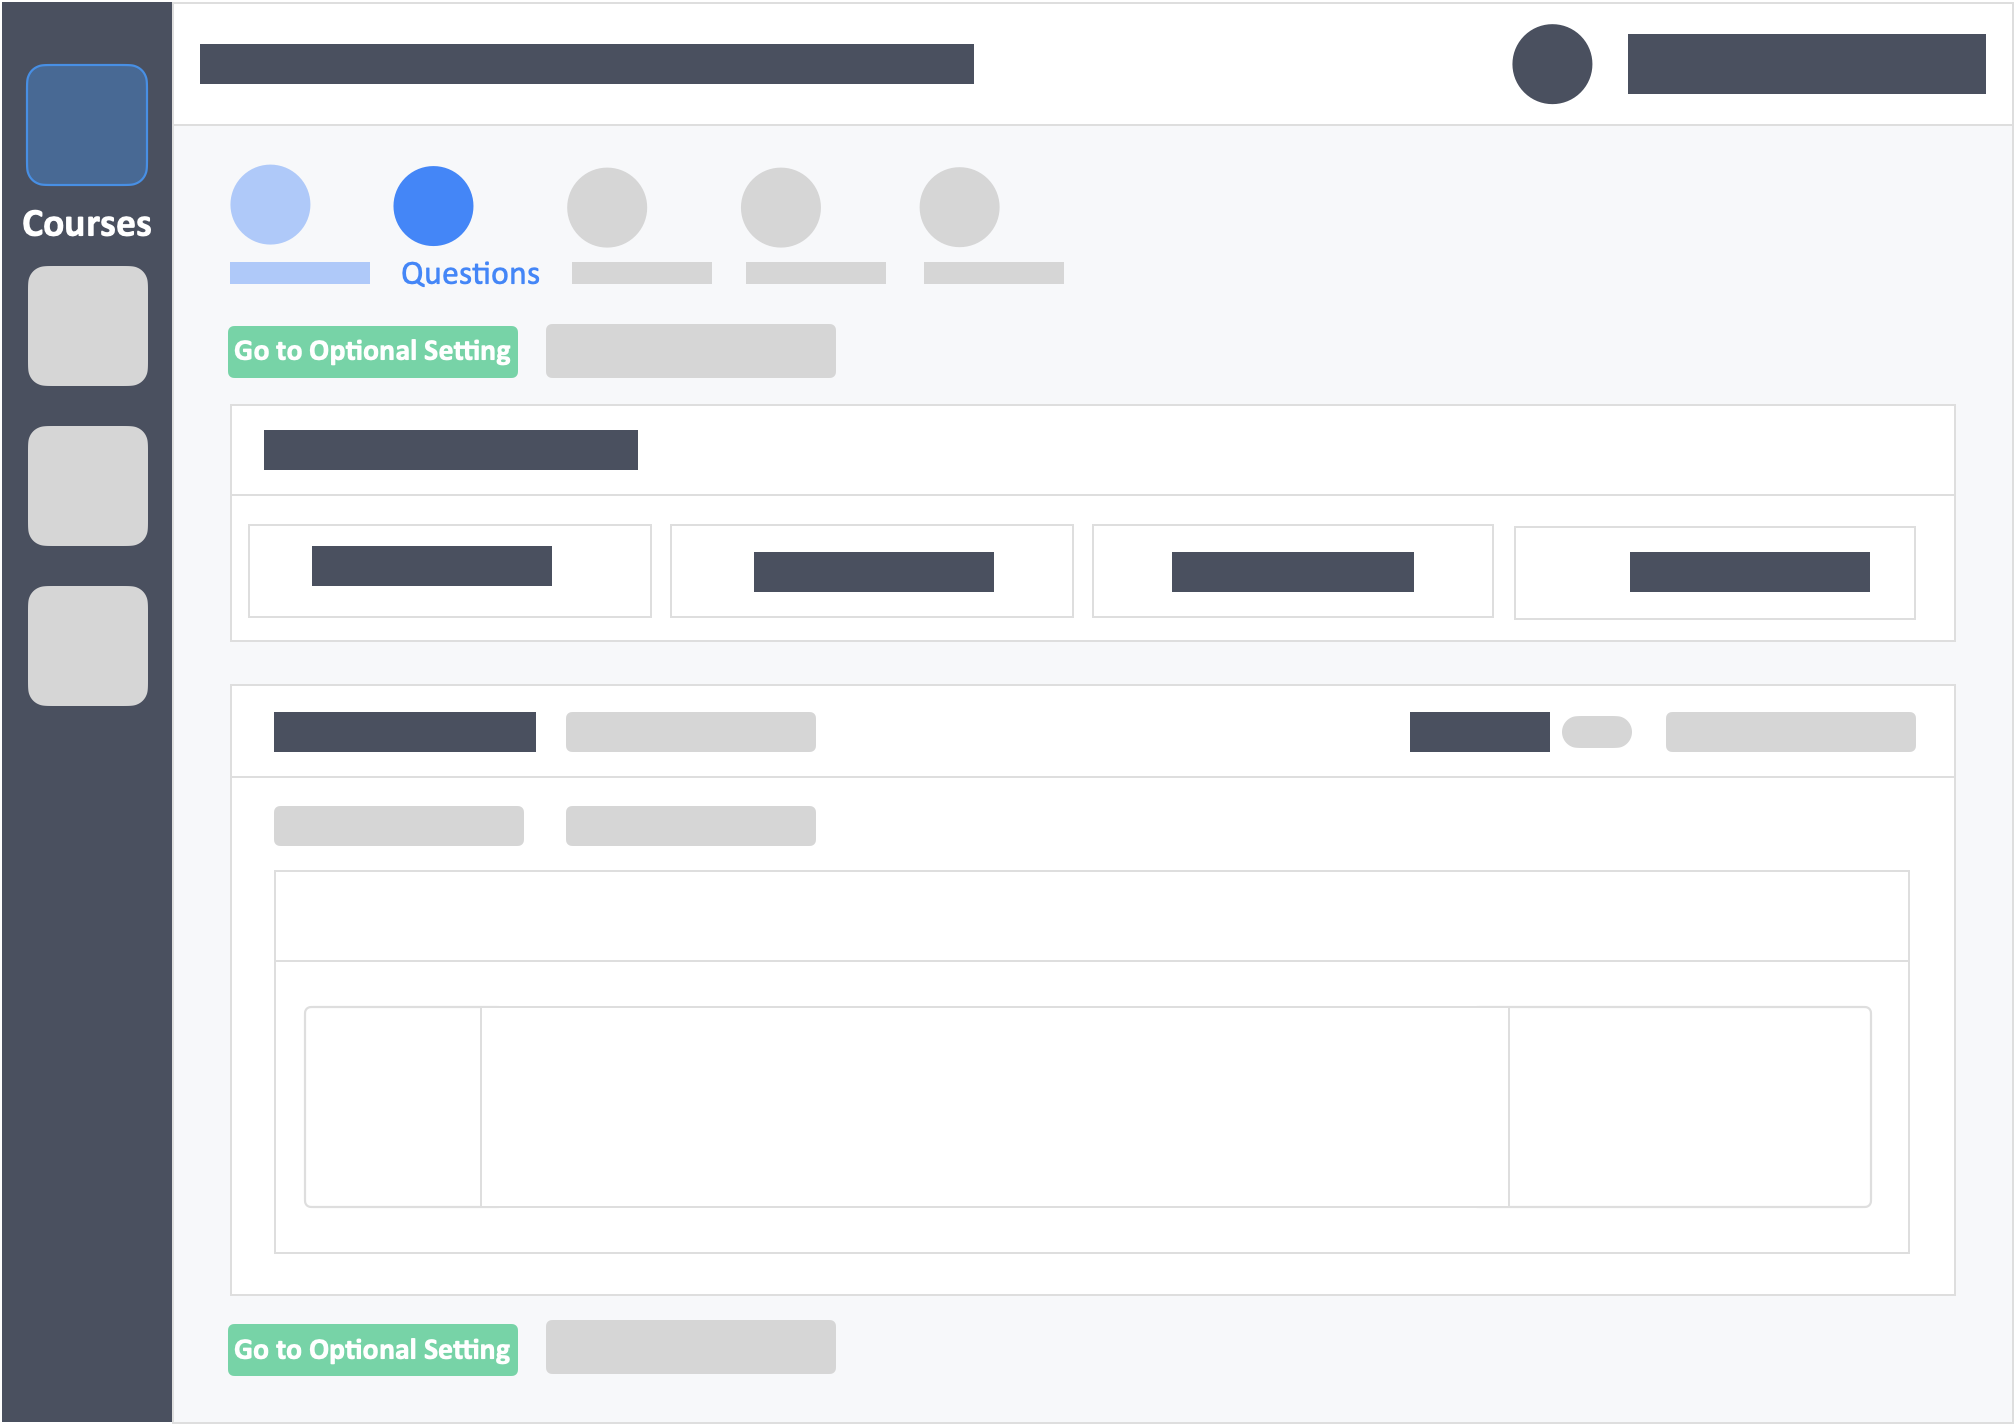
Step 7 – Click the green button “Go to Optional Settings” on the top-left of the page.
Step 8 – Set the Interaction Settings.
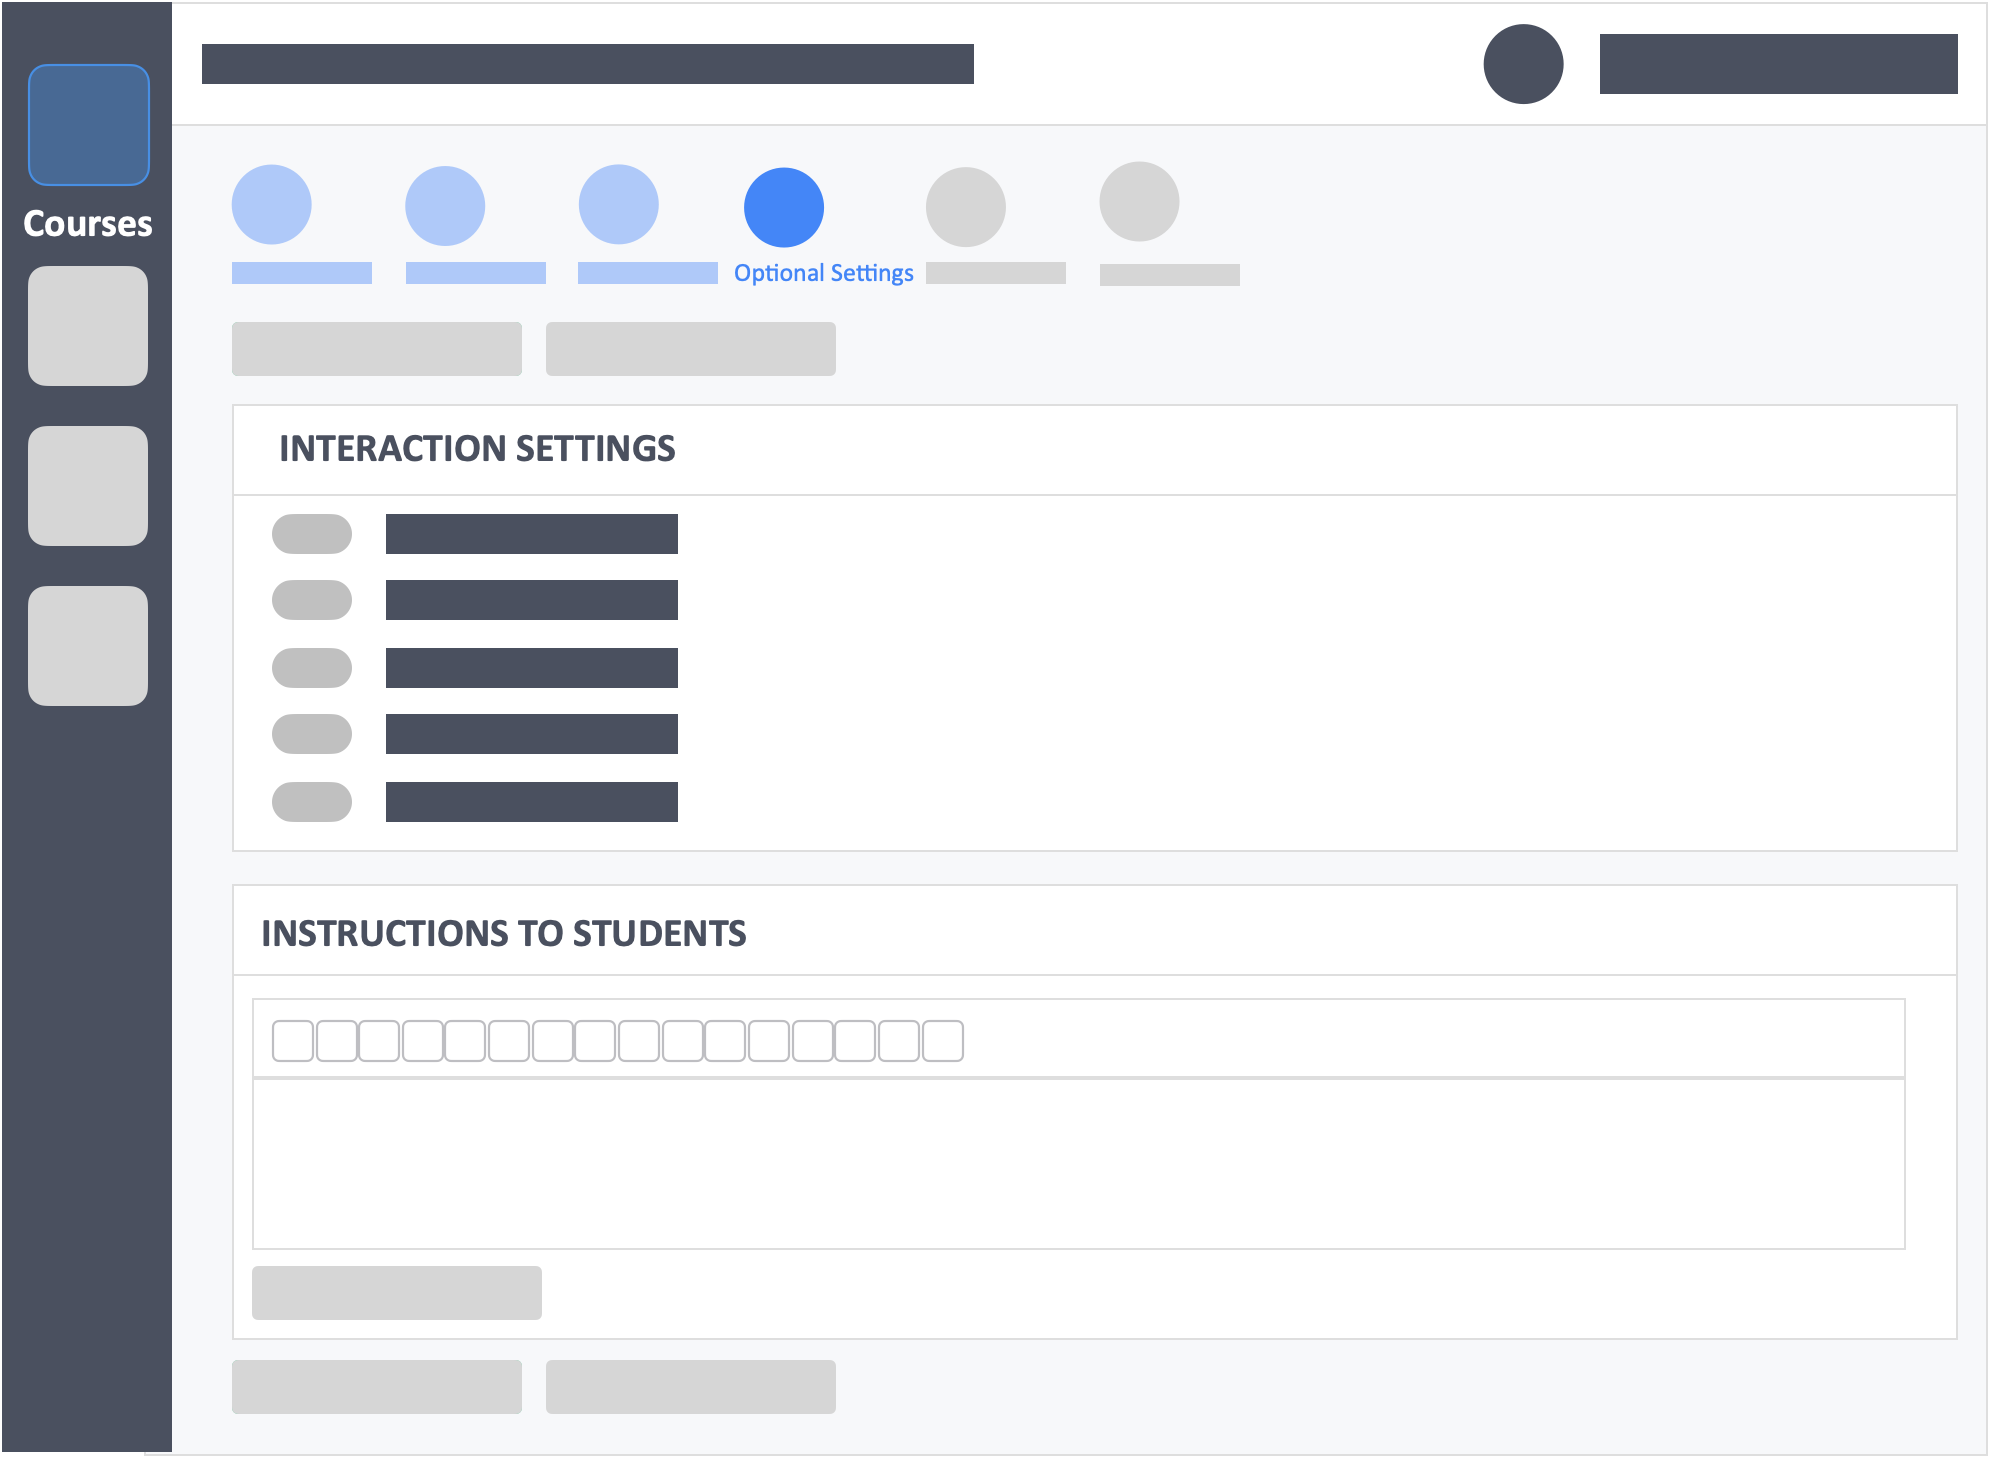
- Interaction Settings – (required) select options on how learners will answer the activity.
- Instructions to Learners – (optional) Input or upload instructions for learners.
Step 9 – Click the green button “Review Your Activity“ on the top-left of the page.
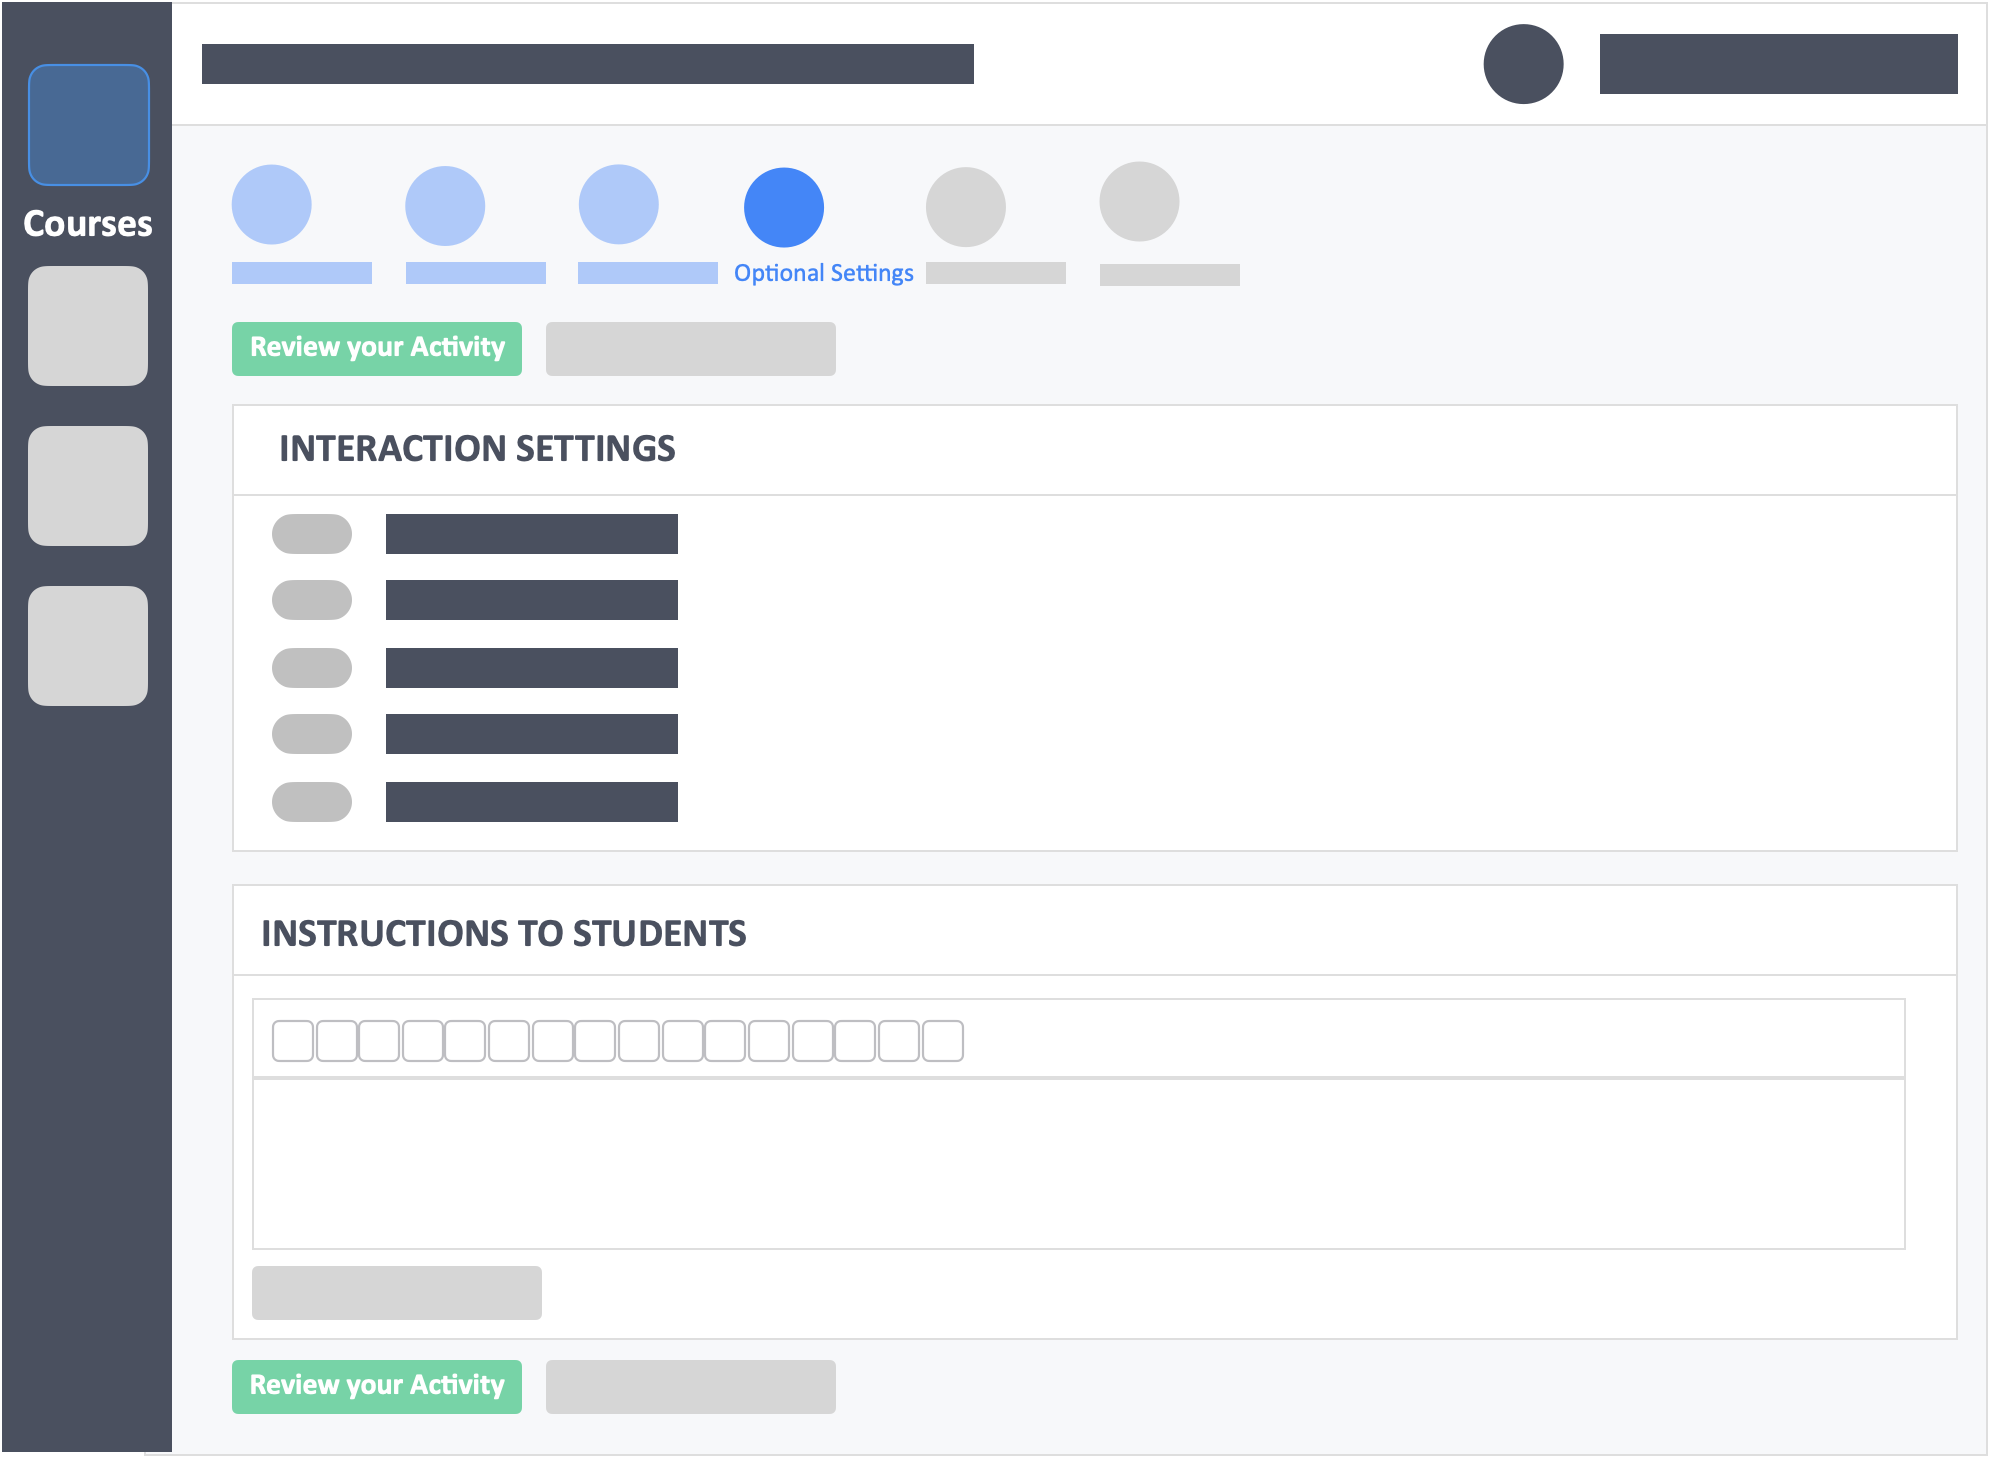
Our recommendations
✅ This page will show you all the content and settings of the activity. We recommend that you go over the entire activity and do a final scan before proceeding to publish.
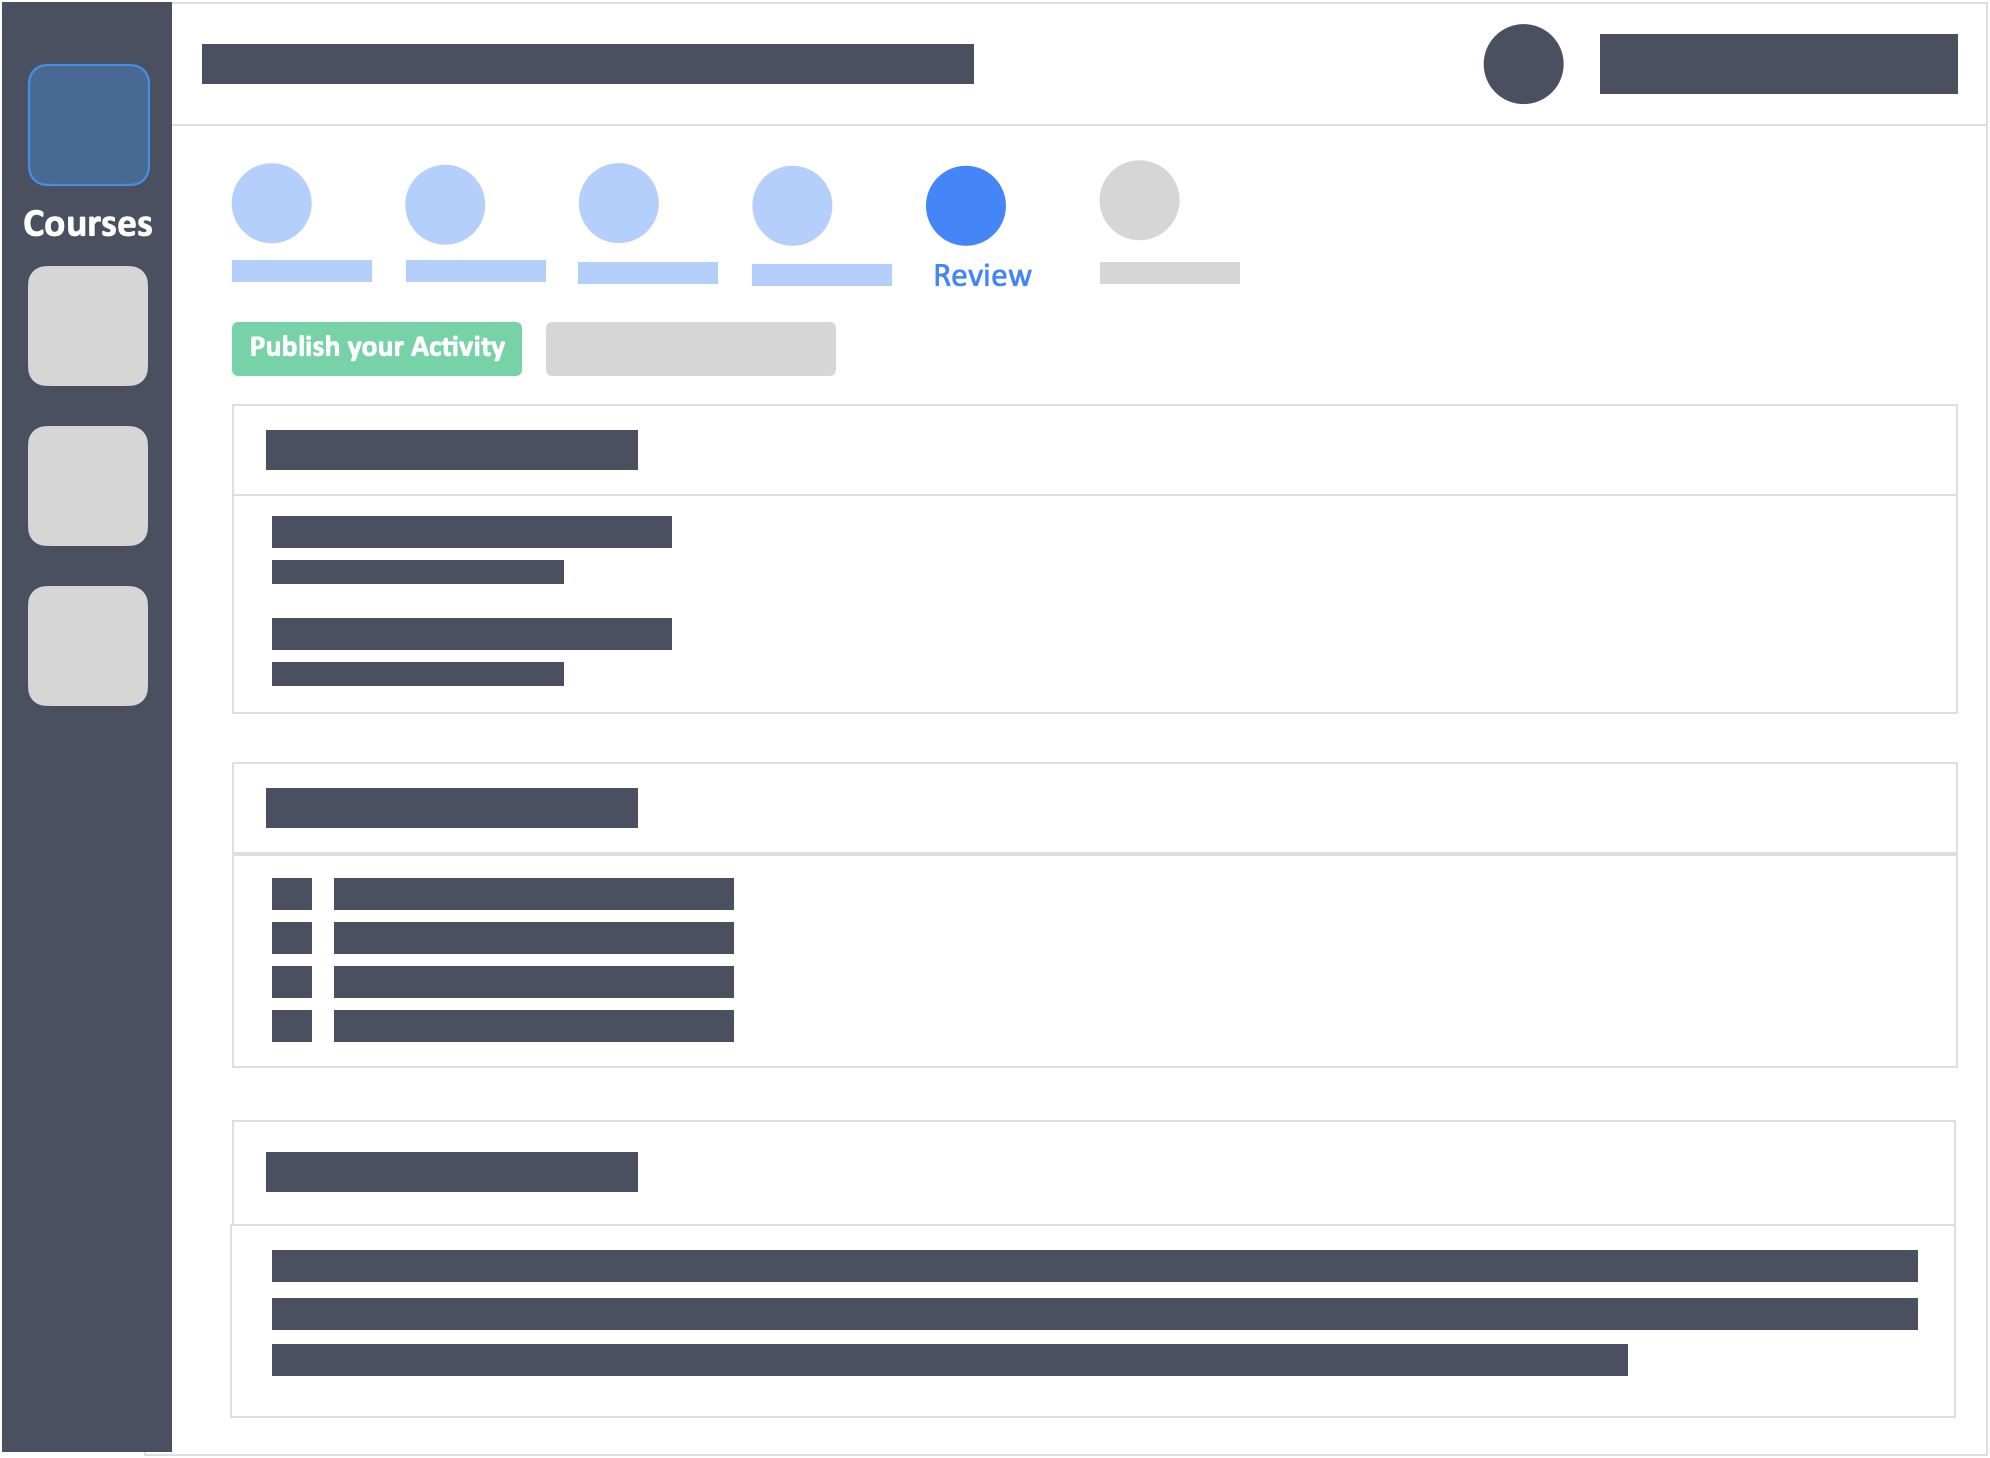
Step 10 – Click the green button “Publish your Activity“ on the top-left of the page to publish the activity.
- Publishing Settings
- You may choose to publish Asynchronously or Synchronously.
- Set the OPEN PERIOD for Asynchronous activity
- If you’re publishing this as a Synchronous activity, you may choose to set a time limit or not.