Table of Contents
This article will help you integrate InteDashboard with D2L Brightspace as an LTI tool. To integrate InteDashboard with D2L Brightspace you will need to have the admin rights from your organization to modify or add LTI tools to your D2L Brightspace account. You will also need to have a course created on InteDashboard, so you can grab the LMS integration details from that course and integrate it those details into D2L Brightspace.
This Guide is for:
- Super Admin
- Admin Teacher (Full-Access)
- Teacher (Owner Full-Access)
Steps on How to Integrate InteDashboard with D2L Brightspace
Step 1 – Click the button “Courses” on the left-side navigation.
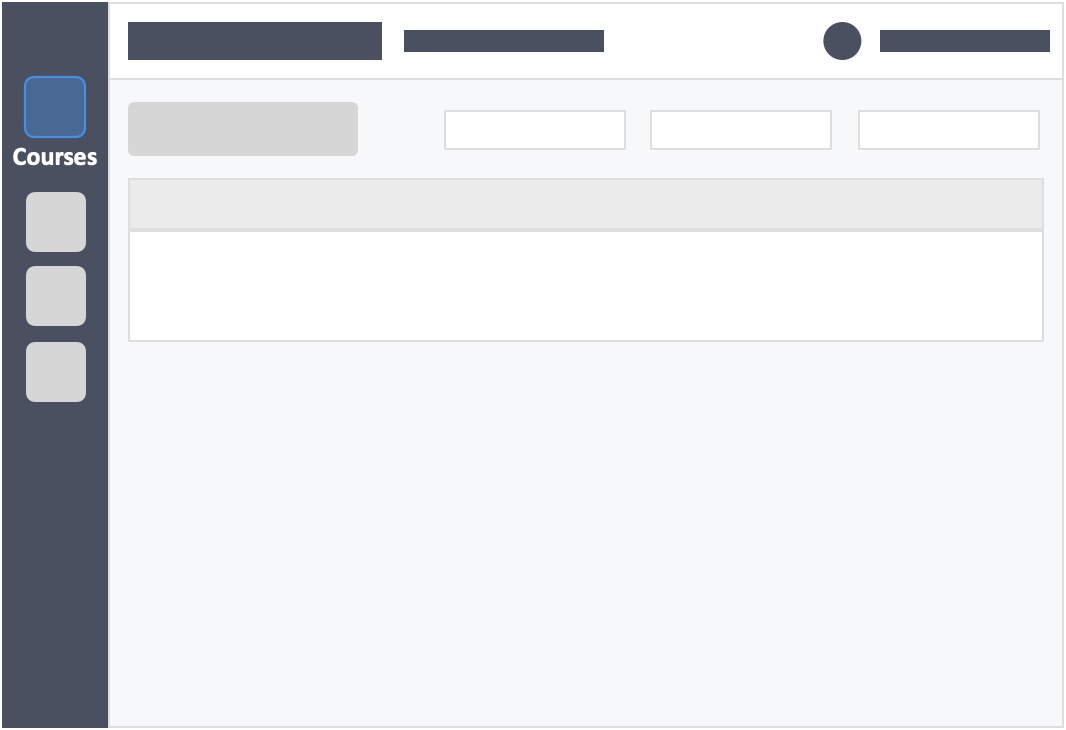
Step 2 – Click the name of the course in which you want to integrate InteDashboard with D2L Brightspace.
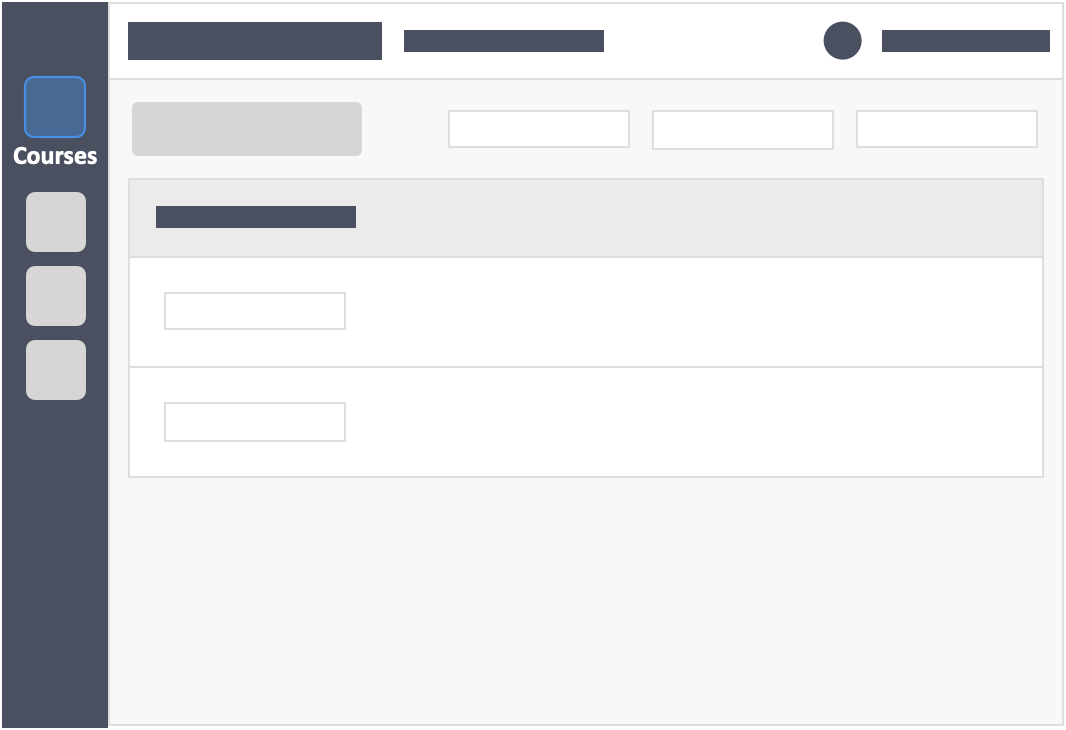
Step 3 – Click the “Settings” tab on the top left inside the course.

Step 4 – Go to the “Enrollment Settings” tab.
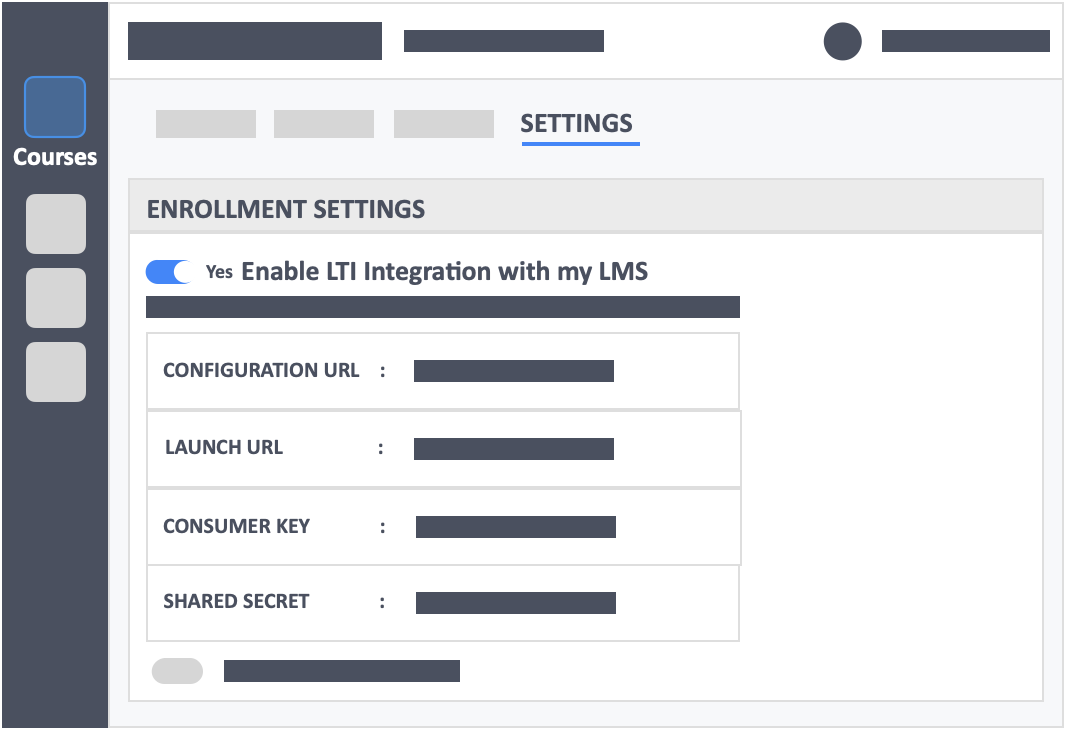
- Keep the page above open, so you can quickly access this data in a few minutes.
Step 5 – Open D2L Brightspace and access the course that you want to integrate InteDashboard with from within D2L Brightspace.
Step 6 – Click the button “Add Existing Activities” within D2L Brightspace to add InteDashboard into the specific module.
Step 7 – Click the button “External Learning Tools” from the dropdown.
Step 8 – Click the button “Create New LTI Link“.
Step 9 – Key in the following settings in the pop-up.
- Title – InteDashboard
- LTI URL – Copy and paste the “Launch URL” information from your LMS Integration area on Intedashboard.
Step 10 – Legacy Tool option will populate under the tool area. Click the button “Create” to proceed.
Step 11 – Click the button “Manage External Learning Tools“.
Step 12 – Click the button “Edit Link” on the tool you just created.
Step 13 – Key in the following settings.
- Title – InteDashboard
- URL – Copy and paste the “Launch URL” information from your LMS Integration area on Intedashboard.
- Key Area – Copy and paste the “Consumer Key” information from your LMS Integration area on Intedashboard.
- Secret Area – Copy and paste the “Shared Secret” information from your LMS Integration area on Intedashboard.
- Custom Parameters – Leave this empty.
- Visibility – Click “Allow users to view this link”
- Signature – Click “Sign messages with key/secret with”
- Signature – Click “Link key/secret”.
Step 14 – Under “Use Link Security Settings” check the following options.
- Send tool consumer information to tool provider
- Send context information to tool provider
- Send course information to tool provider
- Send LTI user ID and LTI role list to tool provider
- Send user name to tool provider
- Send user email to tool provider
- Send system username to tool provider
- Send system Org Defined ID to tool provider
- Send system role to tool provider
- Send link title to tool provider
- Send link description to tool provider
Step 15 – Click the button “Add Org Units“.
Step 16 – Pick the course that you wish to make the link available to.
Step 17 – Click the button “Save and Close“.
Additional Information – when creating this type of LTI connection:
- Learners entering InteDashboard will only see activities when they are placed in teams within a course on Intedashboard.
- Learners who are enrolled in one course will only see that specific course and activity when they click on the LTI link from within D2L Brightspace.
- Learners who are enrolled in multiple courses will see all the courses and activities they are enrolled in when they click the LTI link from within D2L Brightspace.