Table of Contents
This guide is for instructors who want to enroll learners by themselves. This will teach you how to paste the information of your learners into InteDashboard. You may paste names, emails and team allocation information into the available open field. Learners may only access InteDashboard via invitation.
This Guide is for:
- Super Admin
- Teacher Admin (Full-Access)
- Teacher (Owner Full-Access)
Steps on How to Enroll Learners to a Course via Copy & Paste
Step 1 – Click the button “Courses” on the left-side navigation.
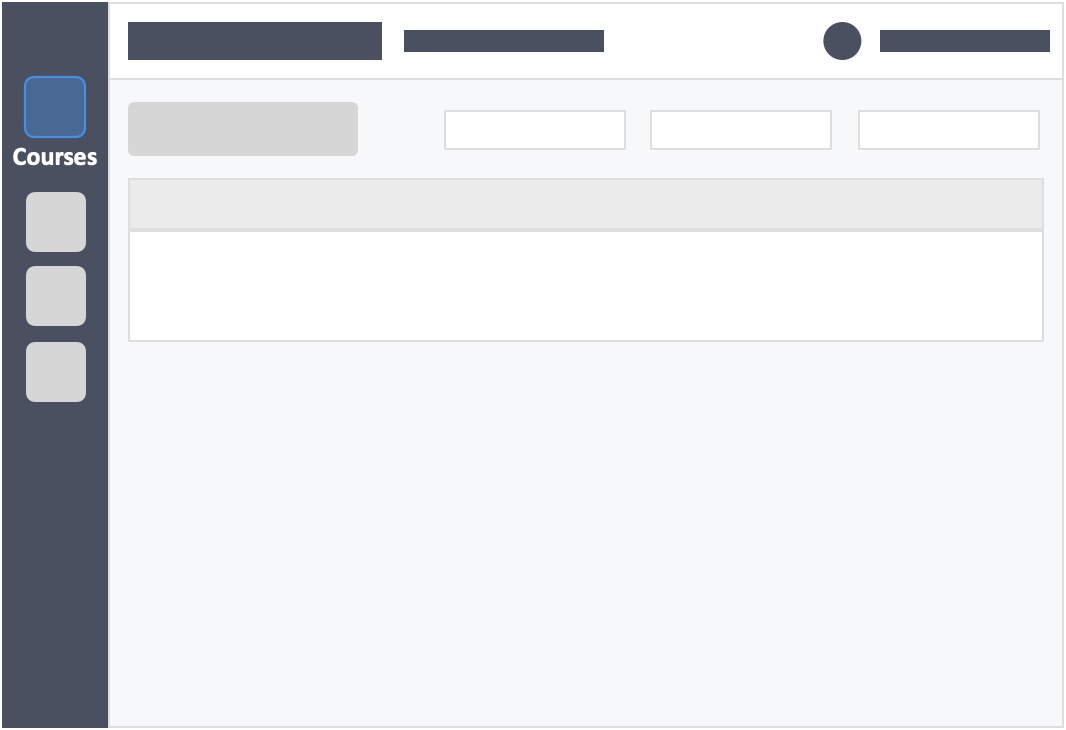
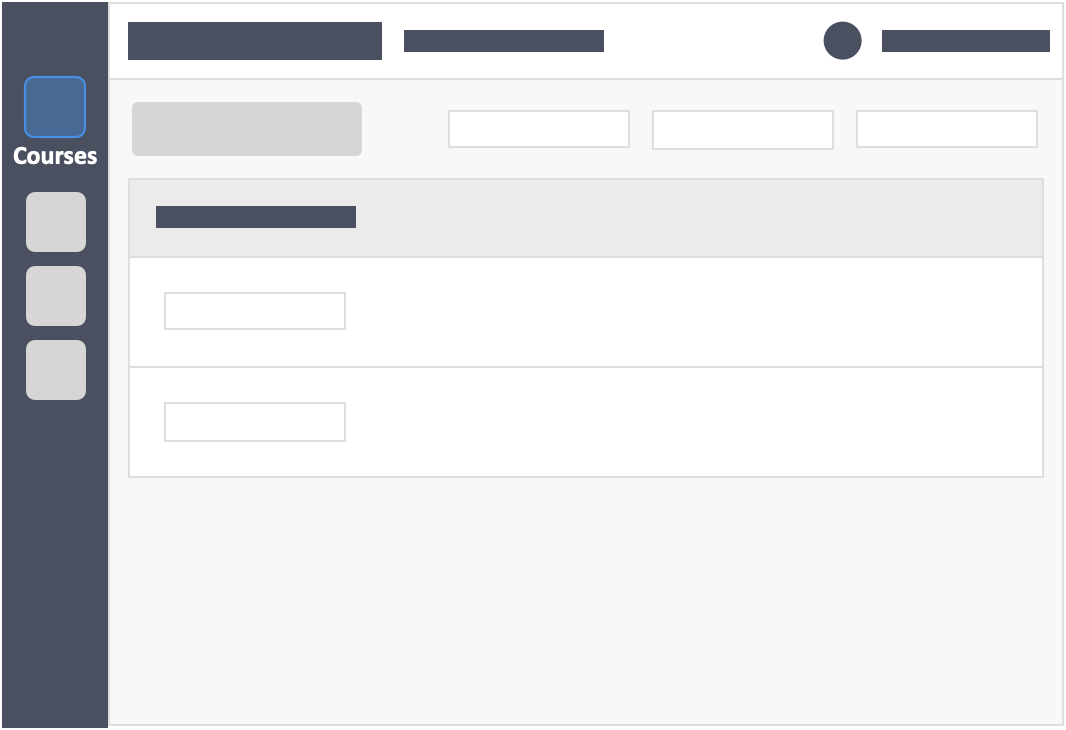
Step 2 – Click the course which you want to add your learners in.
Step 3 – Click the “Students” tab on the top navigation.
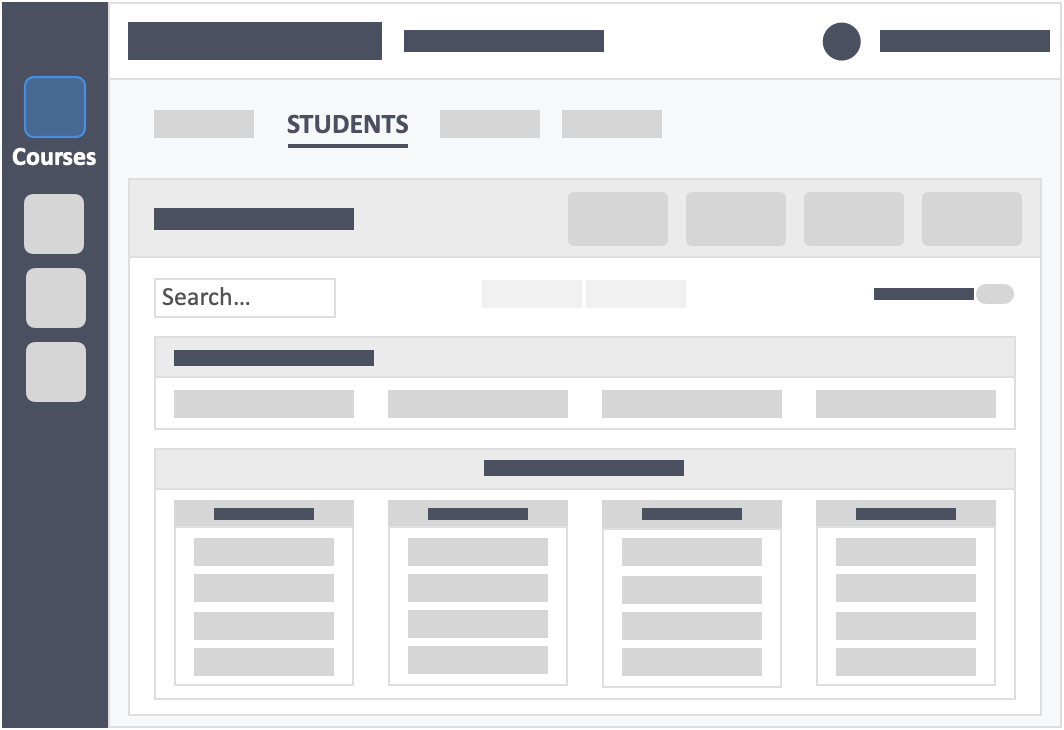
Step 4 – Click the green button “+ New Students(s)” on the top-right of the screen.

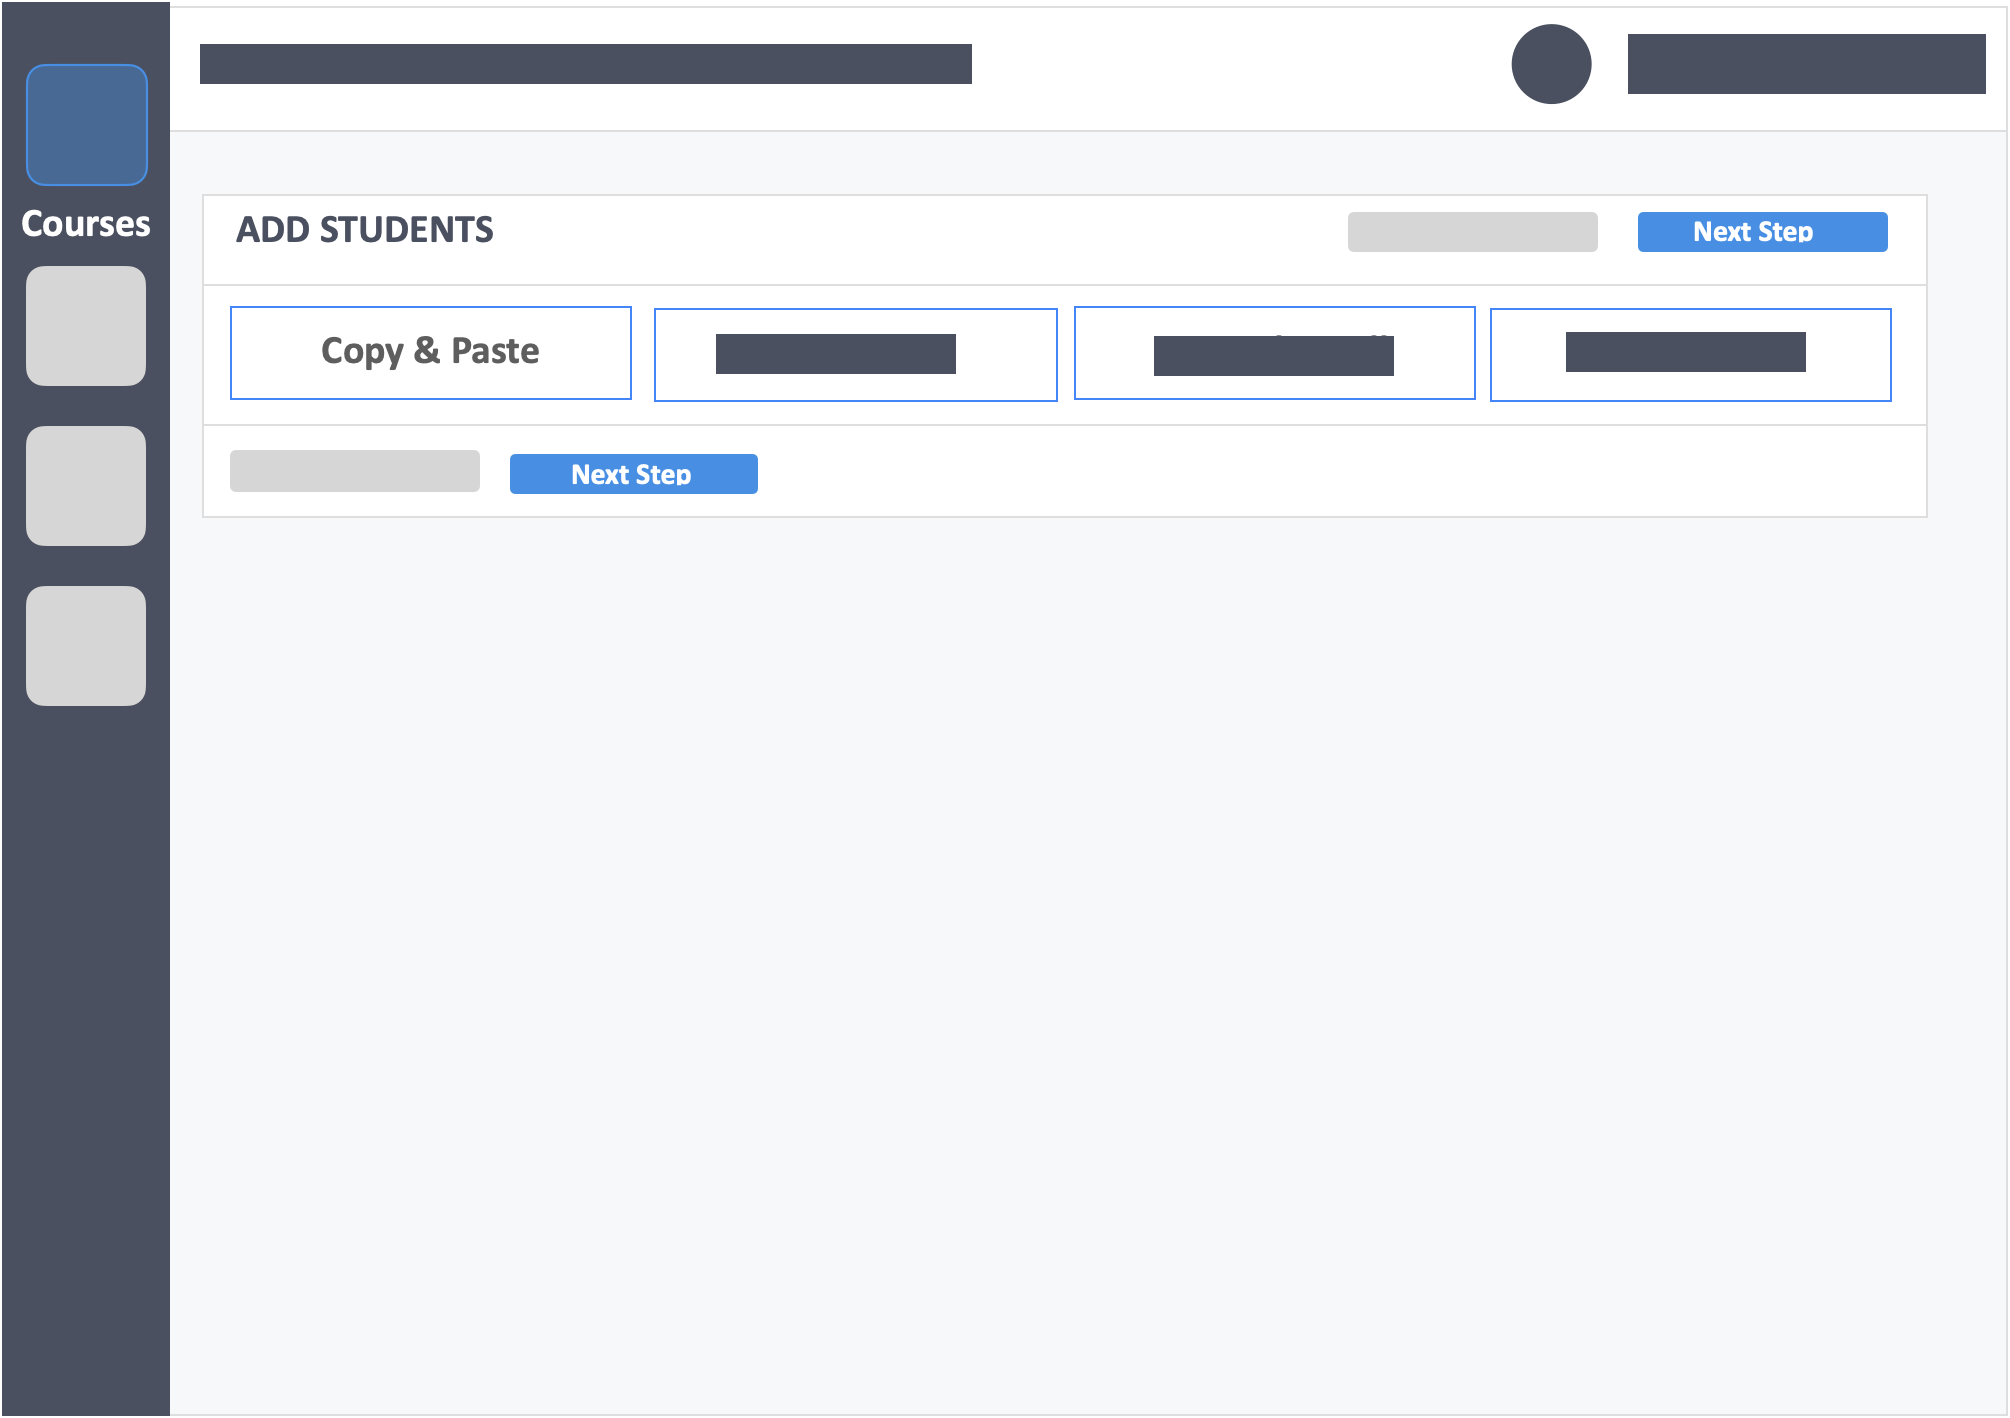
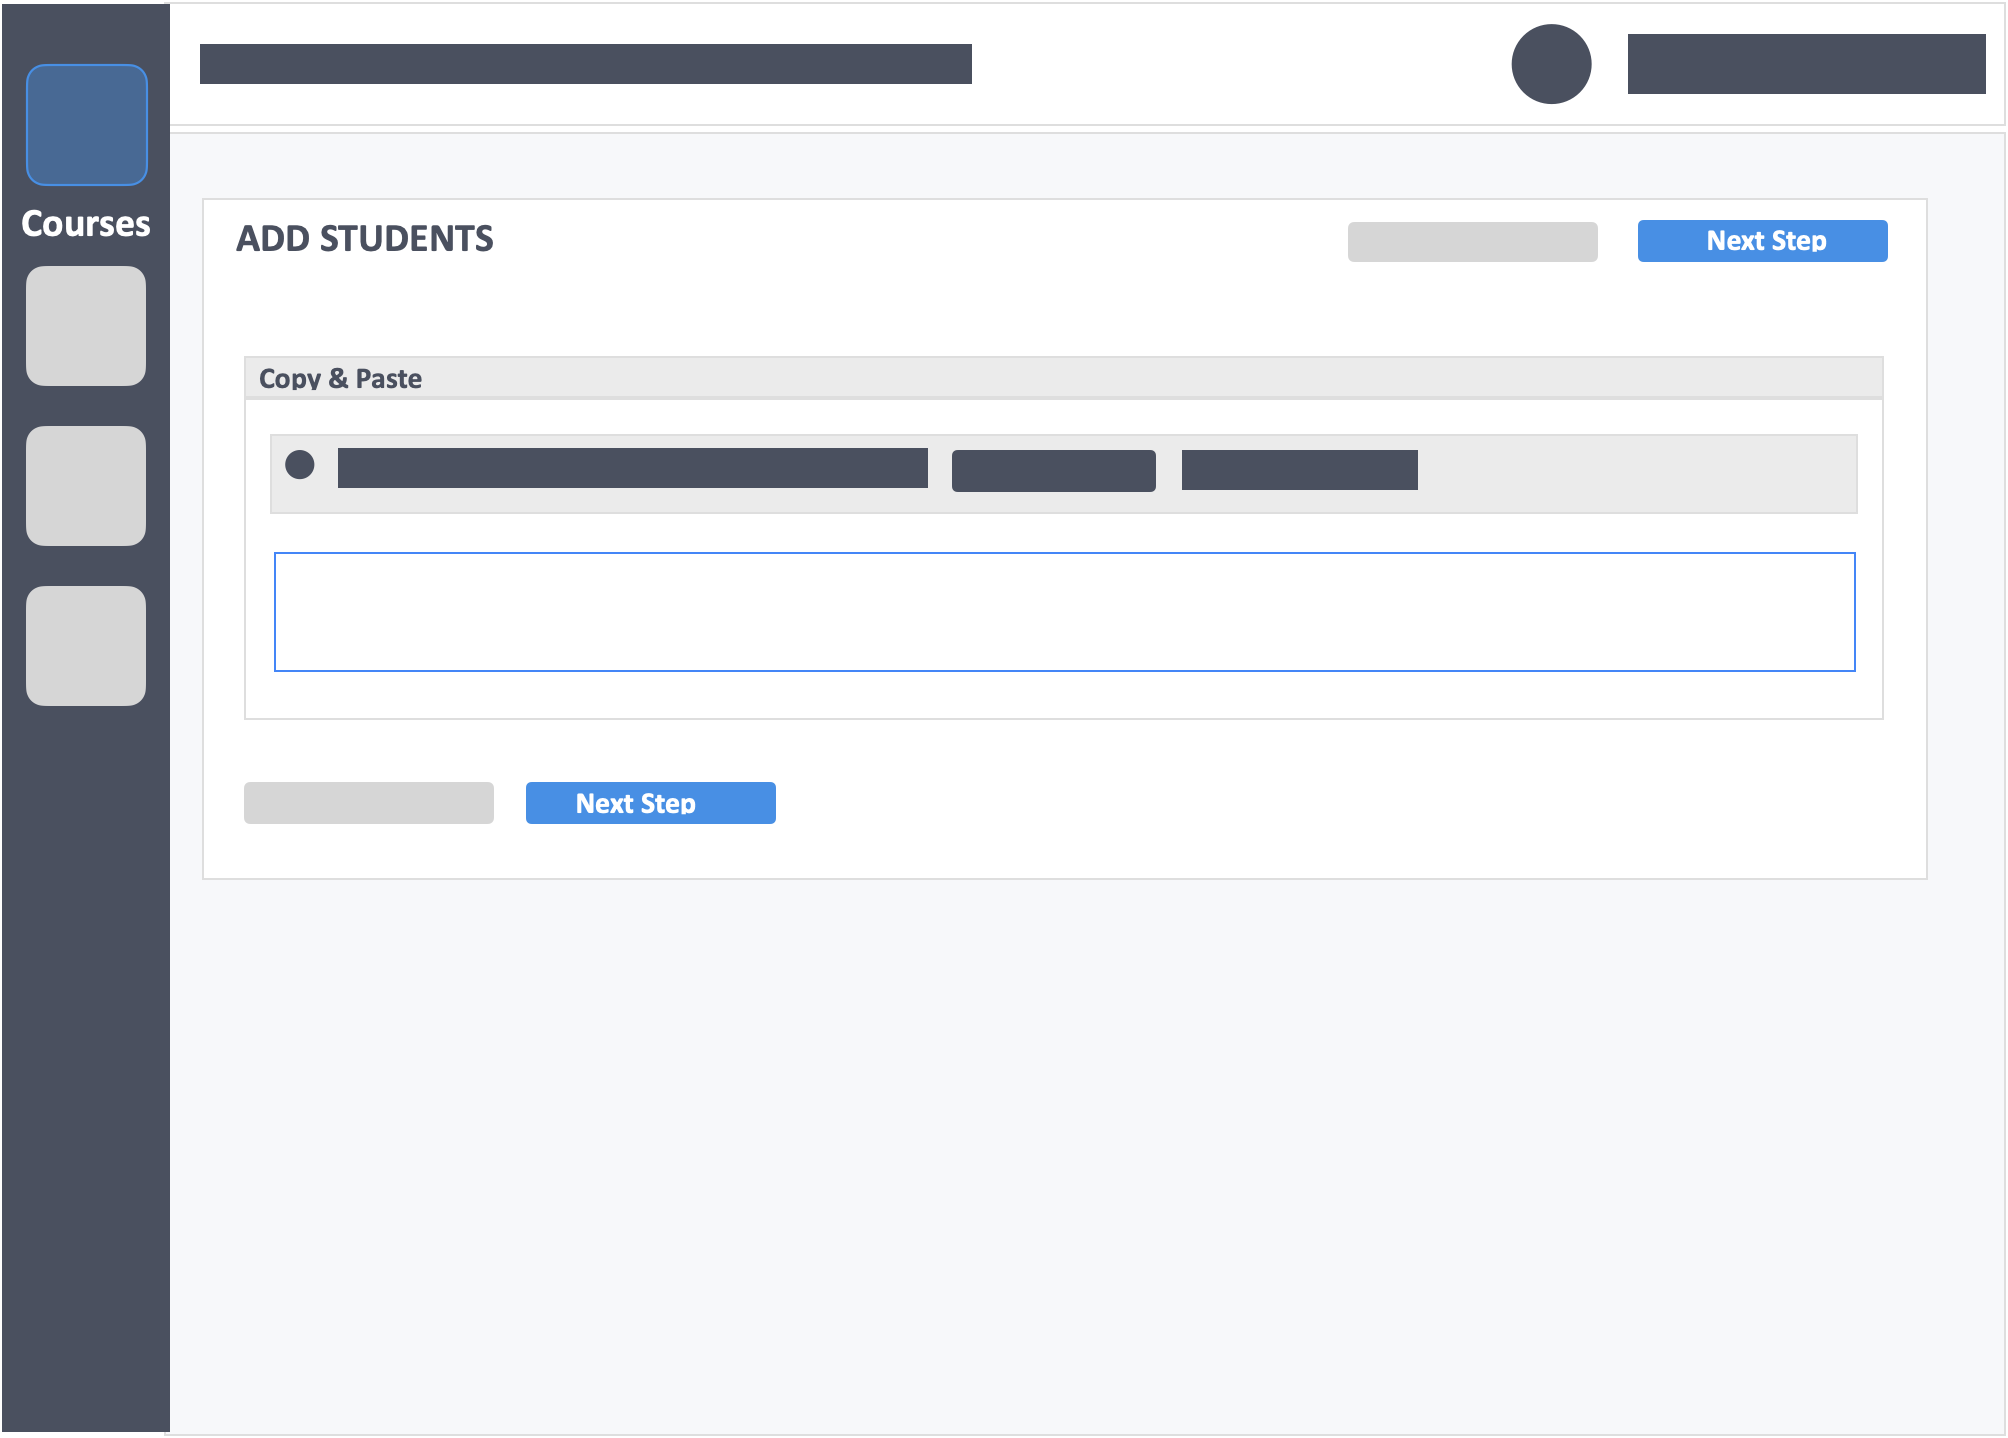
Step 5 – Click the button “Copy & Paste” in the select method tab.
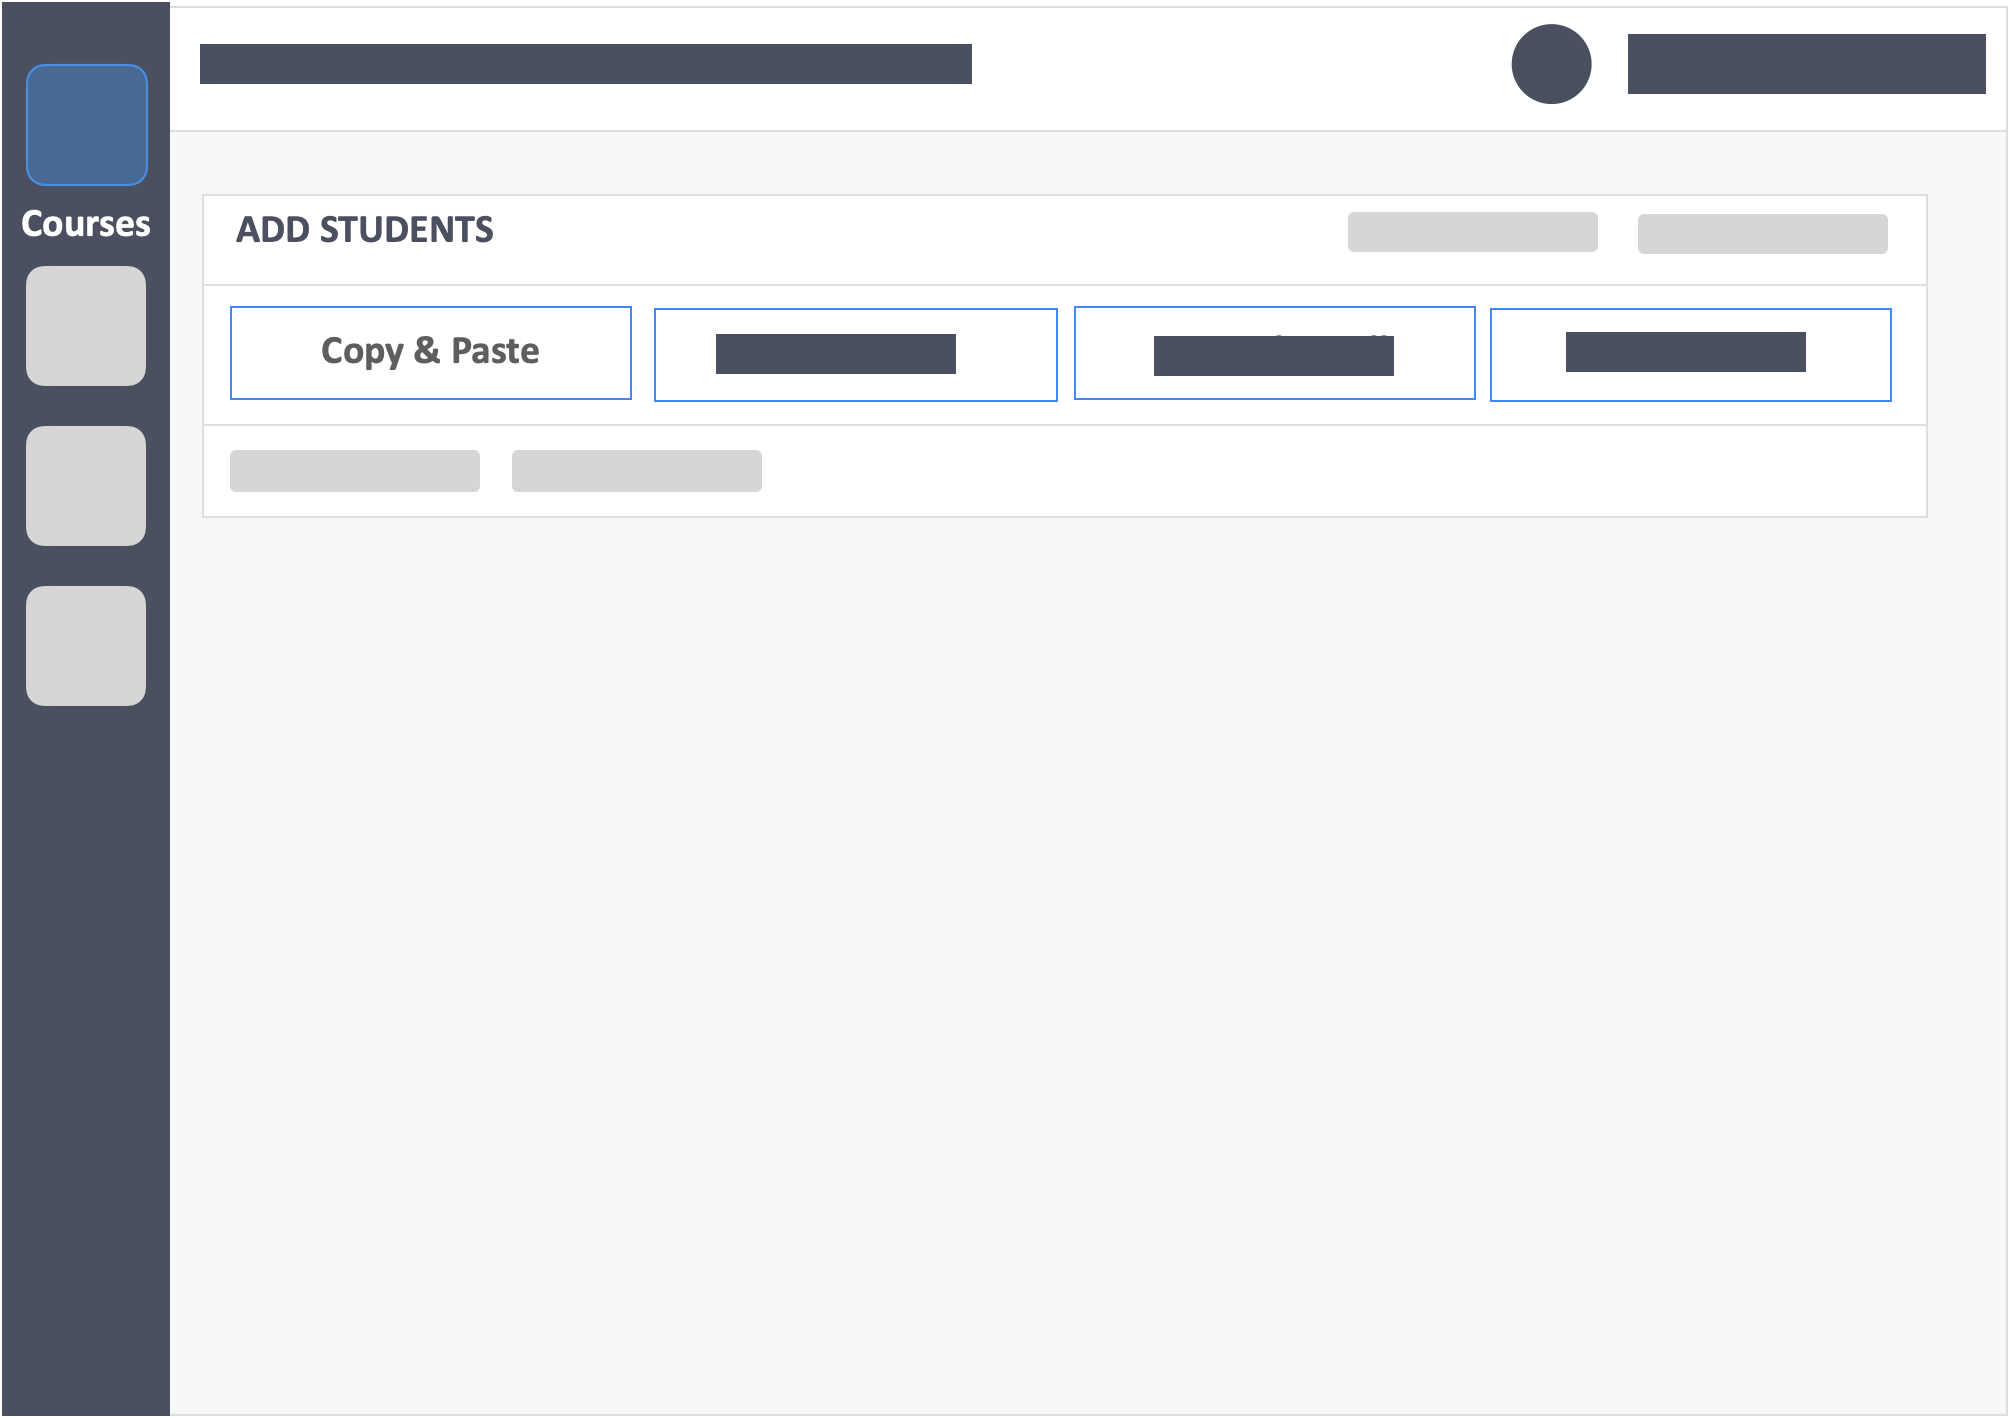
Step 6 – Click the blue button “Next Step” on the bottom-left of the screen.
Step 7 – Click the blue button “Click Here” to download the CSV template.
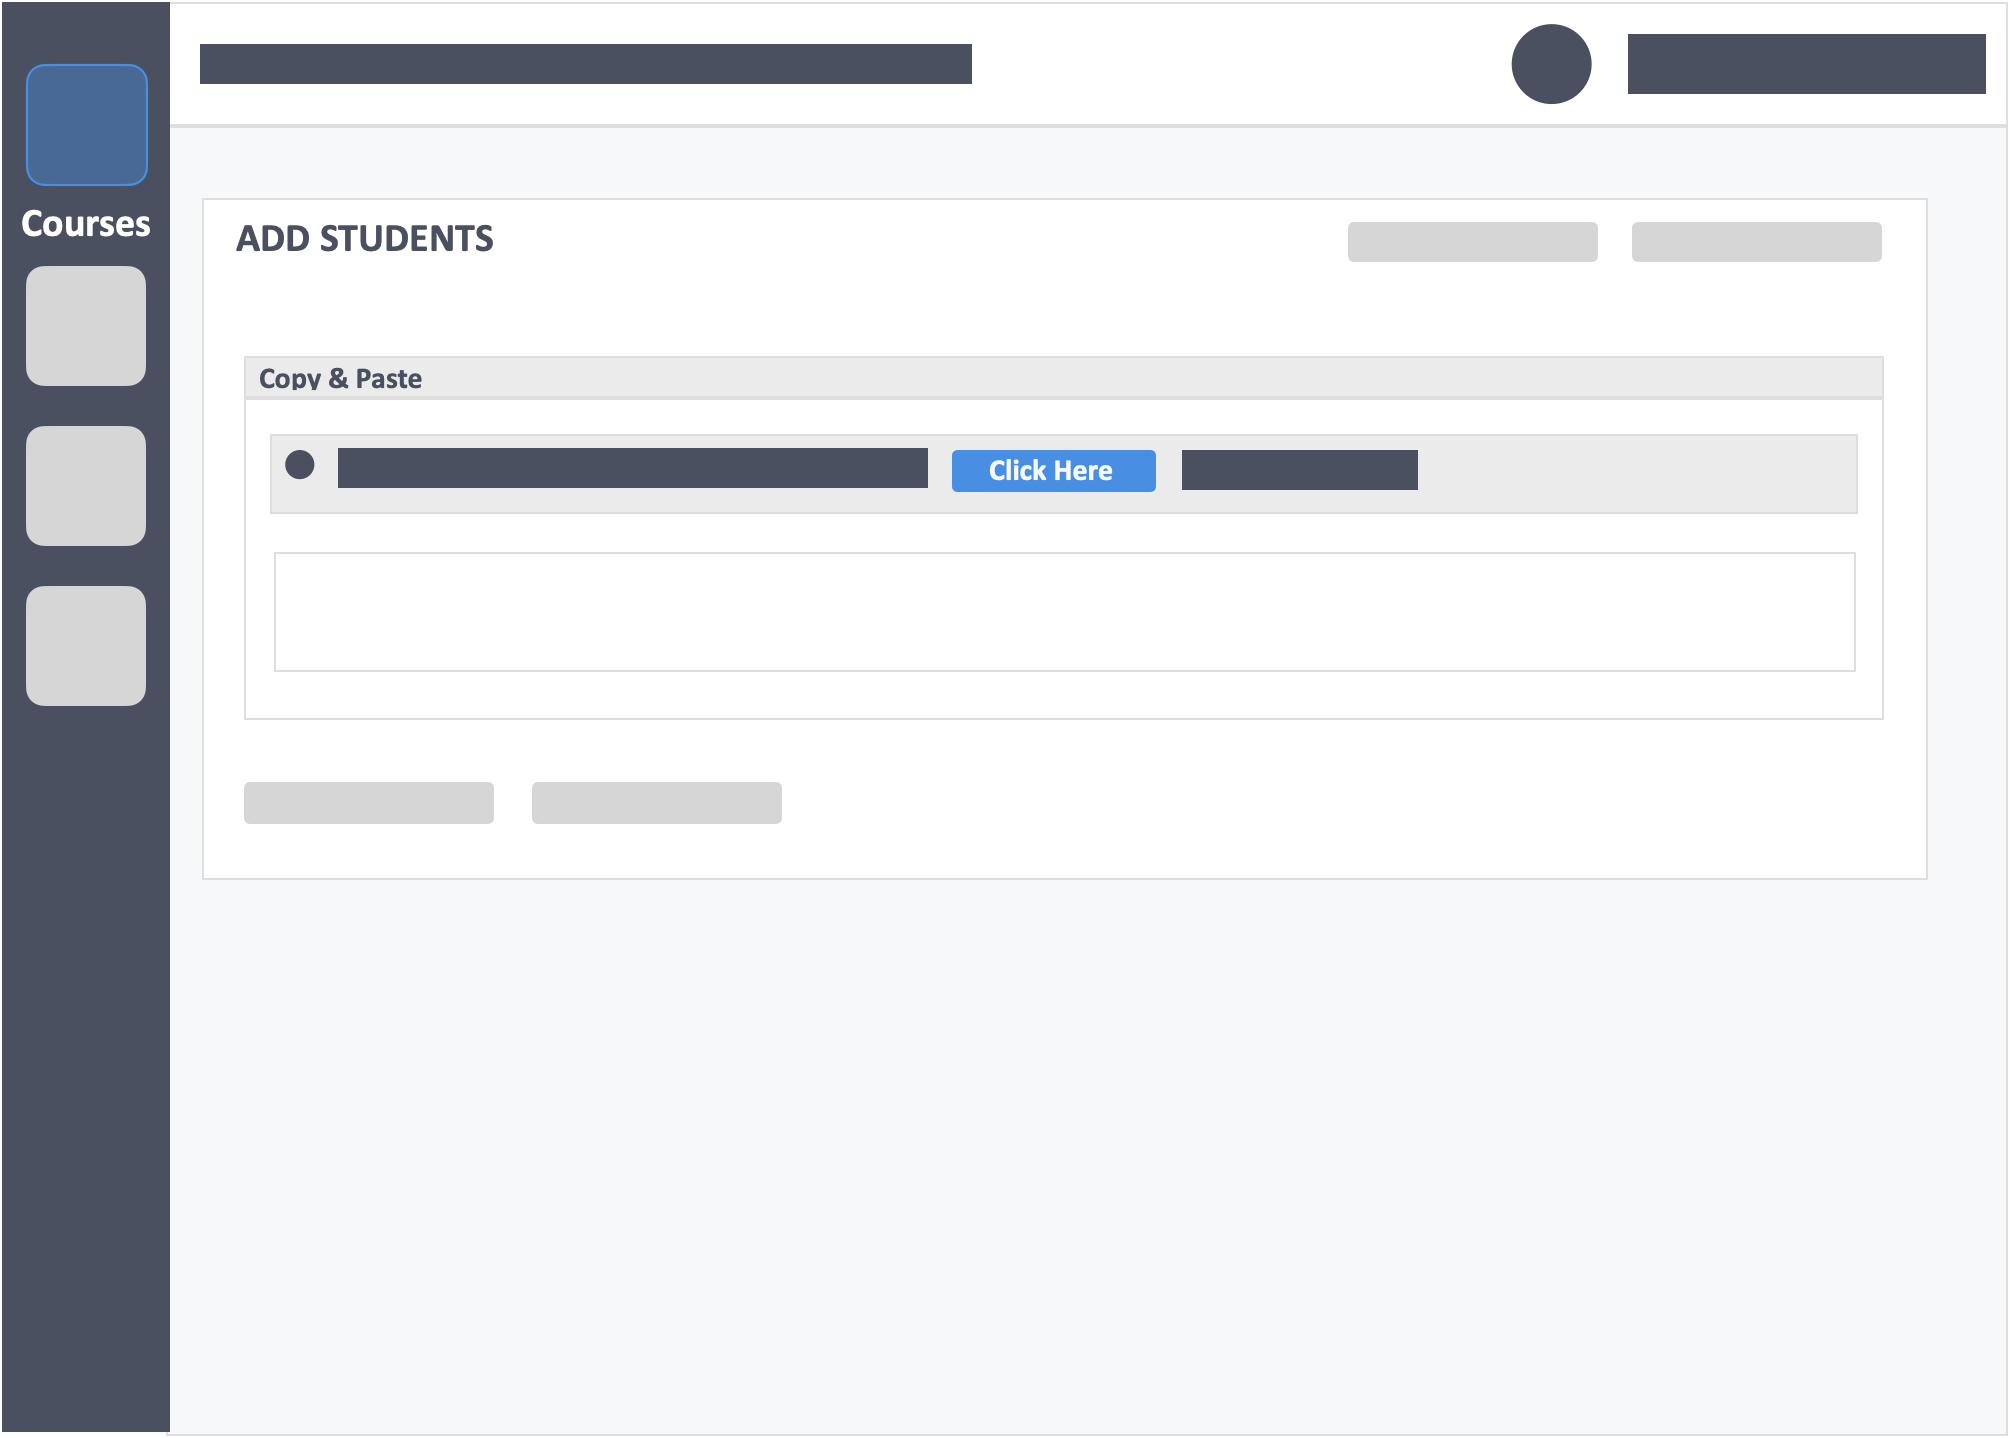
- You will be able to open the CSV template on Excel, Google Spreadsheets, Mac Numbers etc.
Step 8 – Fill in the CSV form.
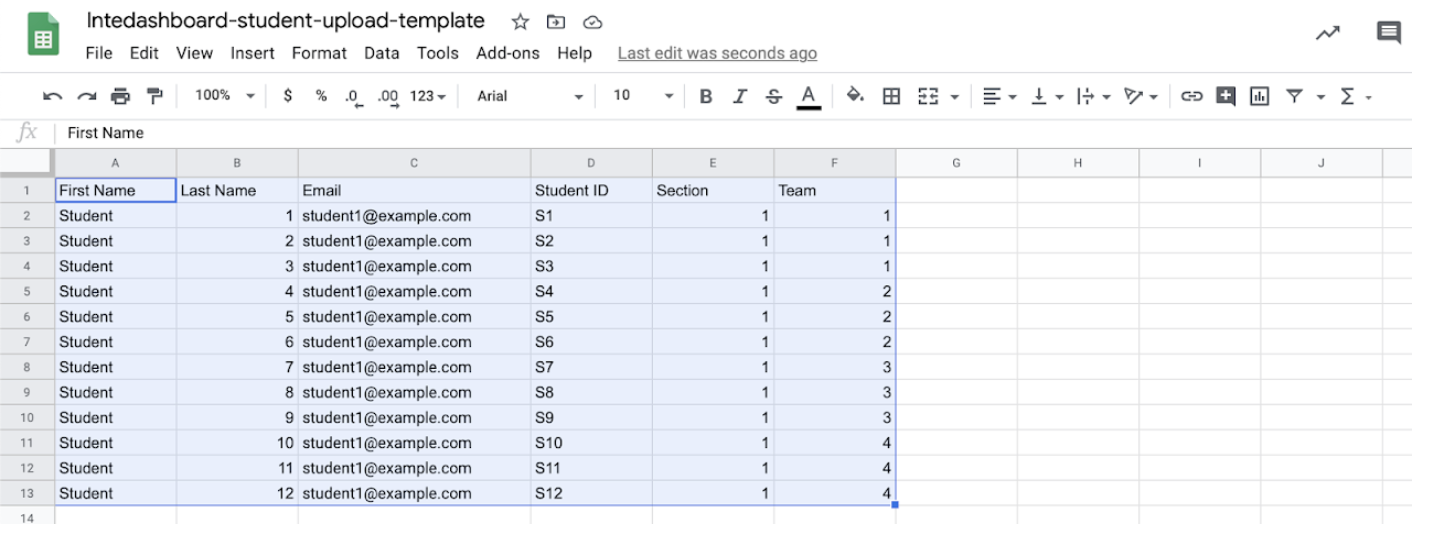
- First Name – (required) This is the first name of the learner.
- Last Name – (required) This is the last name of the learner.
- Email – (required) This is the email address which the learner is required to sign in with.
- Student ID – (optional) This is the learners ID given by the institution.
- Section – (optional) This is used if you intend to divide the class into sections.
- Team – (optional) This is used to split the class into teams.
Step 9 – Copy all the cells in the CSV form.
- Use (Control C for Windows or Command C for Mac).
- Ensure all the headings are copied to avoid getting an error message.
Step 10 – Paste your copied learner information in the box.
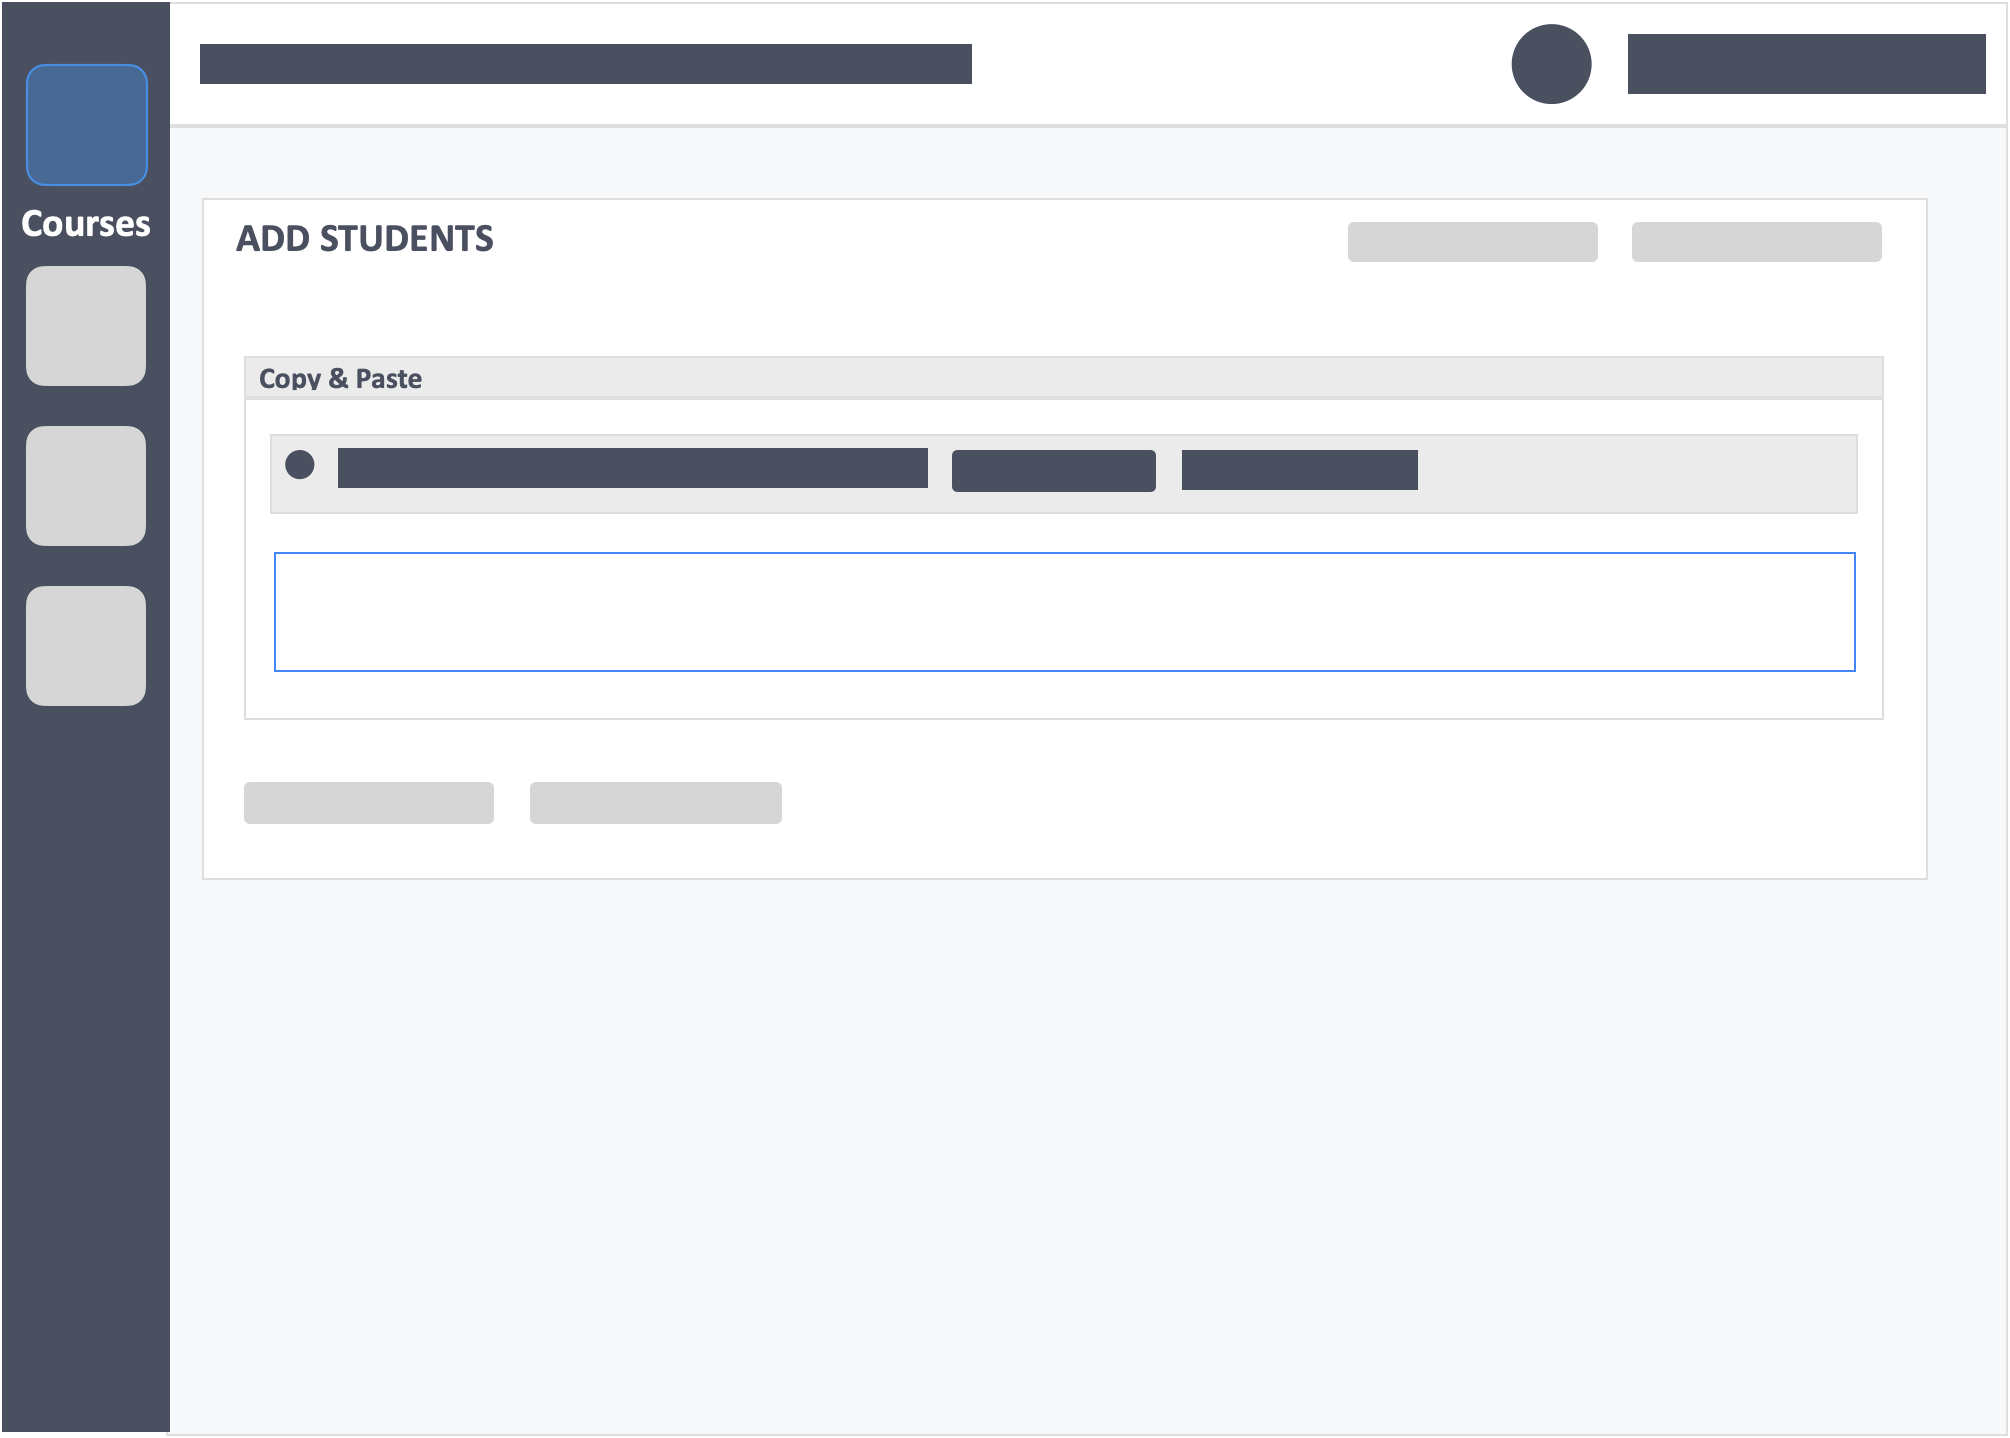
Step 11 – Click the blue button “Next Step” on the bottom of the screen.
Step 12 – Click the green button “Confirm” on the top-right of the screen once you have reviewed the list.
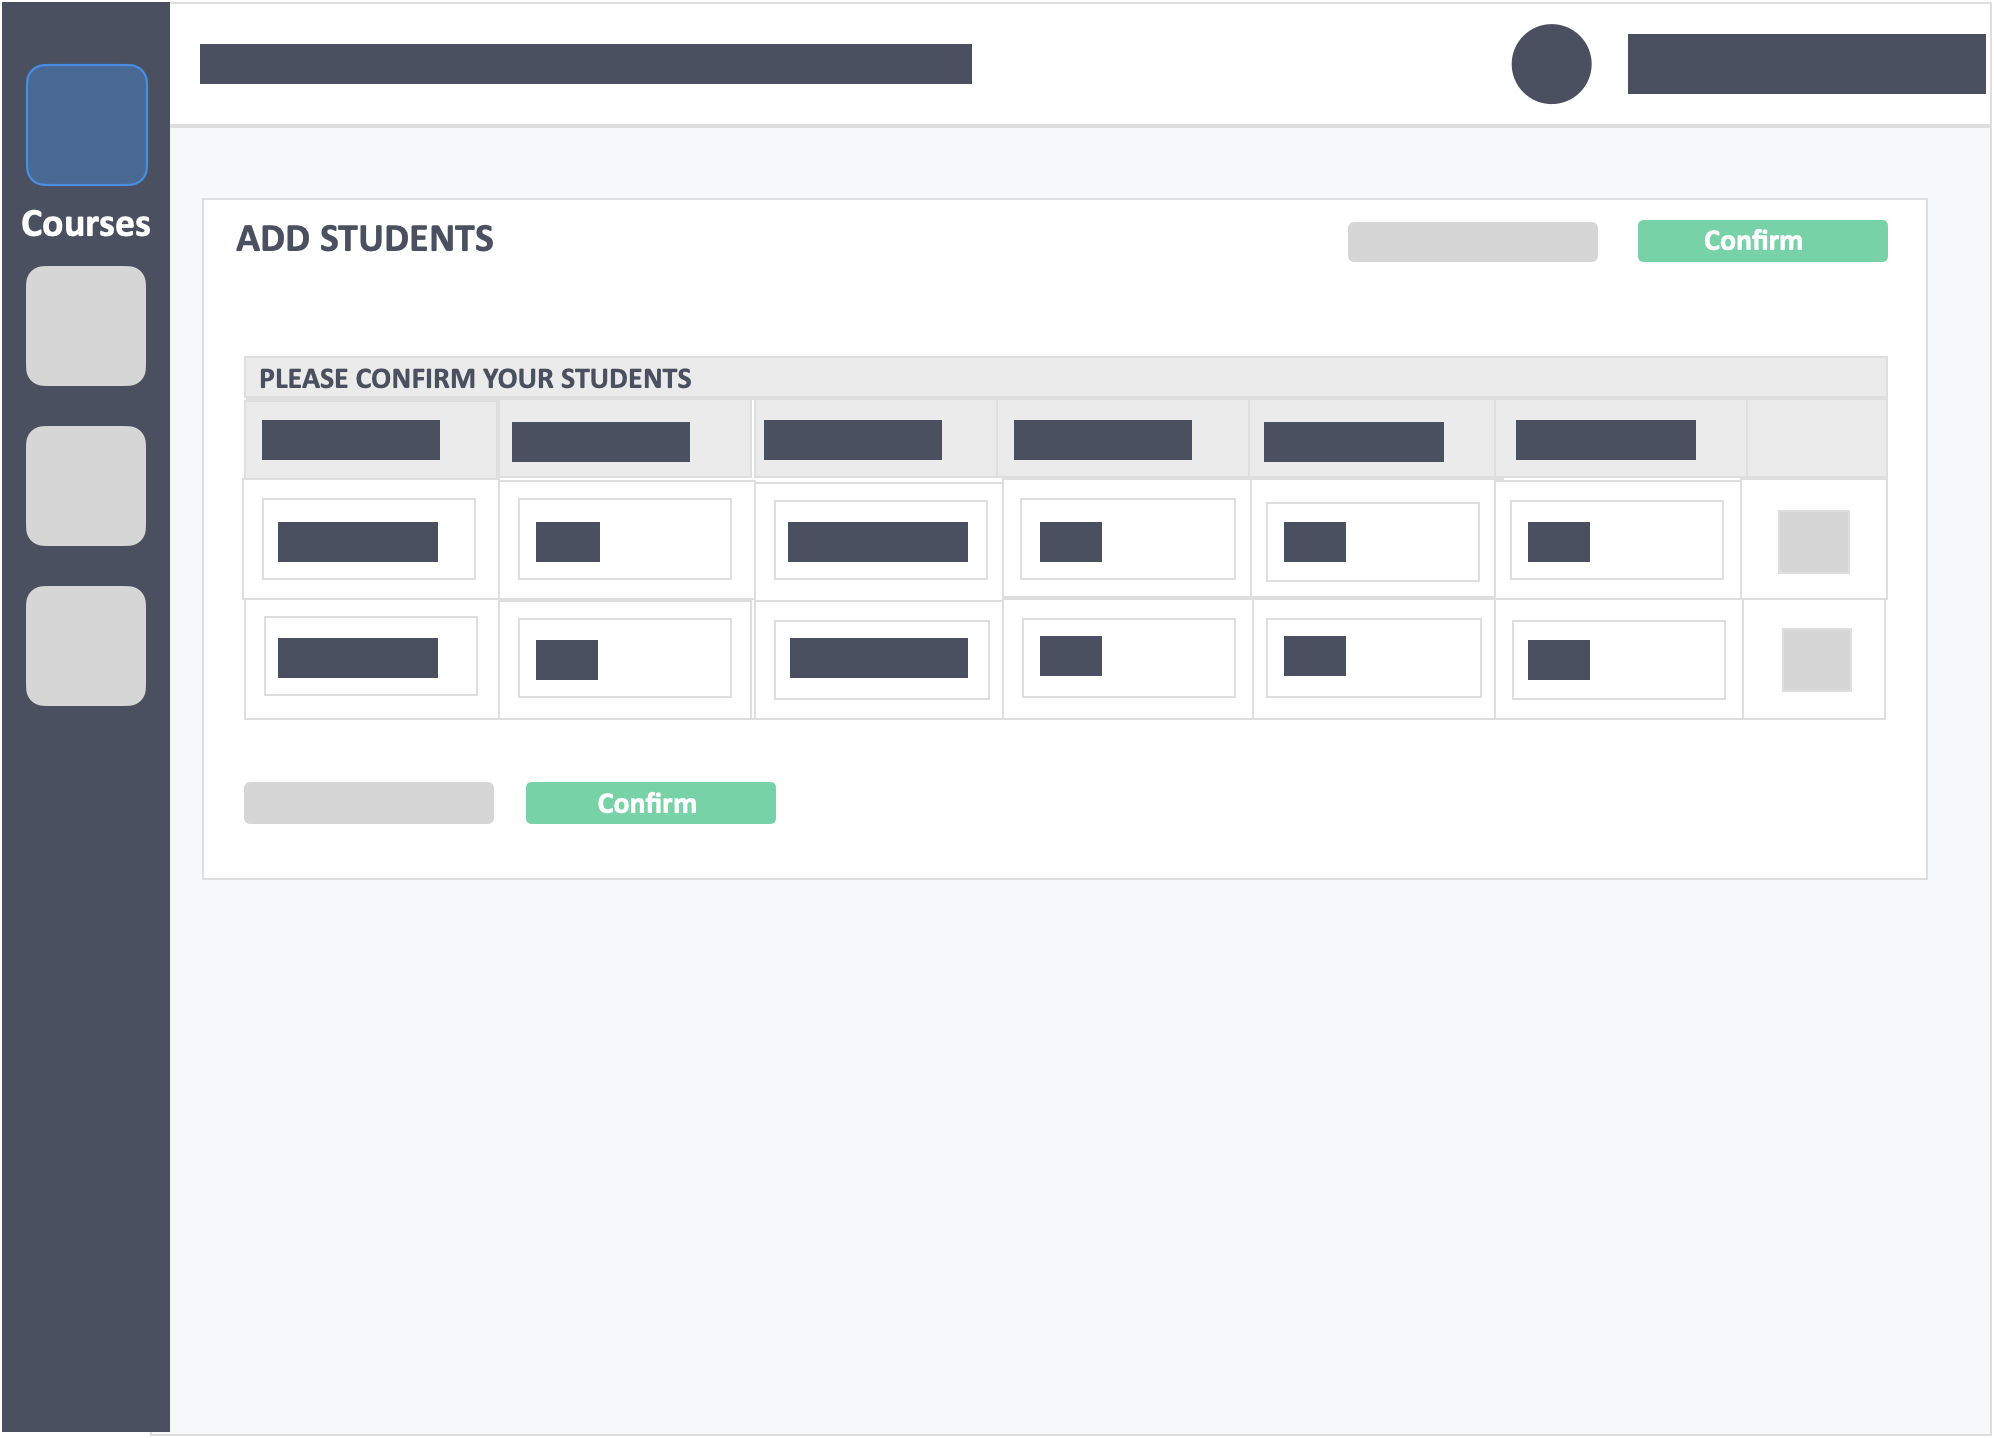
- Once confirmed, you’ll see your learners grouped in the specified section(s) and teams. This will only happen if you have assigned teams in your CSV form.
Step 13 – Click the blue button “Send Invites” on the top-right of the screen.
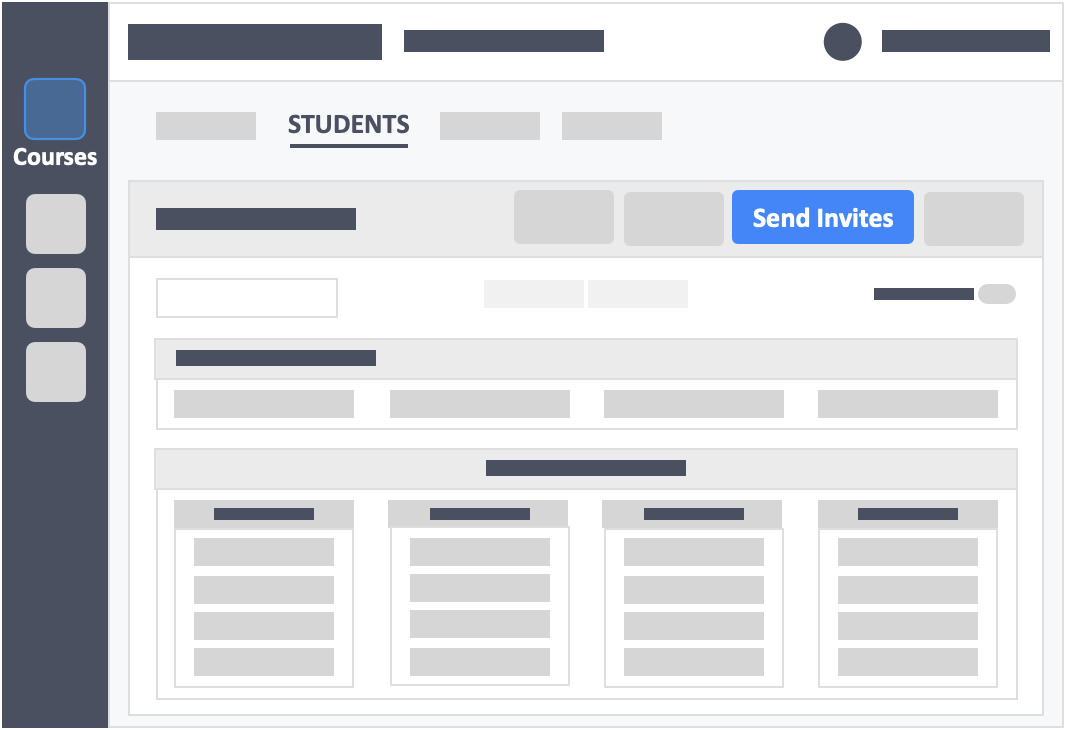
- This will send an activation email to your learners to activate their InteDashboard accounts.
Step 14 – Select the names of the learners from the dropdown.
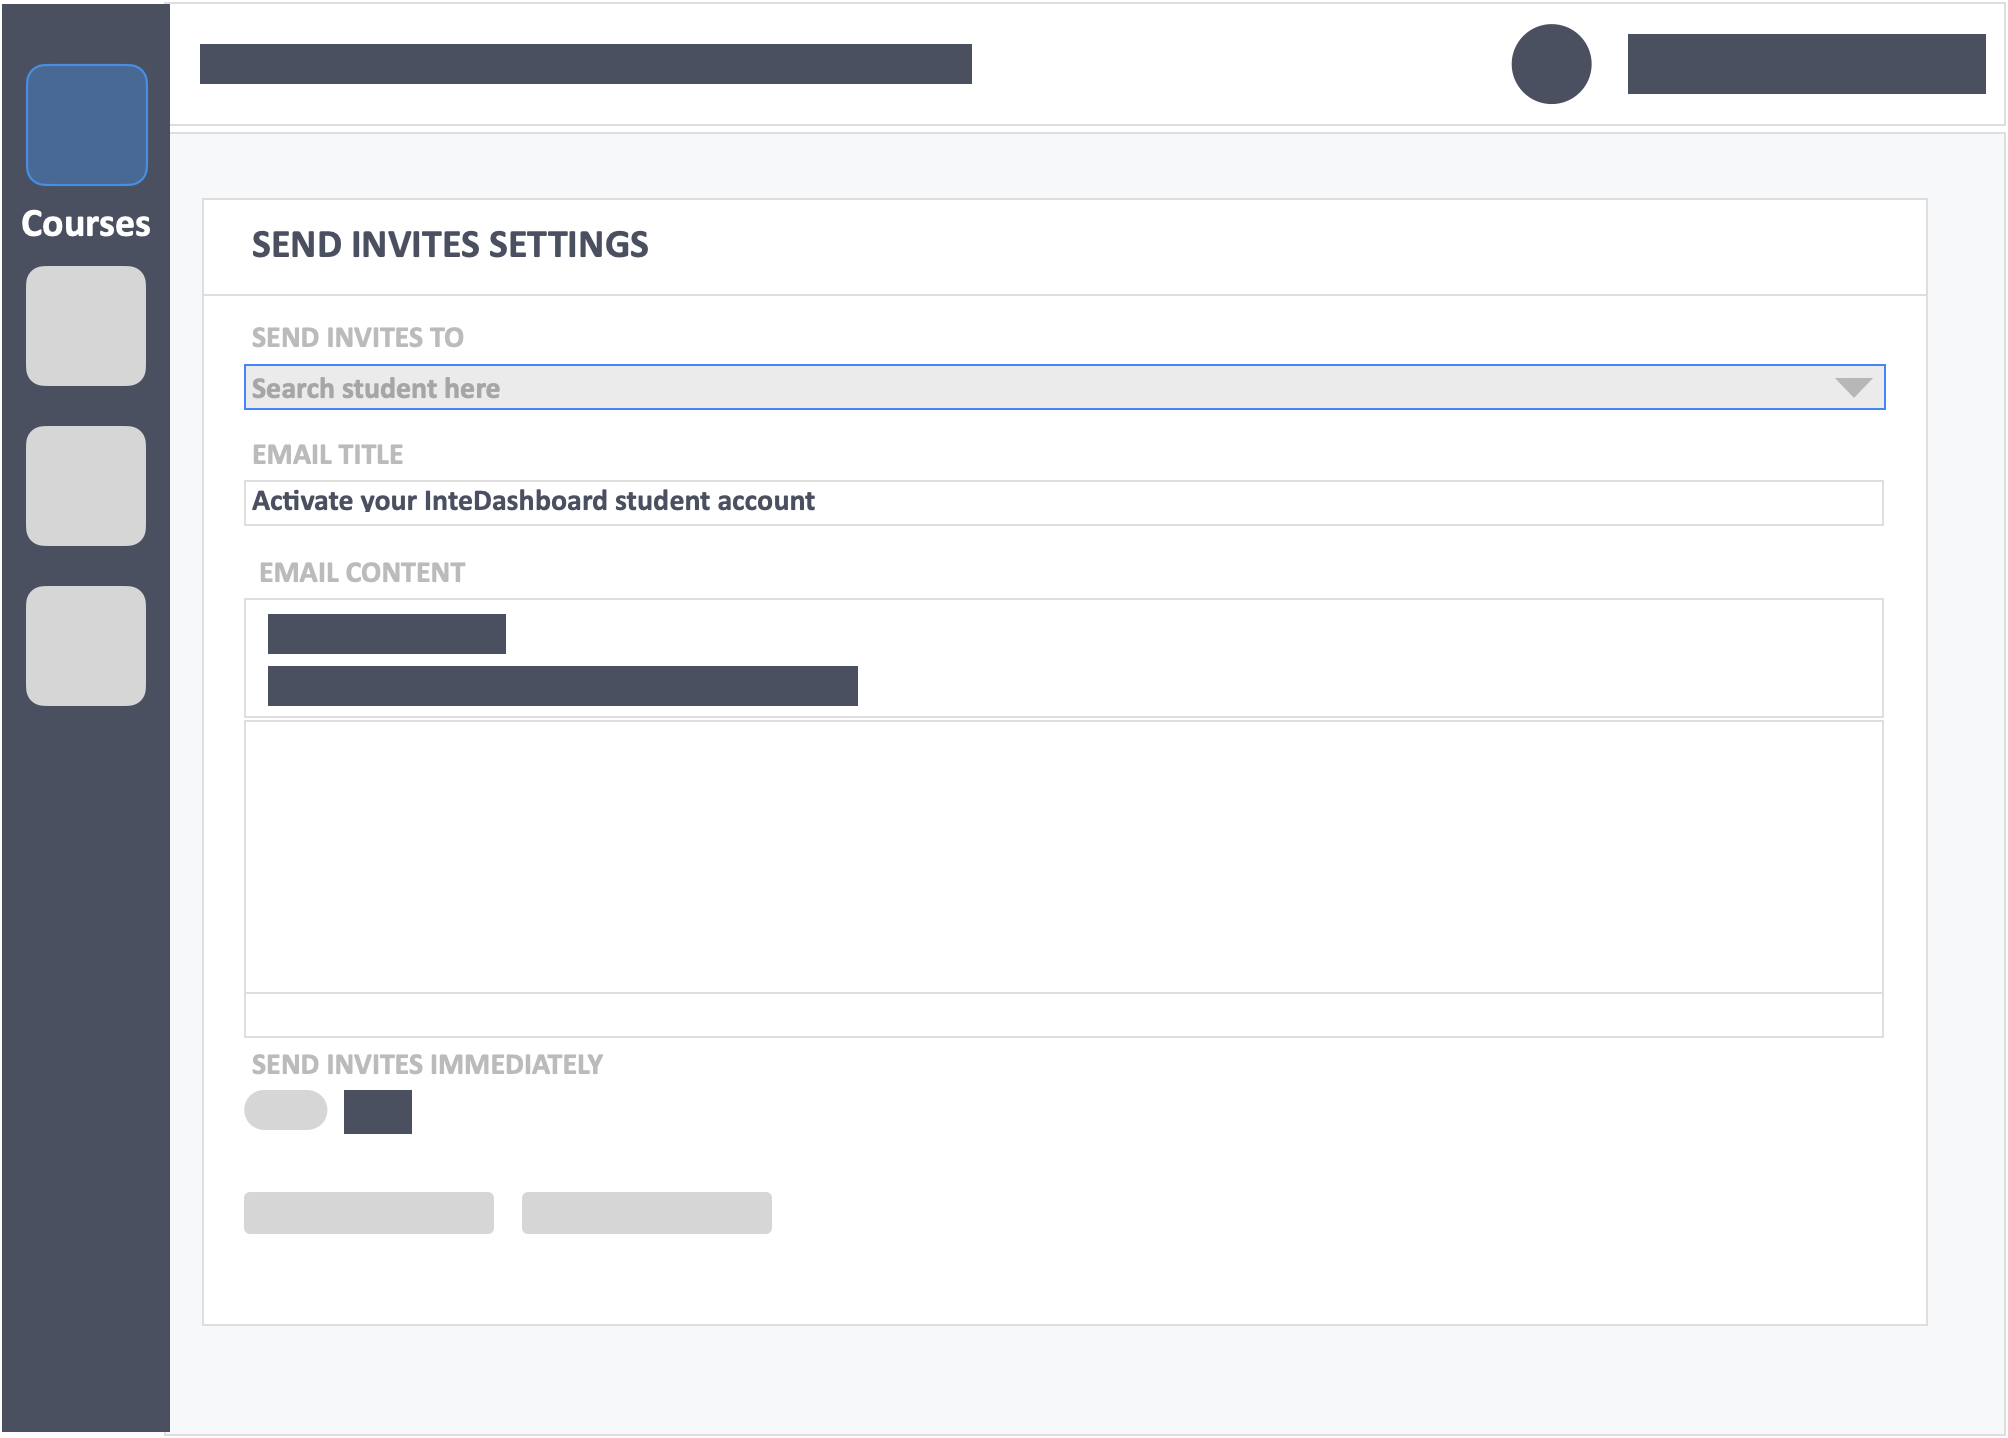
Step 15 – Fill in the email title and the email content.
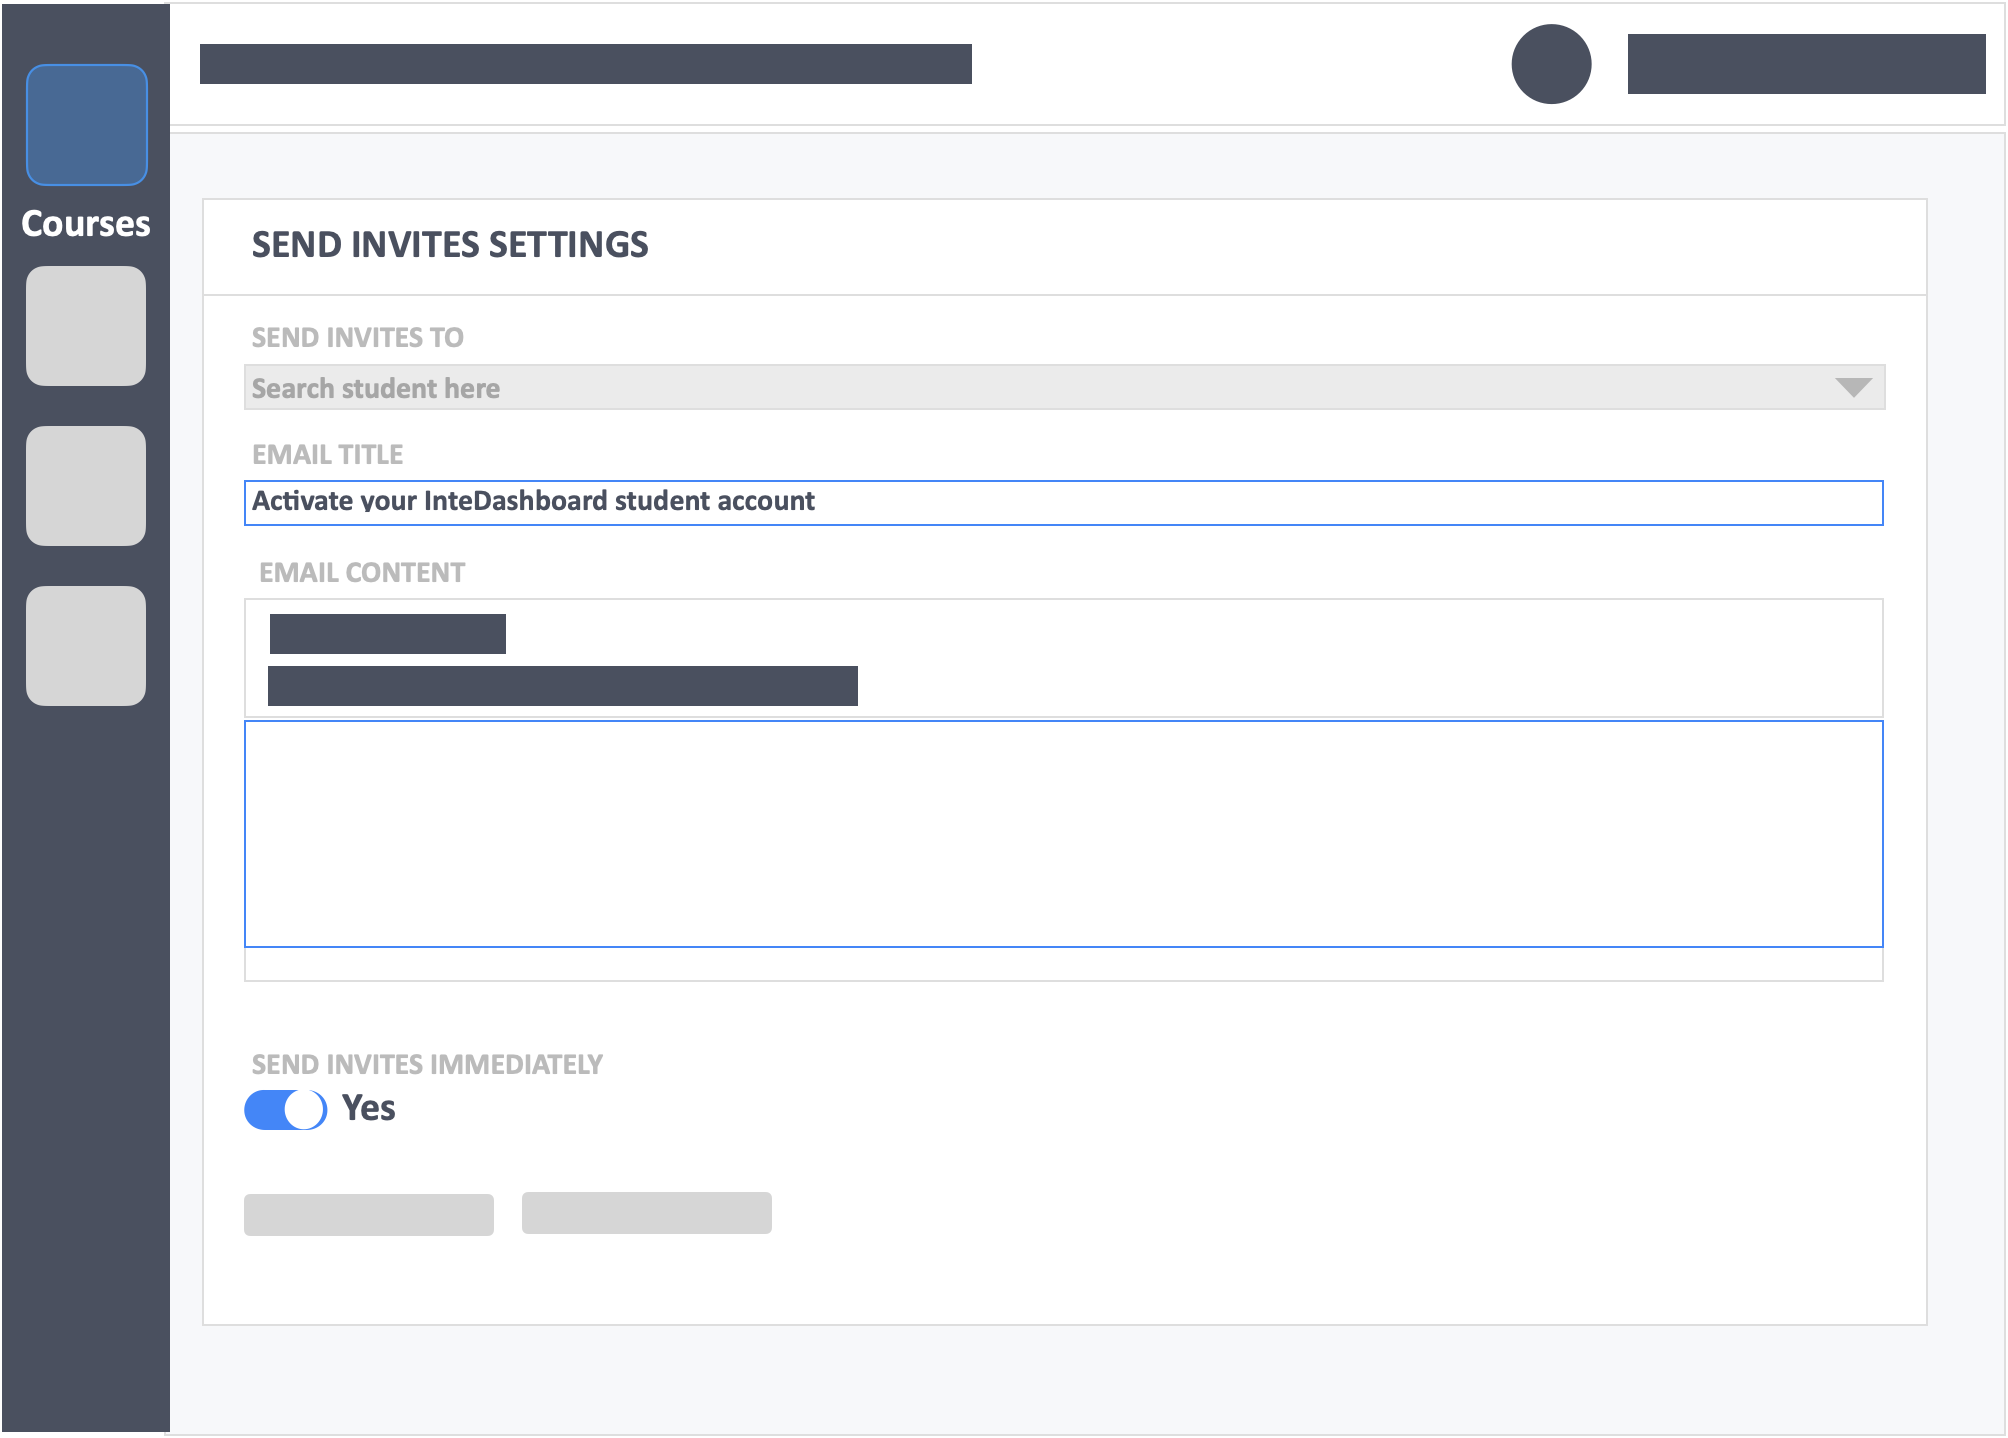
Step 16 – Click the green button “Send Invites” on the bottom-left of the screen.
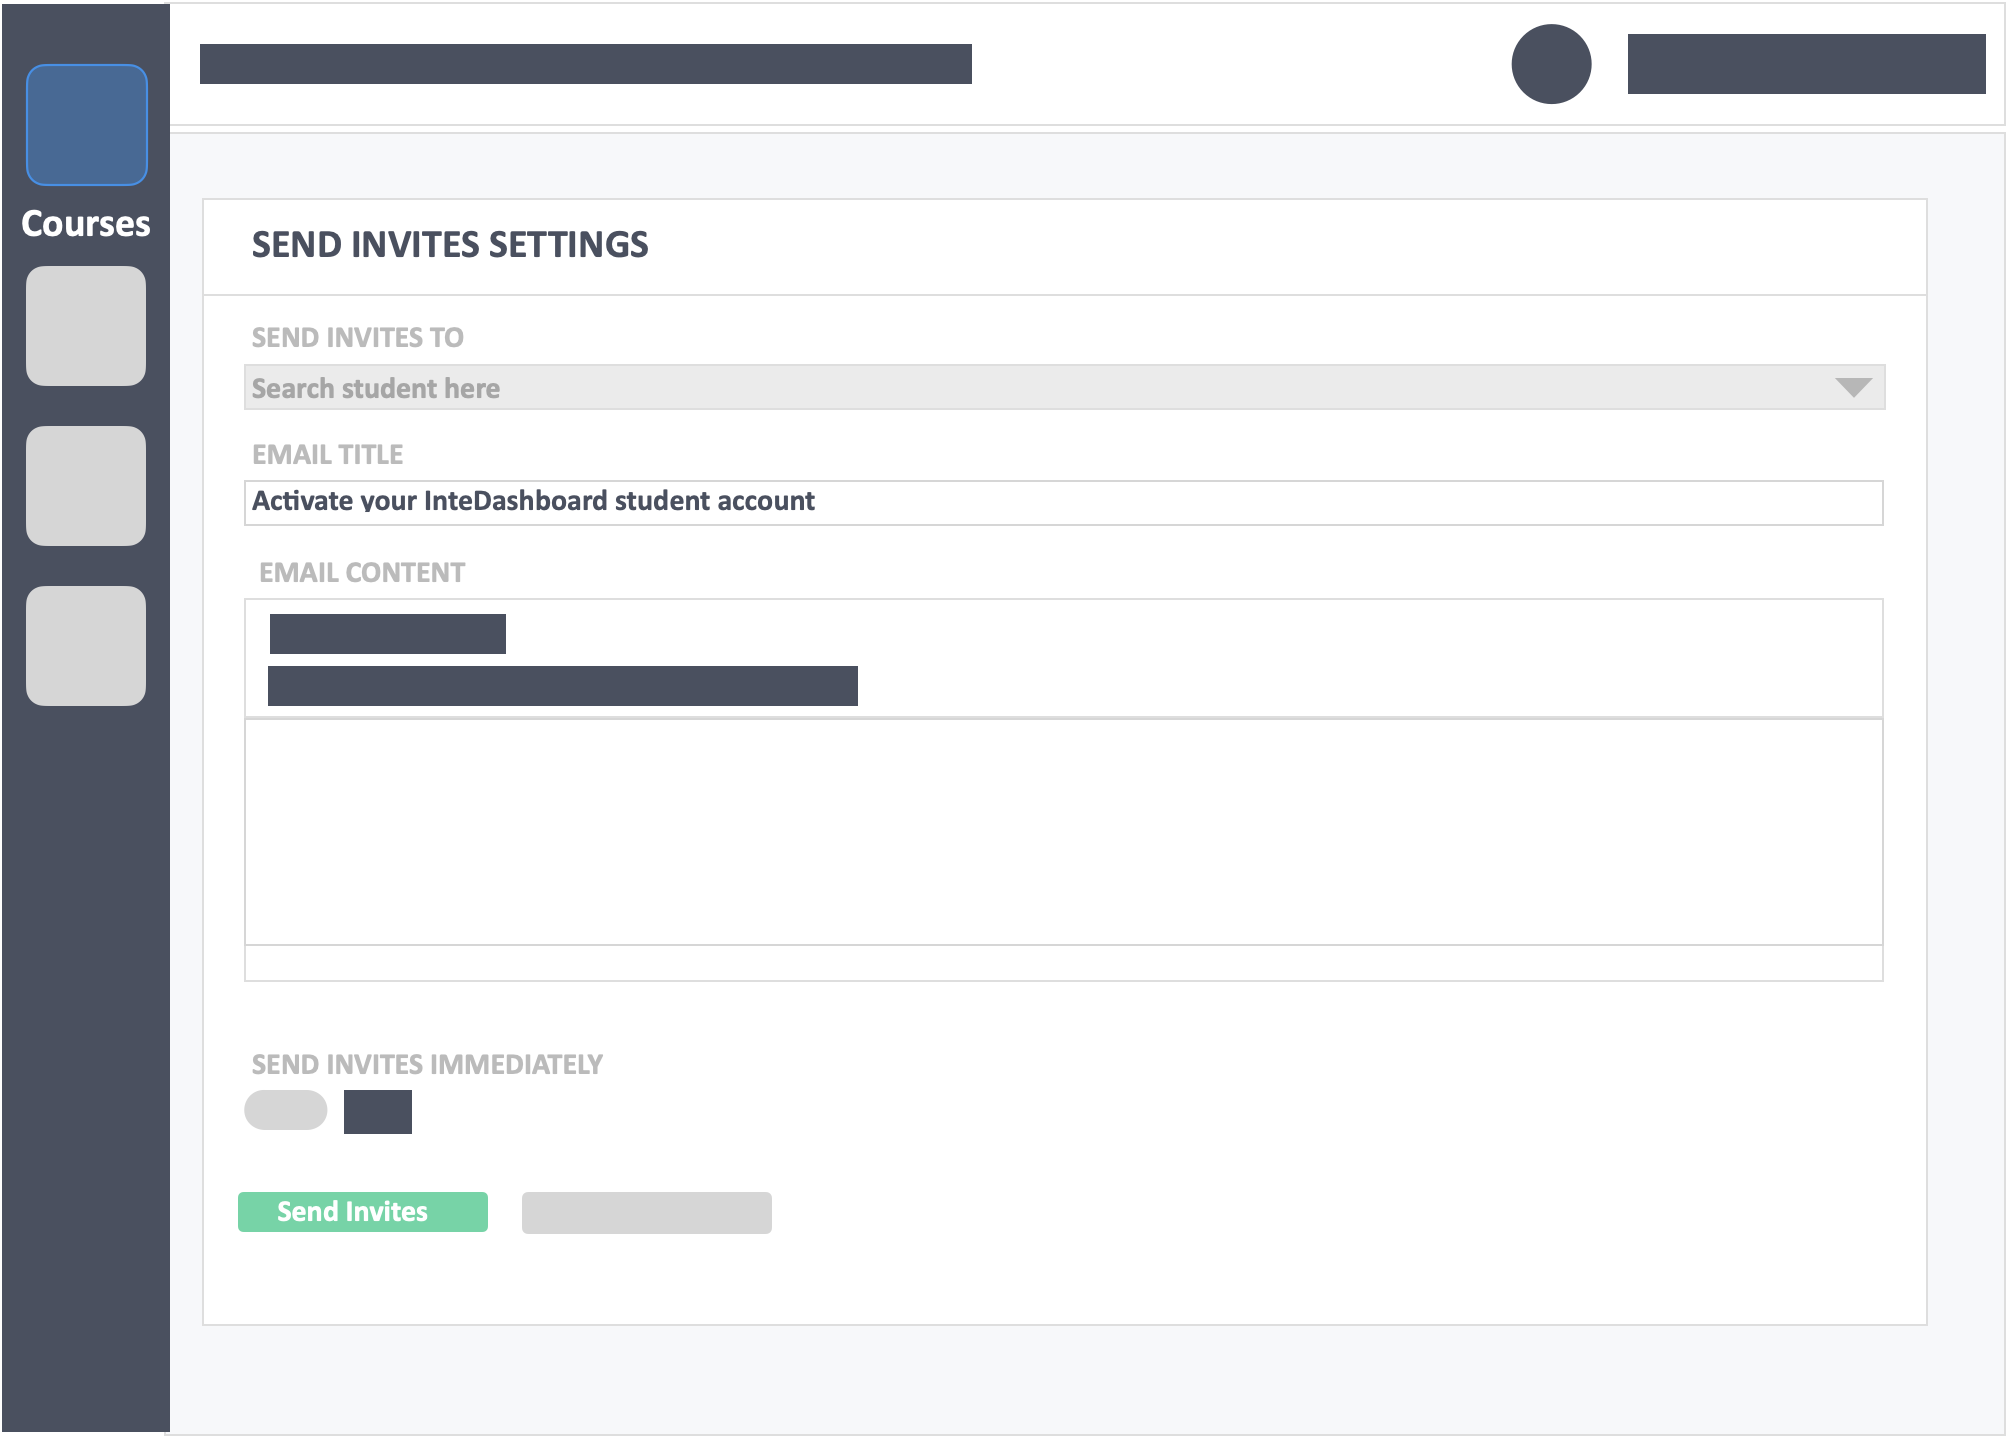
- Once you send the invites, learners will receive an email prompting them to activate their account and to set their account passwords.
Step 17 – Click the “Students” tab on the top left inside the course. Toggle the “View students in detail” at the top-right of the screen to (YES).
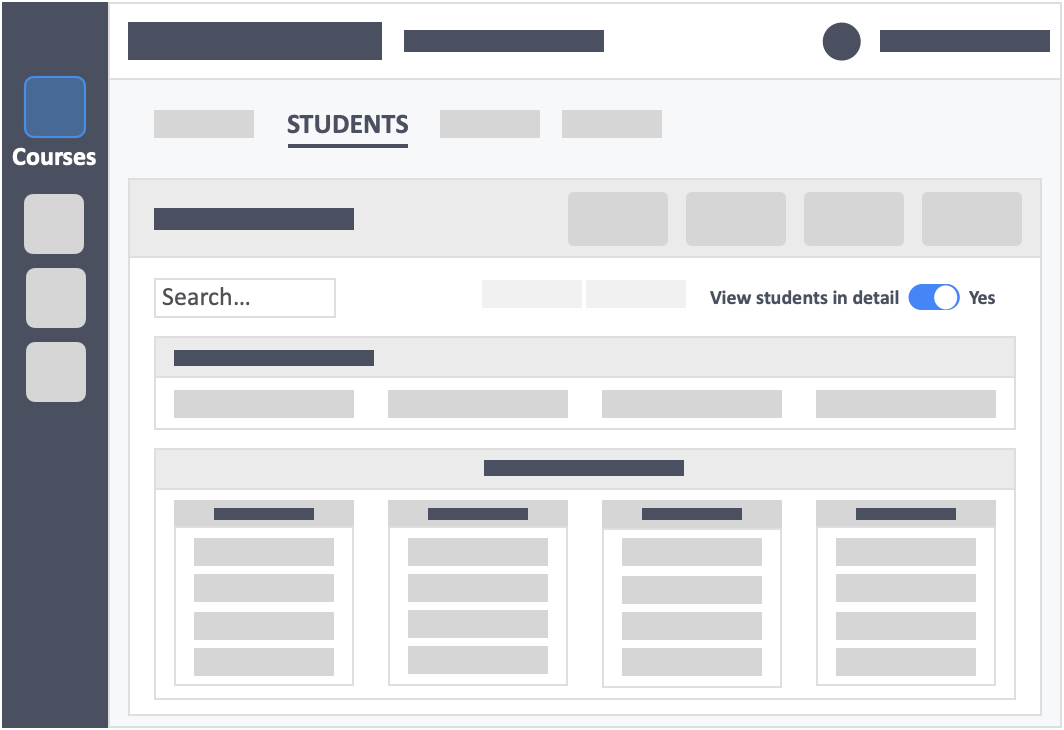
You will be able to:
- See who has activated their learner’s account
- See who has paid for their account
- Edit their learner details.
Additional Information
- You can check if your learners have activated their accounts by looking into the student organization data within your course.
- Learner usernames(emails) cannot be changed after enrollment. You will need to create a new account for that learner if a change is desired.
- Learners can use the same username(email) for multiple courses. One InteDashboard subscription covers all courses within the registered email and\or academic institution.
- If a learner is enrolled into two universities at once, the learner will need to purchase two different subscriptions since the activation information is tied to their email address.