Table of Contents
This article will teach you how to upload a file of your learners list to enroll them to a course.
This Guide is for:
- Super Admin
- Admin Teacher (Full-Access)
- Teacher (Owner Full-Access)
Steps on How to Enroll Learners to a Course via File Upload.
Step 1 – Click the button “Courses” on the left-side navigation.
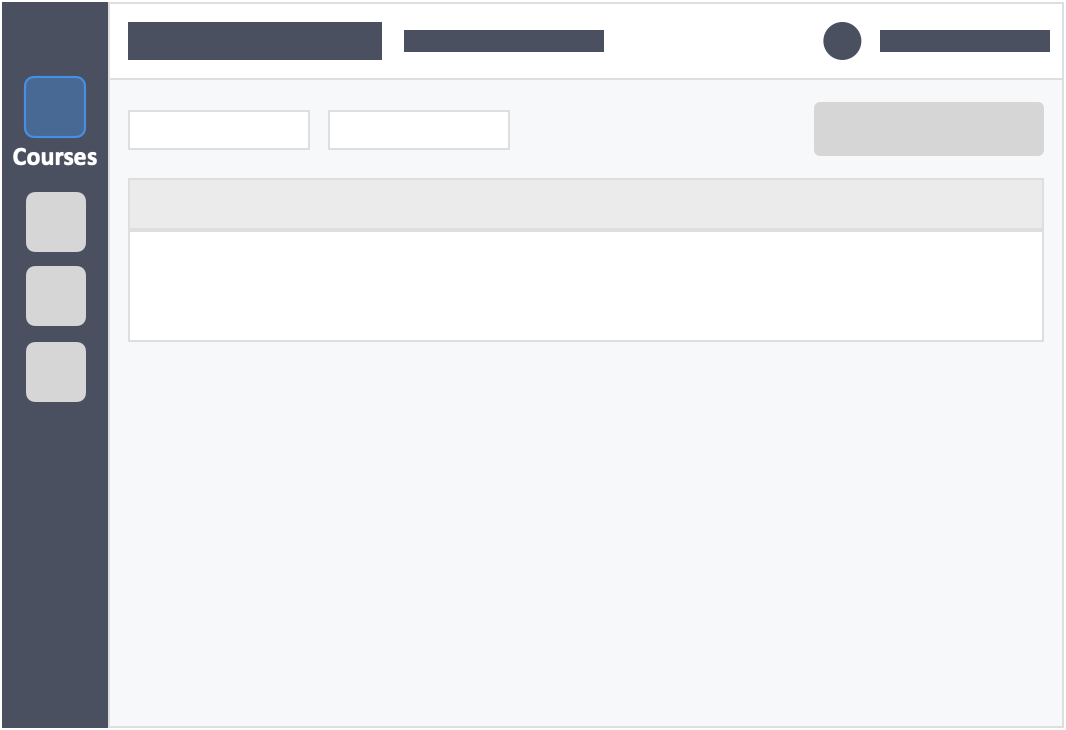
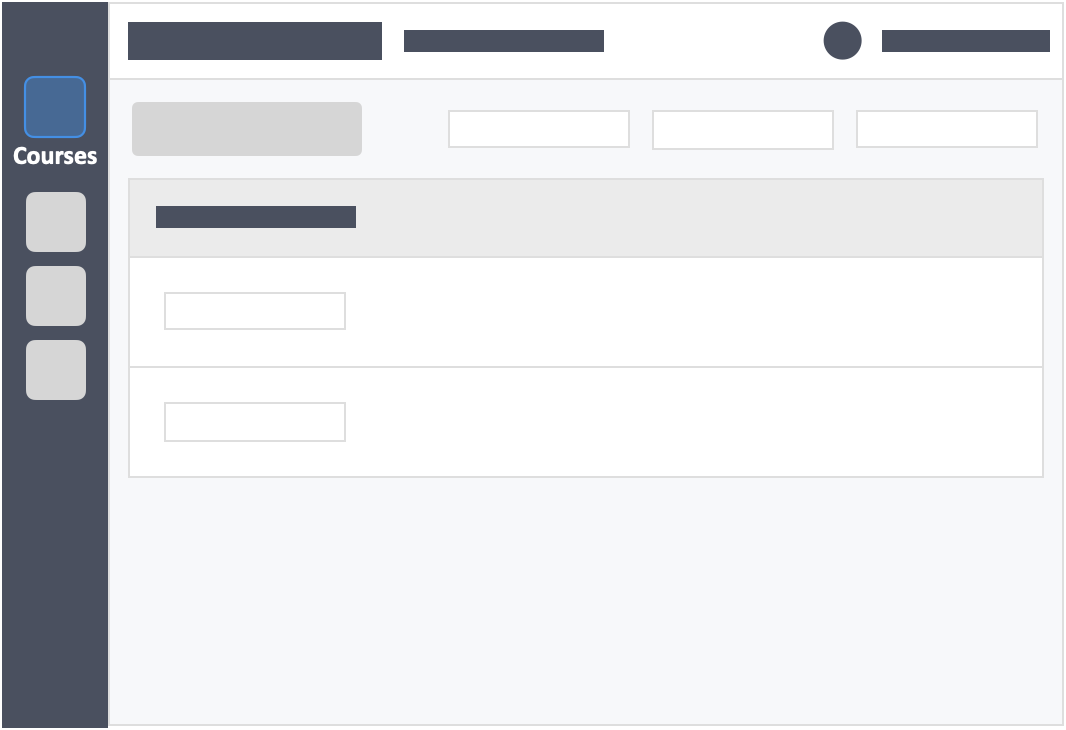
Step 2 – Click on the course which you want to add your learners in.
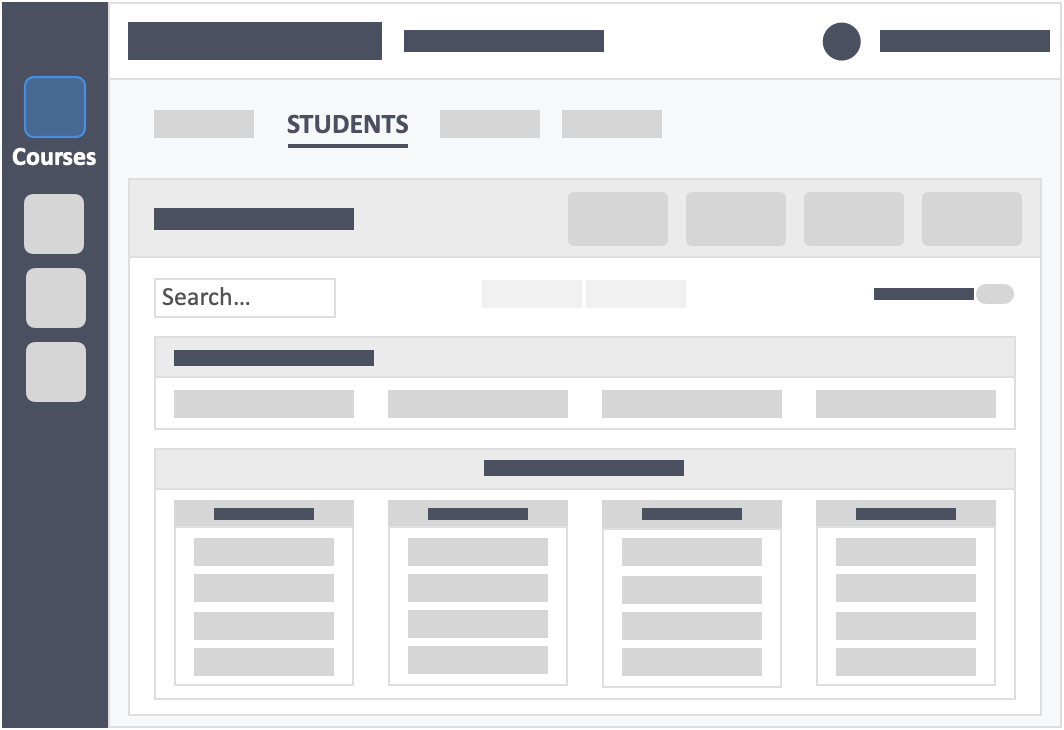
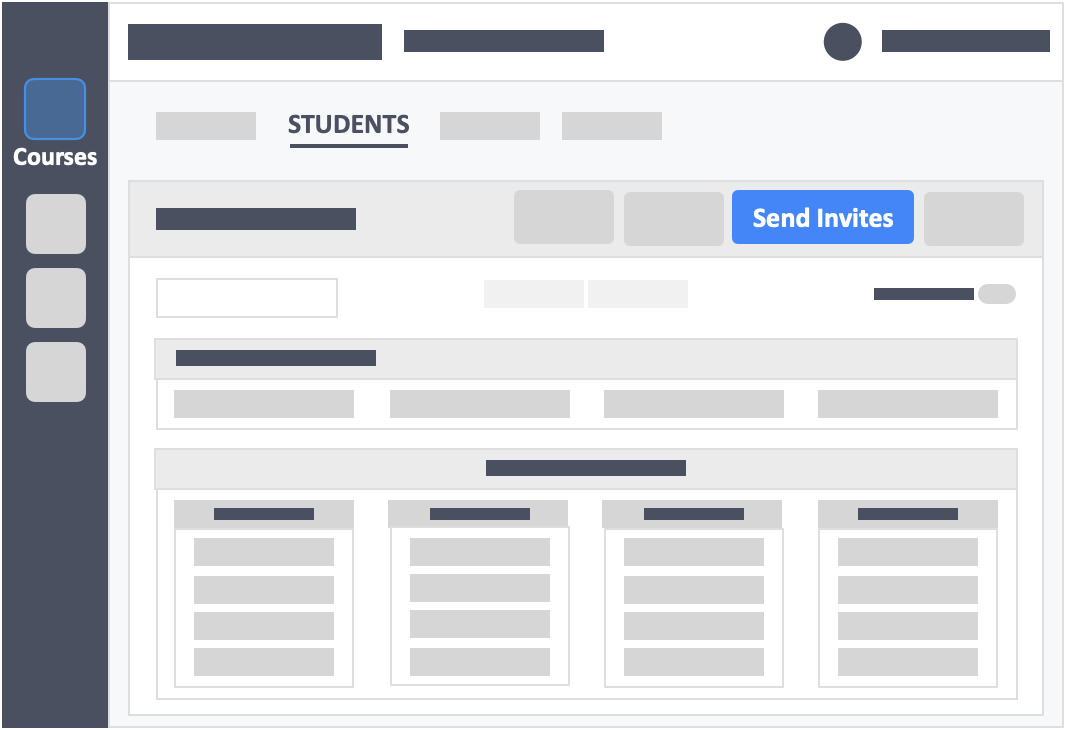
Step 3 – Click the “Students” tab on the top left inside the course.
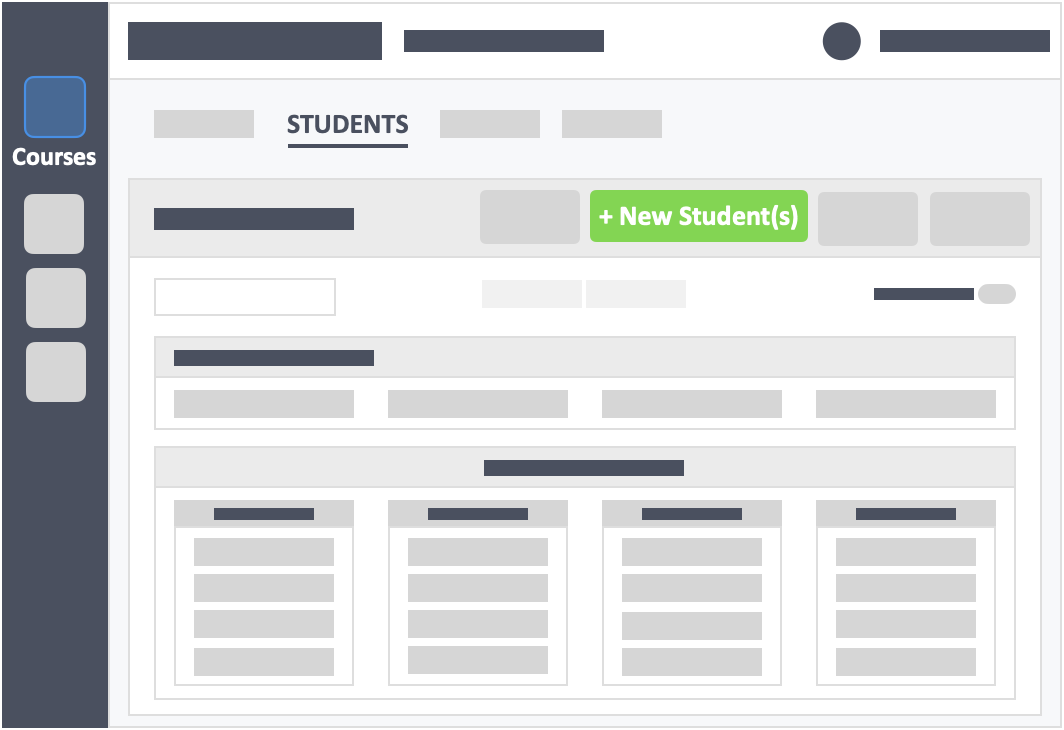
Step 4 – Click the green button “+ New Students(s)” on the top-right of the screen.
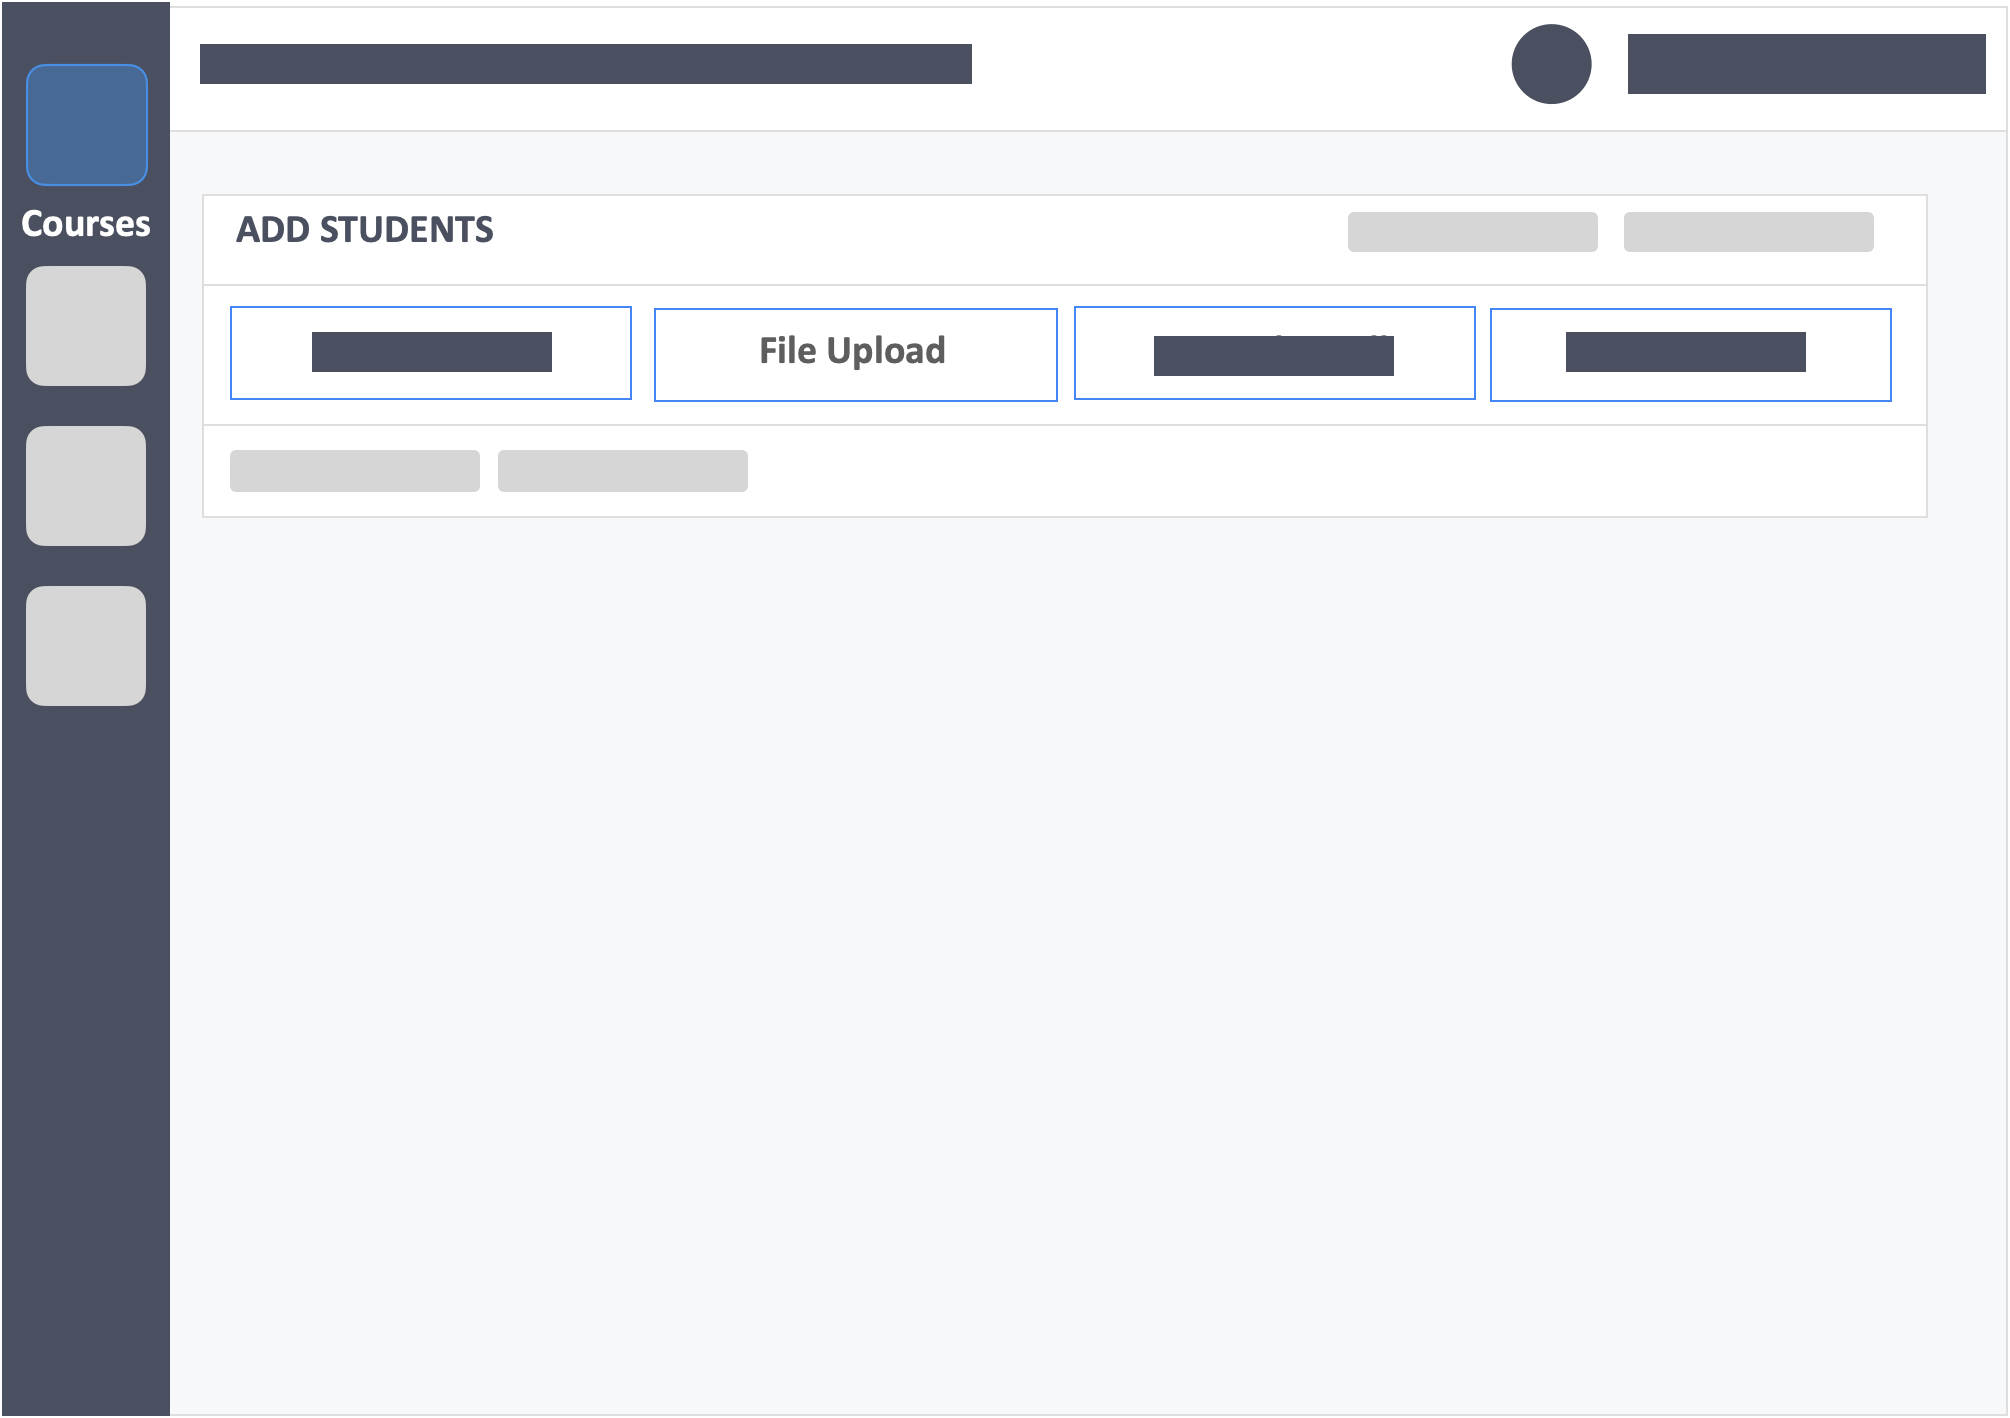
Step 5 – Click the button “File Upload” in the select method tab.
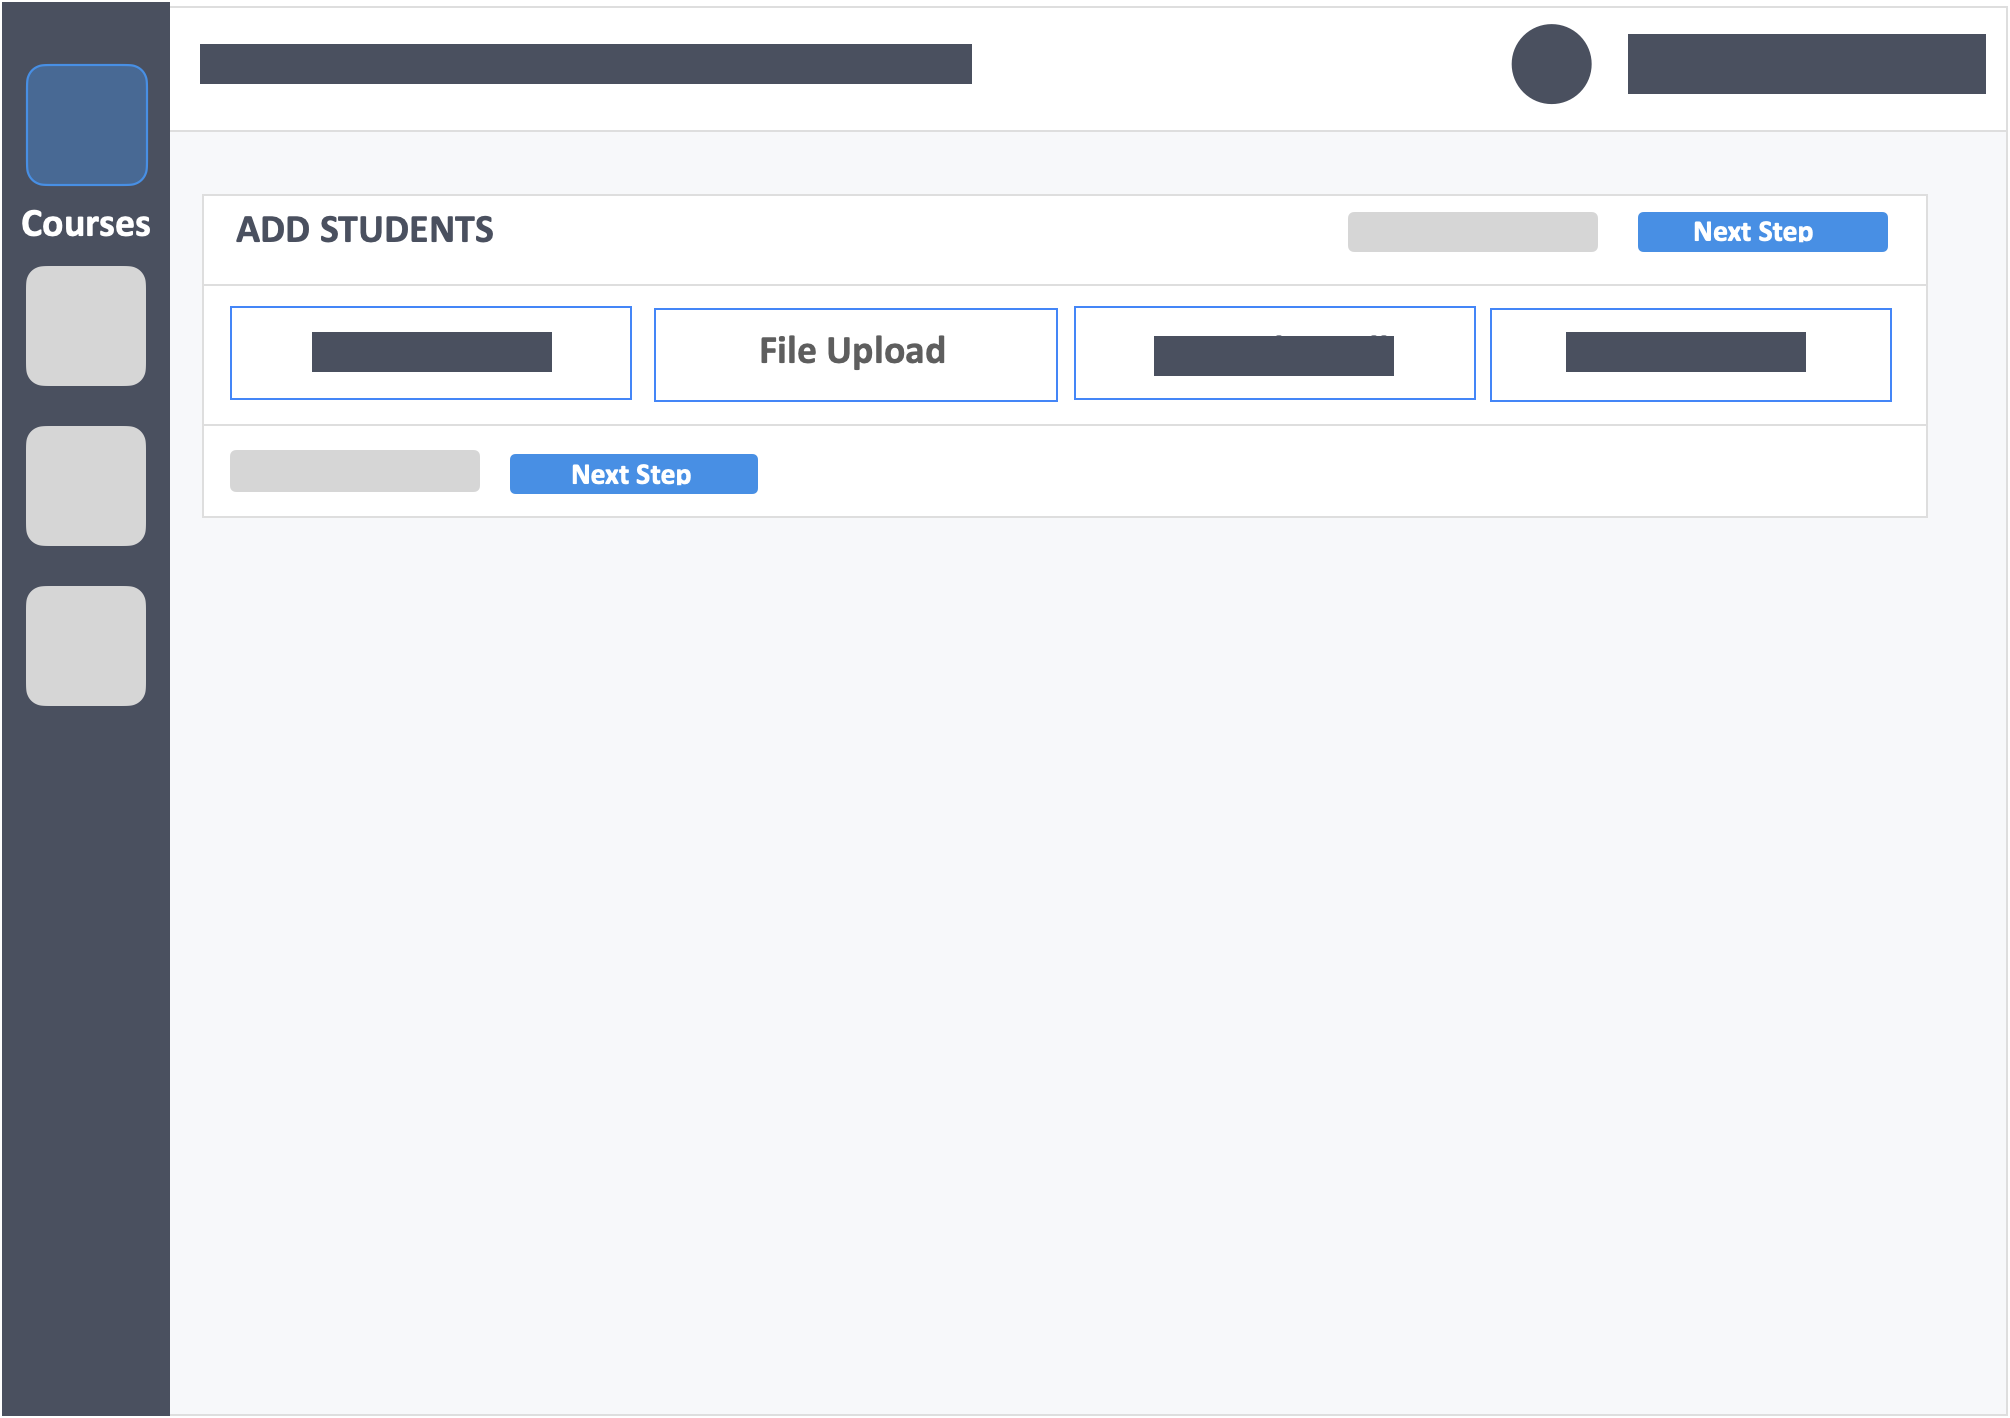
Step 6 – Click the blue button “Next Step” on the bottom-left of the screen.
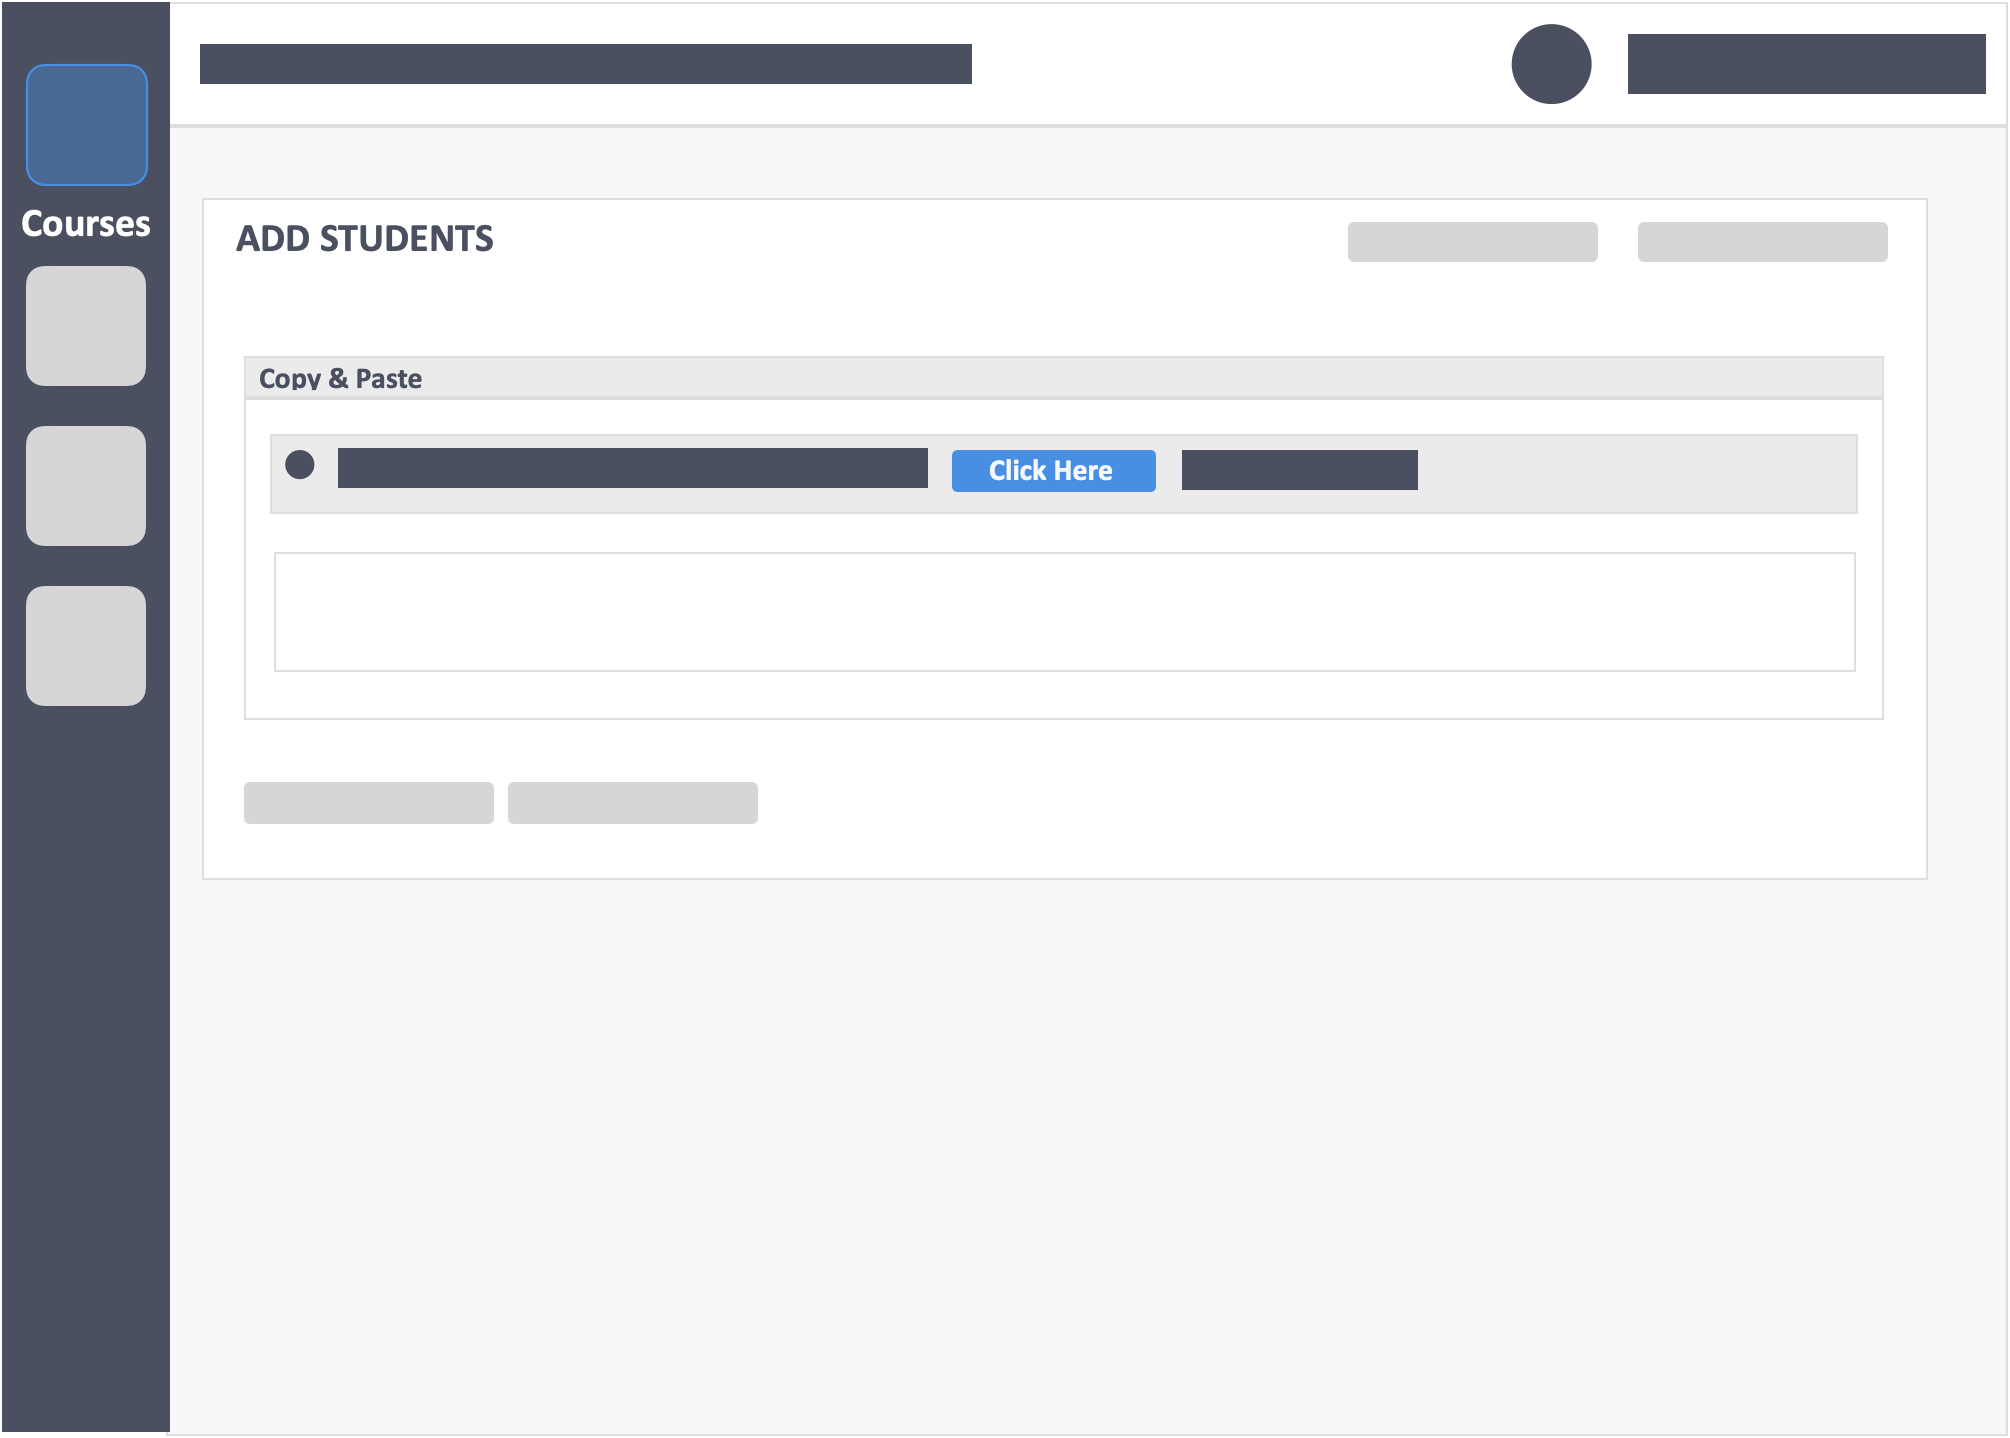
Step 7 – Click the blue button “Click Here” in the copy & paste tab to download the CSV template.
Step 8 – Fill in the CSV form.
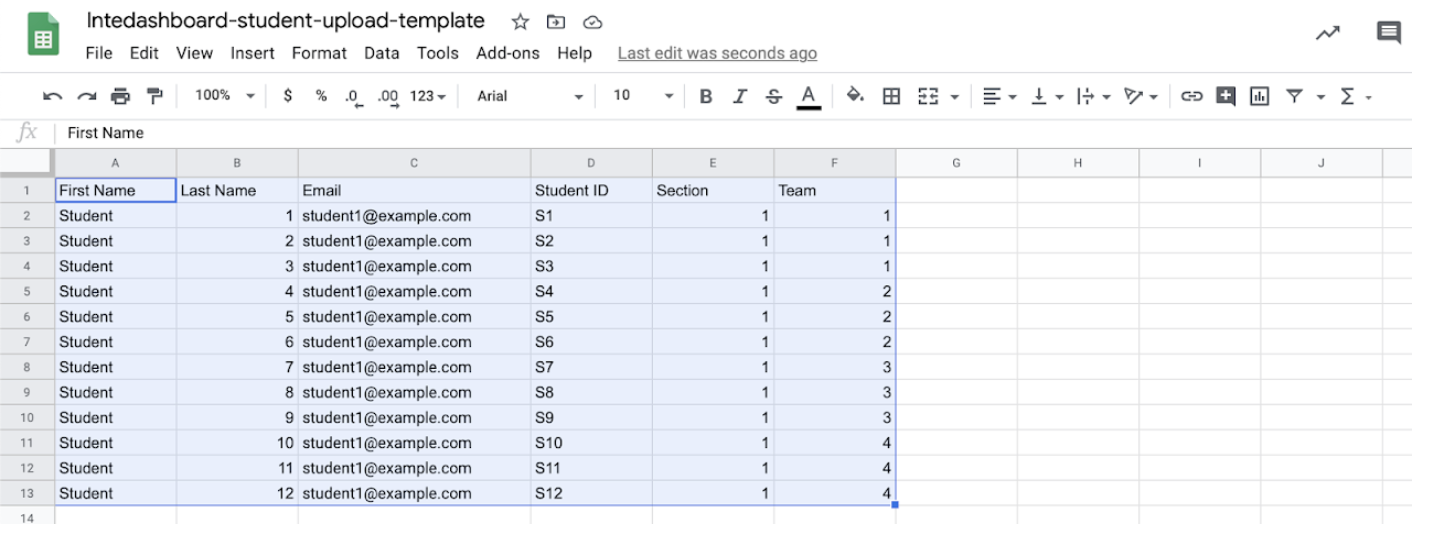
- First Name – (required) This is the first name of the learner
- Last Name – (required) This is the last name of the learner.
- Email – (required) This is the email address which the learner is required to sign in with.
- Student ID – (optional) This is the learners ID given by the institution.
- Section – (optional) This is used if you intend to divide the class into sections.
- Team – (optional) This is used to split the class into teams.
Step 9 – Download/Export and save a CSV (Comma-separated values) document of the learners’ list.
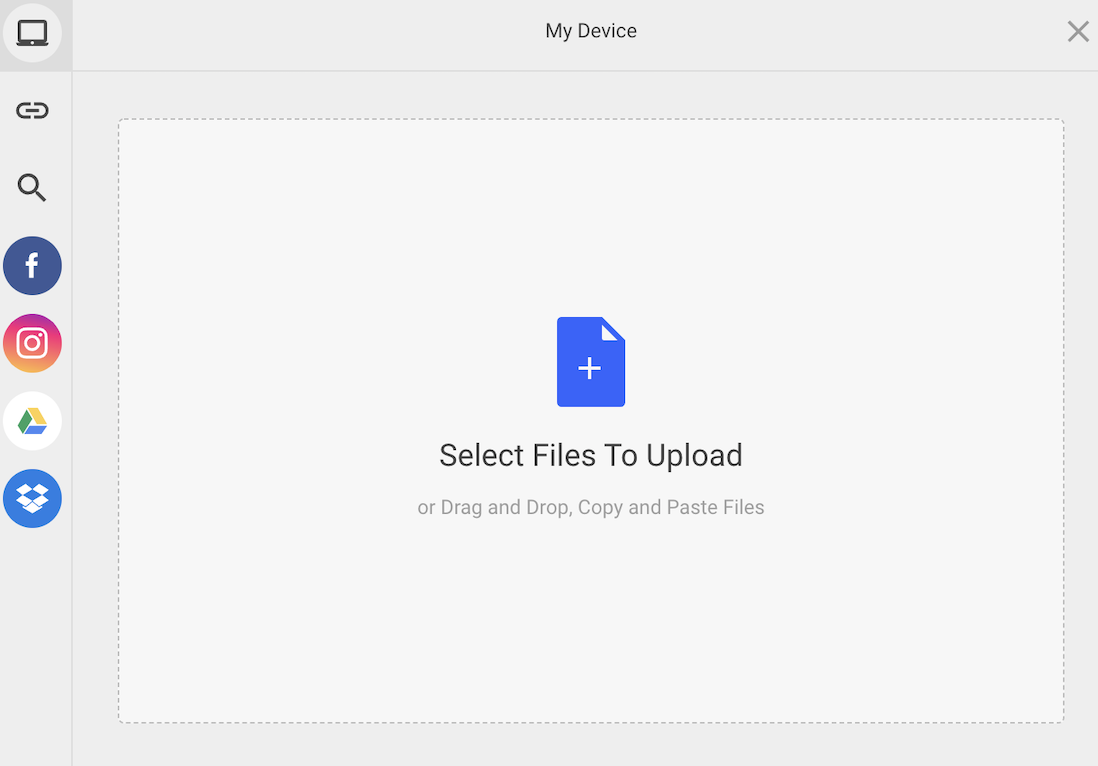
Step 10 – Click the blue button “Select Files to Upload” in the file upload tab.

Step 11 – You will see a box wherein you can access the location of your file. Choose from the options on the left side and click on your file.
Step 12 – Click the green button “Confirm” on the top-right of the screen once you have reviewed the list.
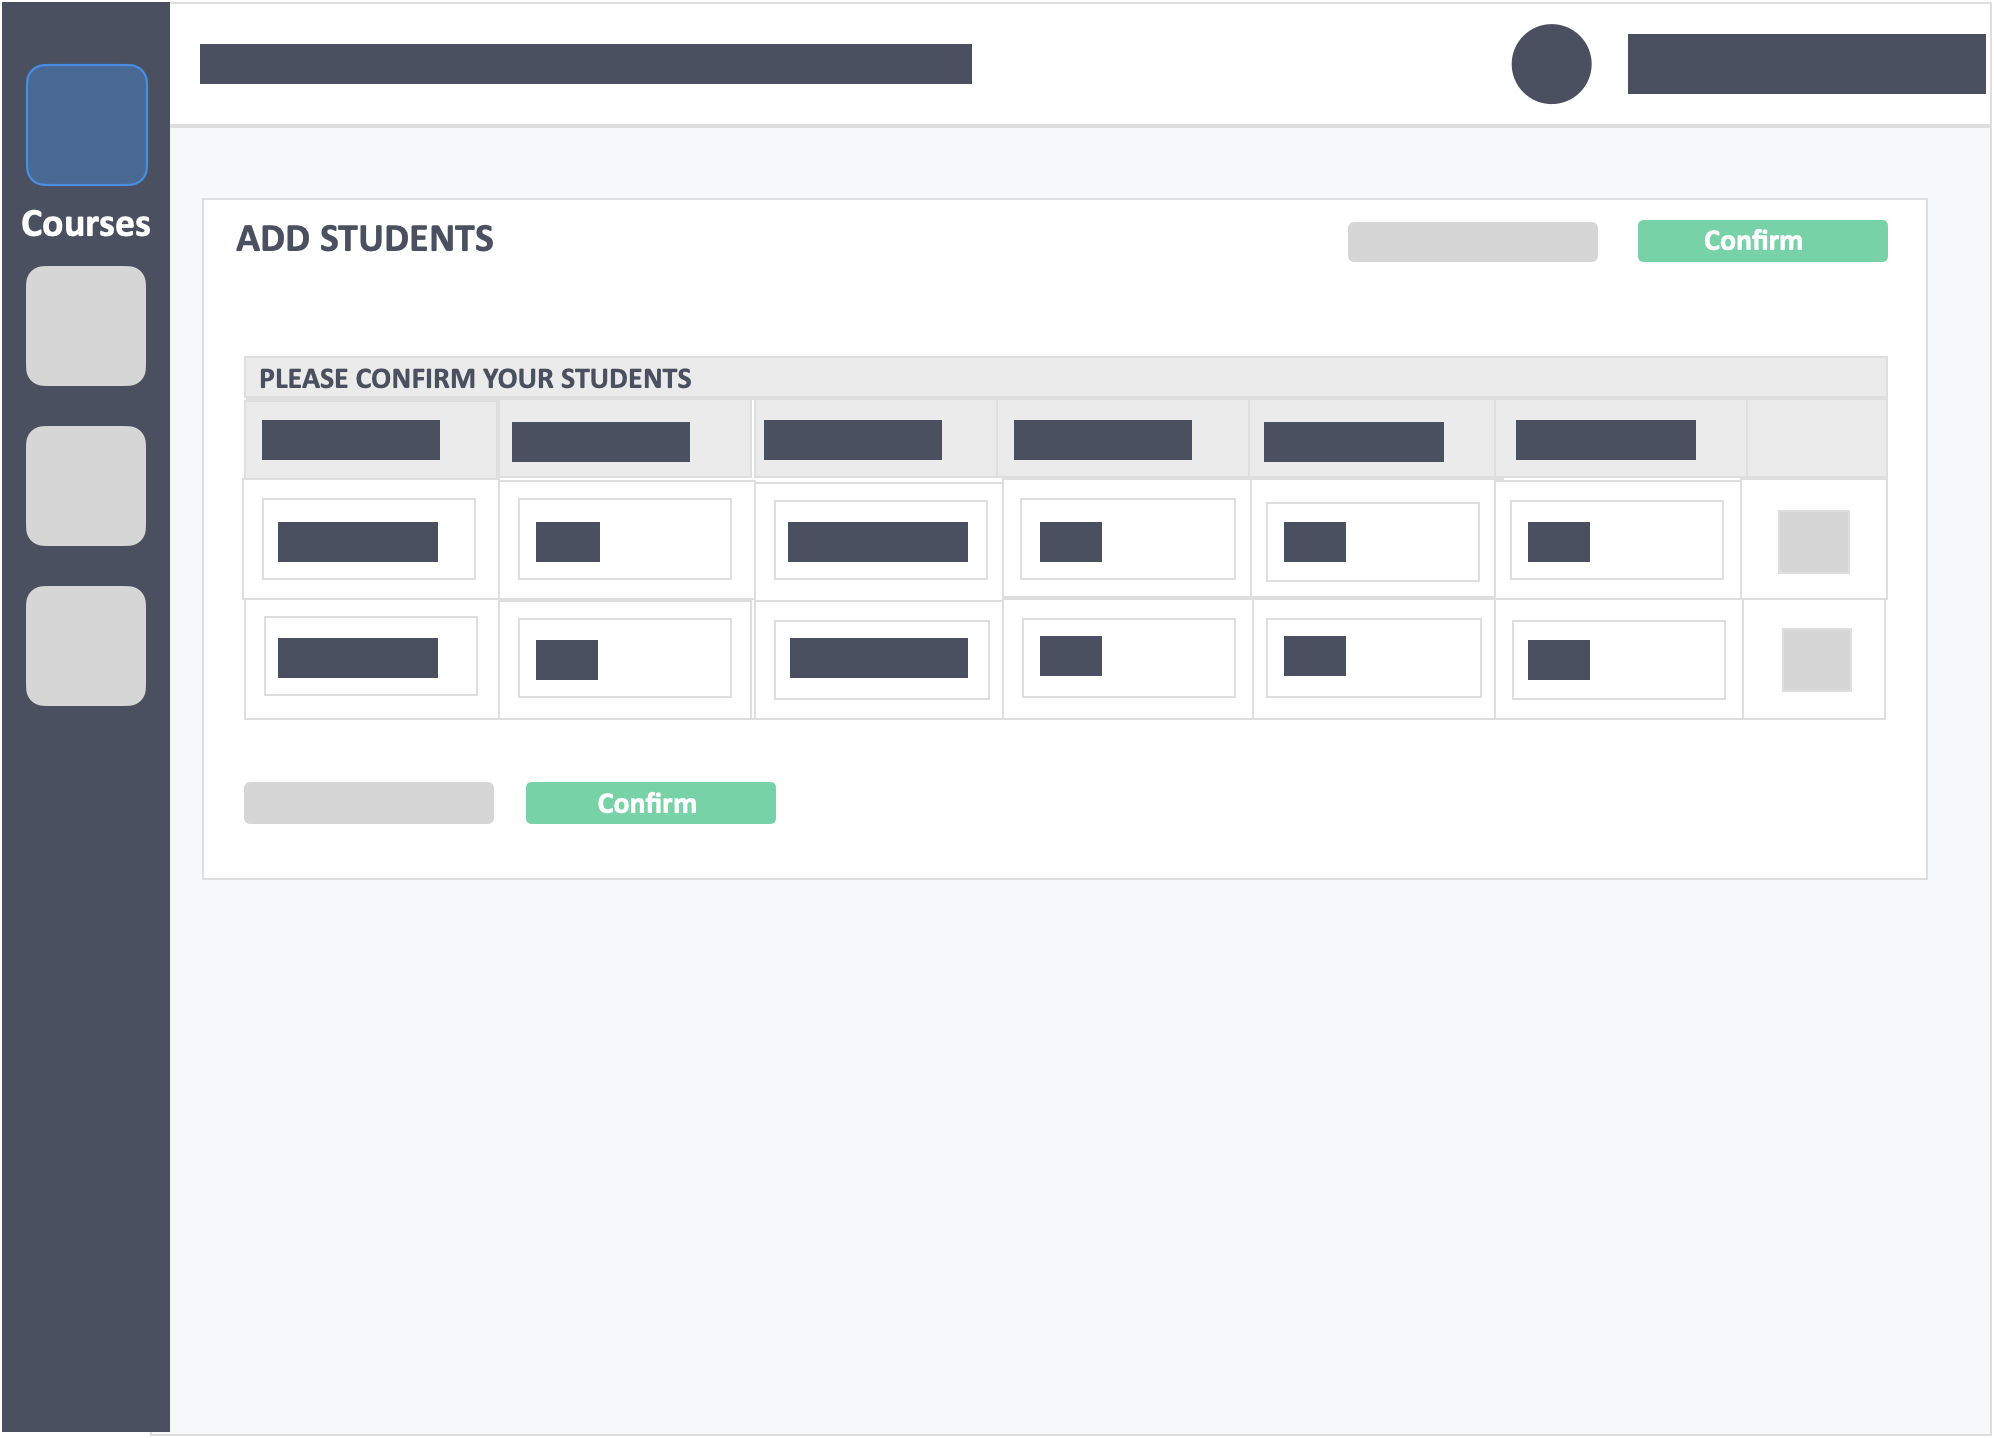
- Once confirmed you will see your students grouped in the specified section(s) and teams if you had filled in the team collum in the CSV template.
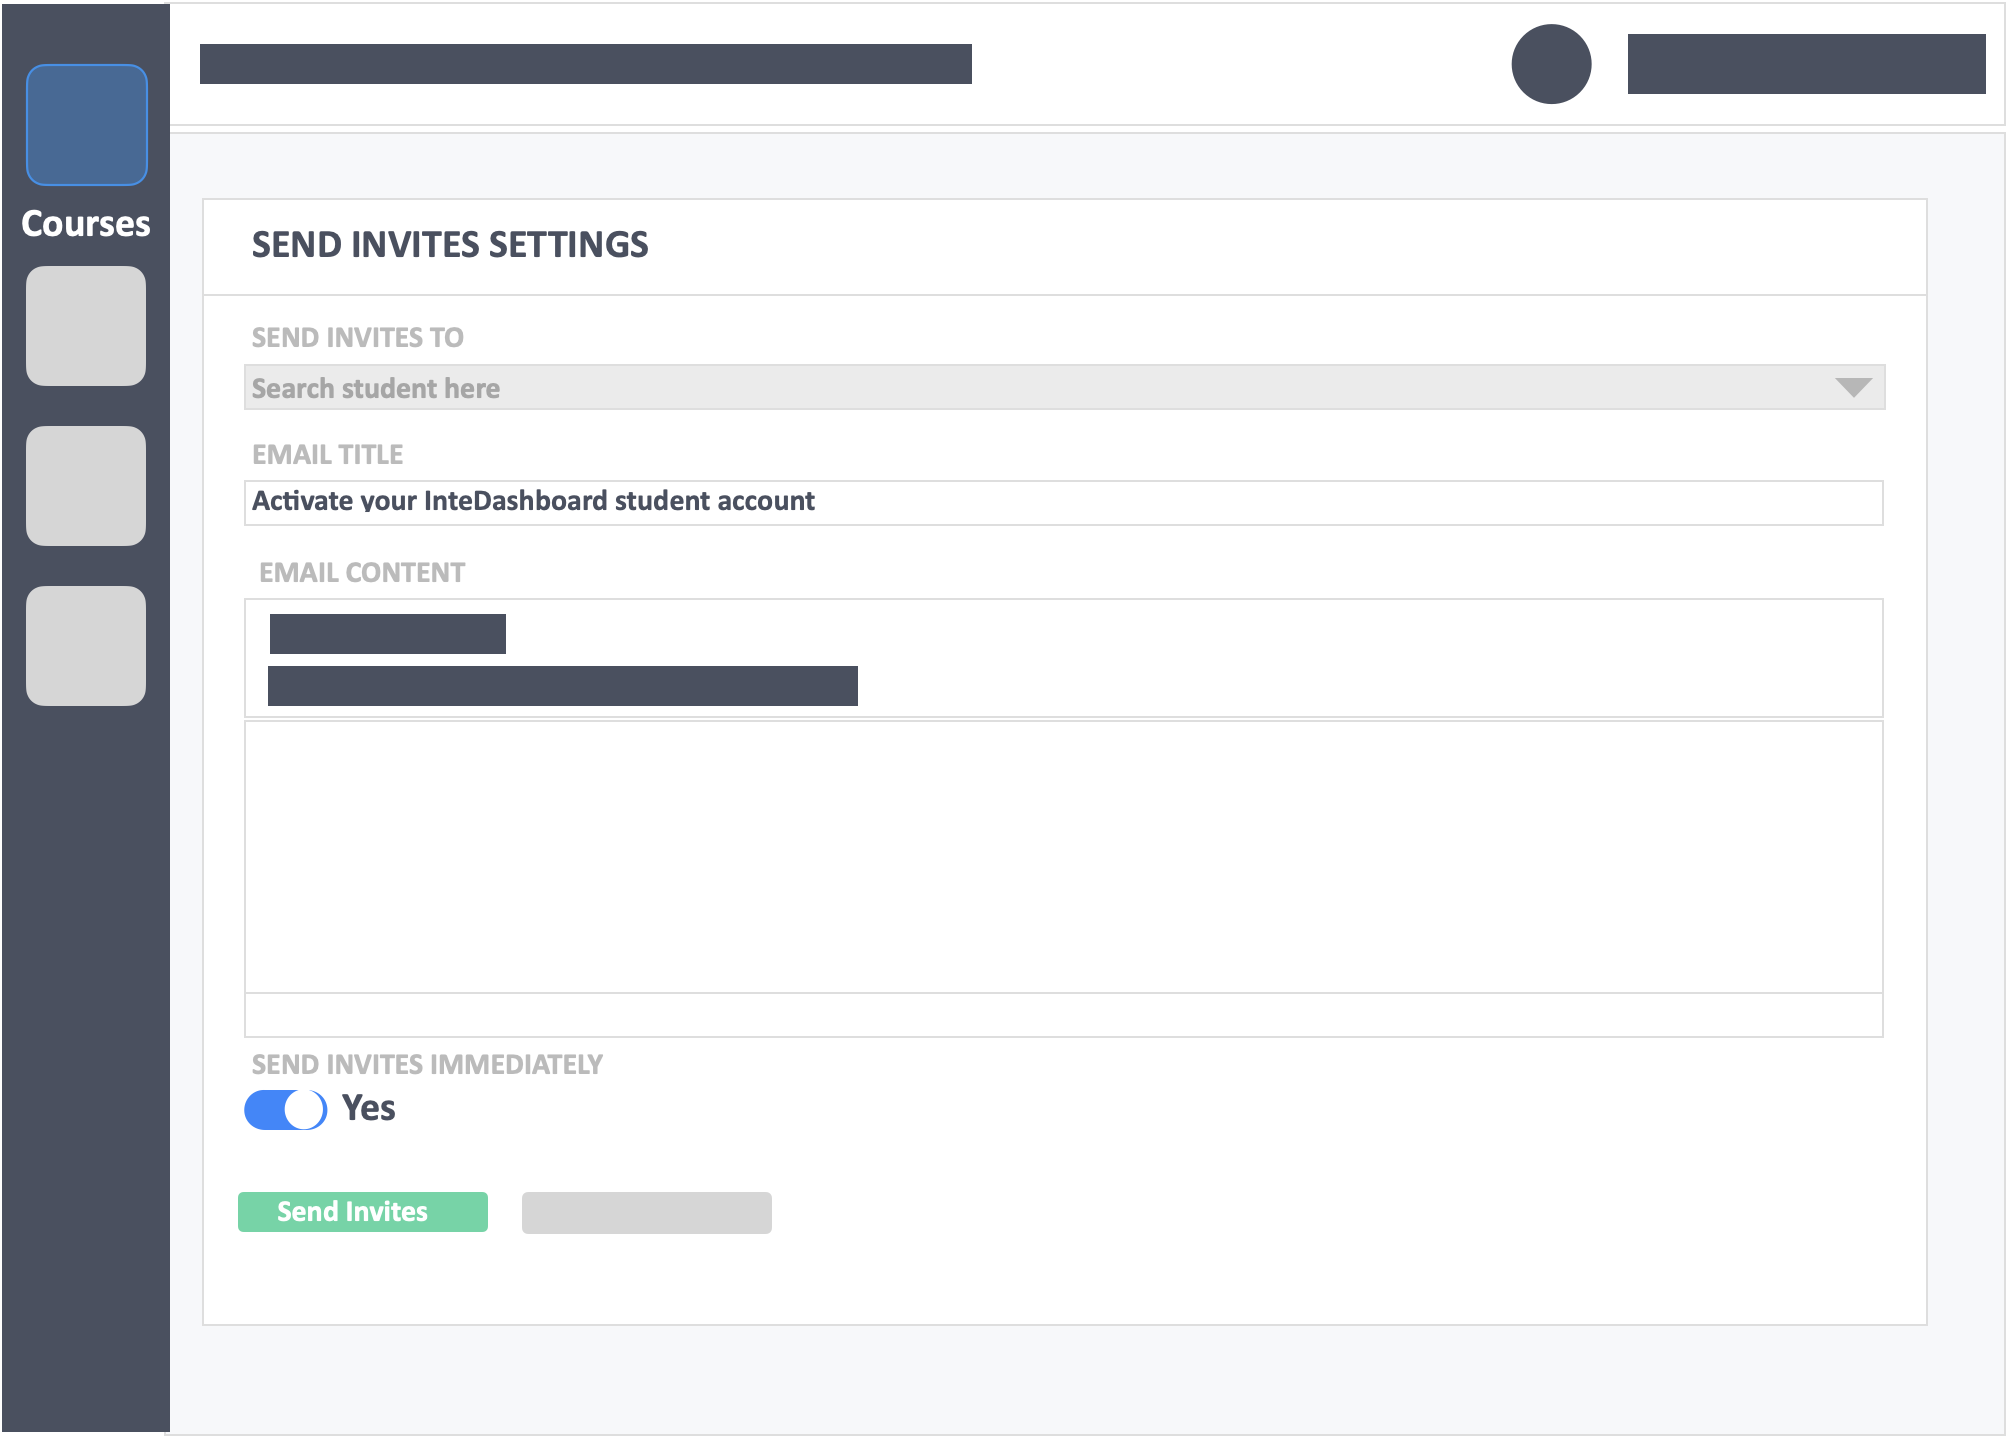
Step 13 -.Click the blue button “Send Invites” on the top-right of the screen to send an activation email to your learners to activate their InteDashboard accounts.
Step 14 – Select the names of the learners from the dropdown. Fill in the email title as well as the email content.
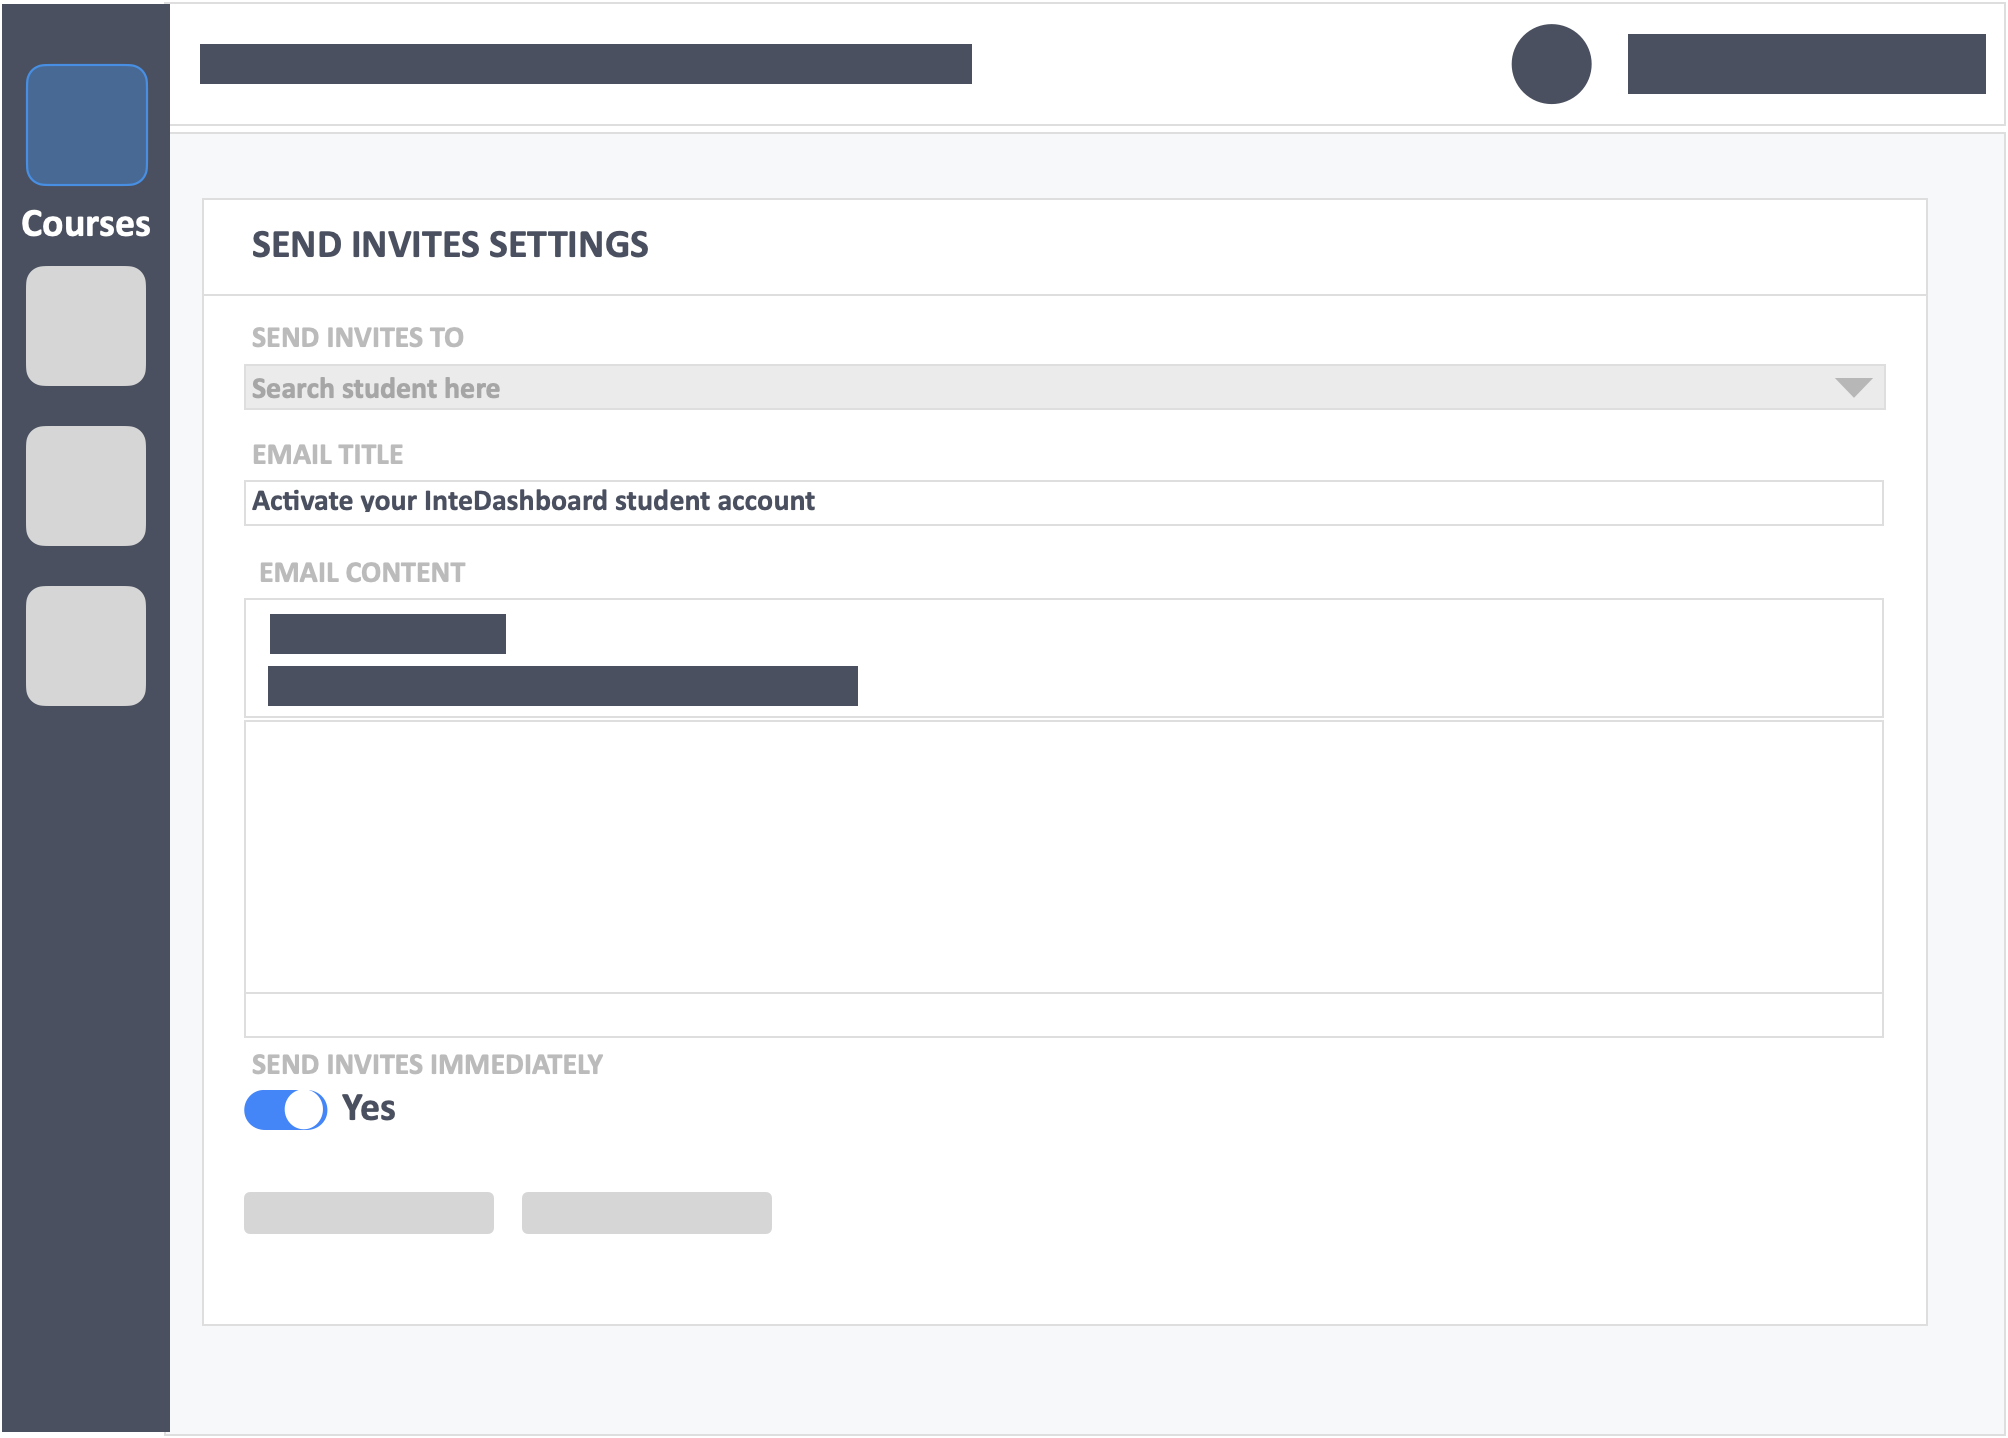
Step 15 – Click the green button “Send Invites” on the bottom-left of the screen.
- Once you send the invites, students will receive an email prompting them to activate their account and to set their account passwords.
Step 16 – Click the “Students” tab on the top left inside the course. Toggle the “View students in detail” at the top-right of the screen to (YES).
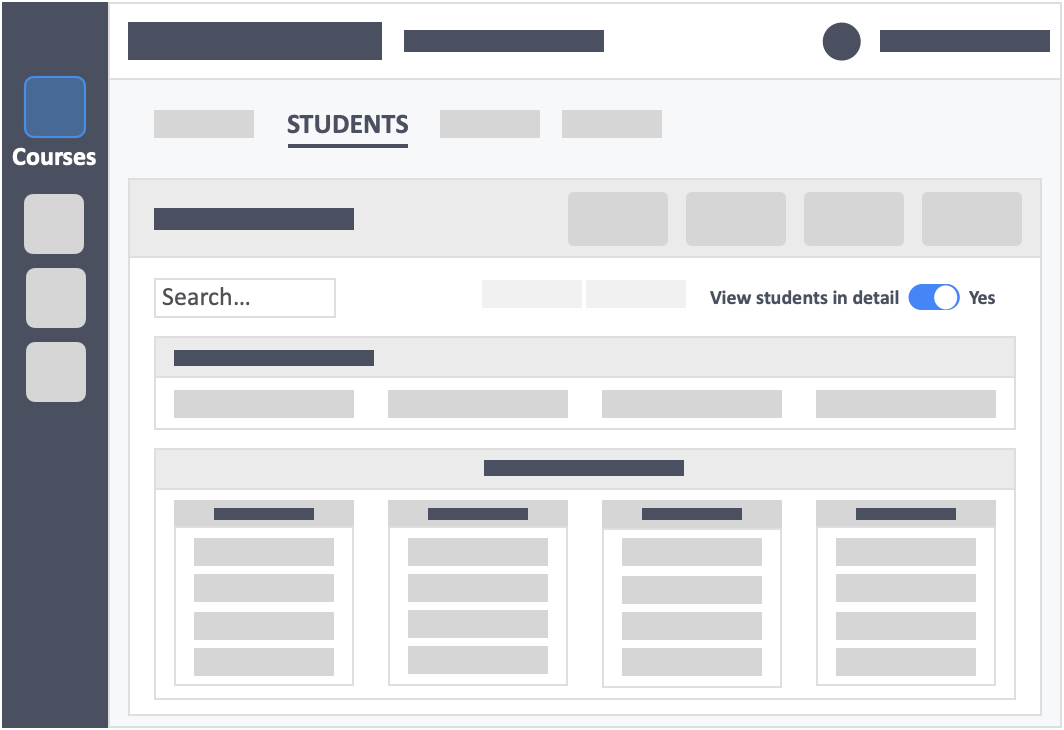
You will be able to:
- See who has activated their learner’s account
- See who has paid for their account
- Edit their learner details
Additional Information
- You can check if your learners have activated their accounts by looking into the student organization data within your course.
- Learner usernames(emails) cannot be changed after enrollment. You will need to create a new account for that learner if a change is desired.
- Learners can use the same username(email) for multiple courses. One InteDashboard subscription covers all courses within the registered email and\or academic institution.
- If a learner is enrolled into two universities at once, the learner will need to purchase two different subscriptions since the activation information is tied to their email address.